Version 2 of my amplifier is a Class-AB amp using the LM3876 and delivers 56 watts continuous and 100 watts peak output. None of these circuits are my own design, everything come from a great website, Elliott Sound Products This is only an overview of my construction of their design. There are many very informative articles at ESP that explain much more and much better than what I provide here. I really suggest looking through the site.
The construction will consist of three parts:
- Power Supply
- Pre-Amp
- Power-Amp
Power Supply
The power supply will take 120V AC and step it down to 25V and then rectify it to ±15V for the pre-amp and ±35V for the power-amp.

The power supply will probably be the most expensive part of the amplifier. Most of the cost is for a clean, high power transformer.
| Part | Description | Source | Part # | Quantity |
Each |
Cost |
|---|---|---|---|---|---|---|
| R1 | 10Ω 5W wirewound | Jameco | 660375 | 1 |
$0.36 |
$0.36 |
| R2-3 | 2.2KΩ 1W 1% | Mouser | 71-RS1A-2.2K | 2 |
$1.15 |
$2.30 |
| R4 | 10kΩ 1W | On-Hand | N/A | 1 |
N/A |
N/A |
| R5-6 | 680Ω 1W 1% | Mouser | 71-RS1A-680 | 2 |
$1.26 |
$2.52 |
| C1 | 100nF 50V (.1μF) | Jameco | 609545 | 1 |
$0.22 |
$0.22 |
| C2-5 | 10,000μF 50V | Jameco | 157738 | 4 |
$4.95 |
$19.80 |
| C6-7 | 100μF 50V | Jameco | 29964 | 2 |
$0.08 |
$0.16 |
| D1-2 | 5A Diode | Mouser | 640-6FM120 | 2 |
$0.86 |
$1.72 |
| D3-4 | Zener 15V | Jameco | 804818 | 2 |
$0.19 |
$0.38 |
| BR1 | Bridge Rectifier 35A (chassis mount) | Jameco | 178503 | 1 |
$3.25 |
$3.25 |
| F1 | 3A Slo-Blo Fuse | Jameco | 69535 | 1 |
$0.49 |
$0.49 |
| SW1 | STDP switch | On-hand | N/A | 1 |
N/A |
N/A |
| T1 | Toroidal Transformer 25-0-25 | AnTek | AN-2225 | 1 |
$29.00 |
$29.00 |
| Total | $60.20 |
Construction
Perhaps the most important component of the power supply is the transformer. After a week of research and scouring the web I found a manufacturer of good quality toroidal transformers that were half the price of any other place I looked at.
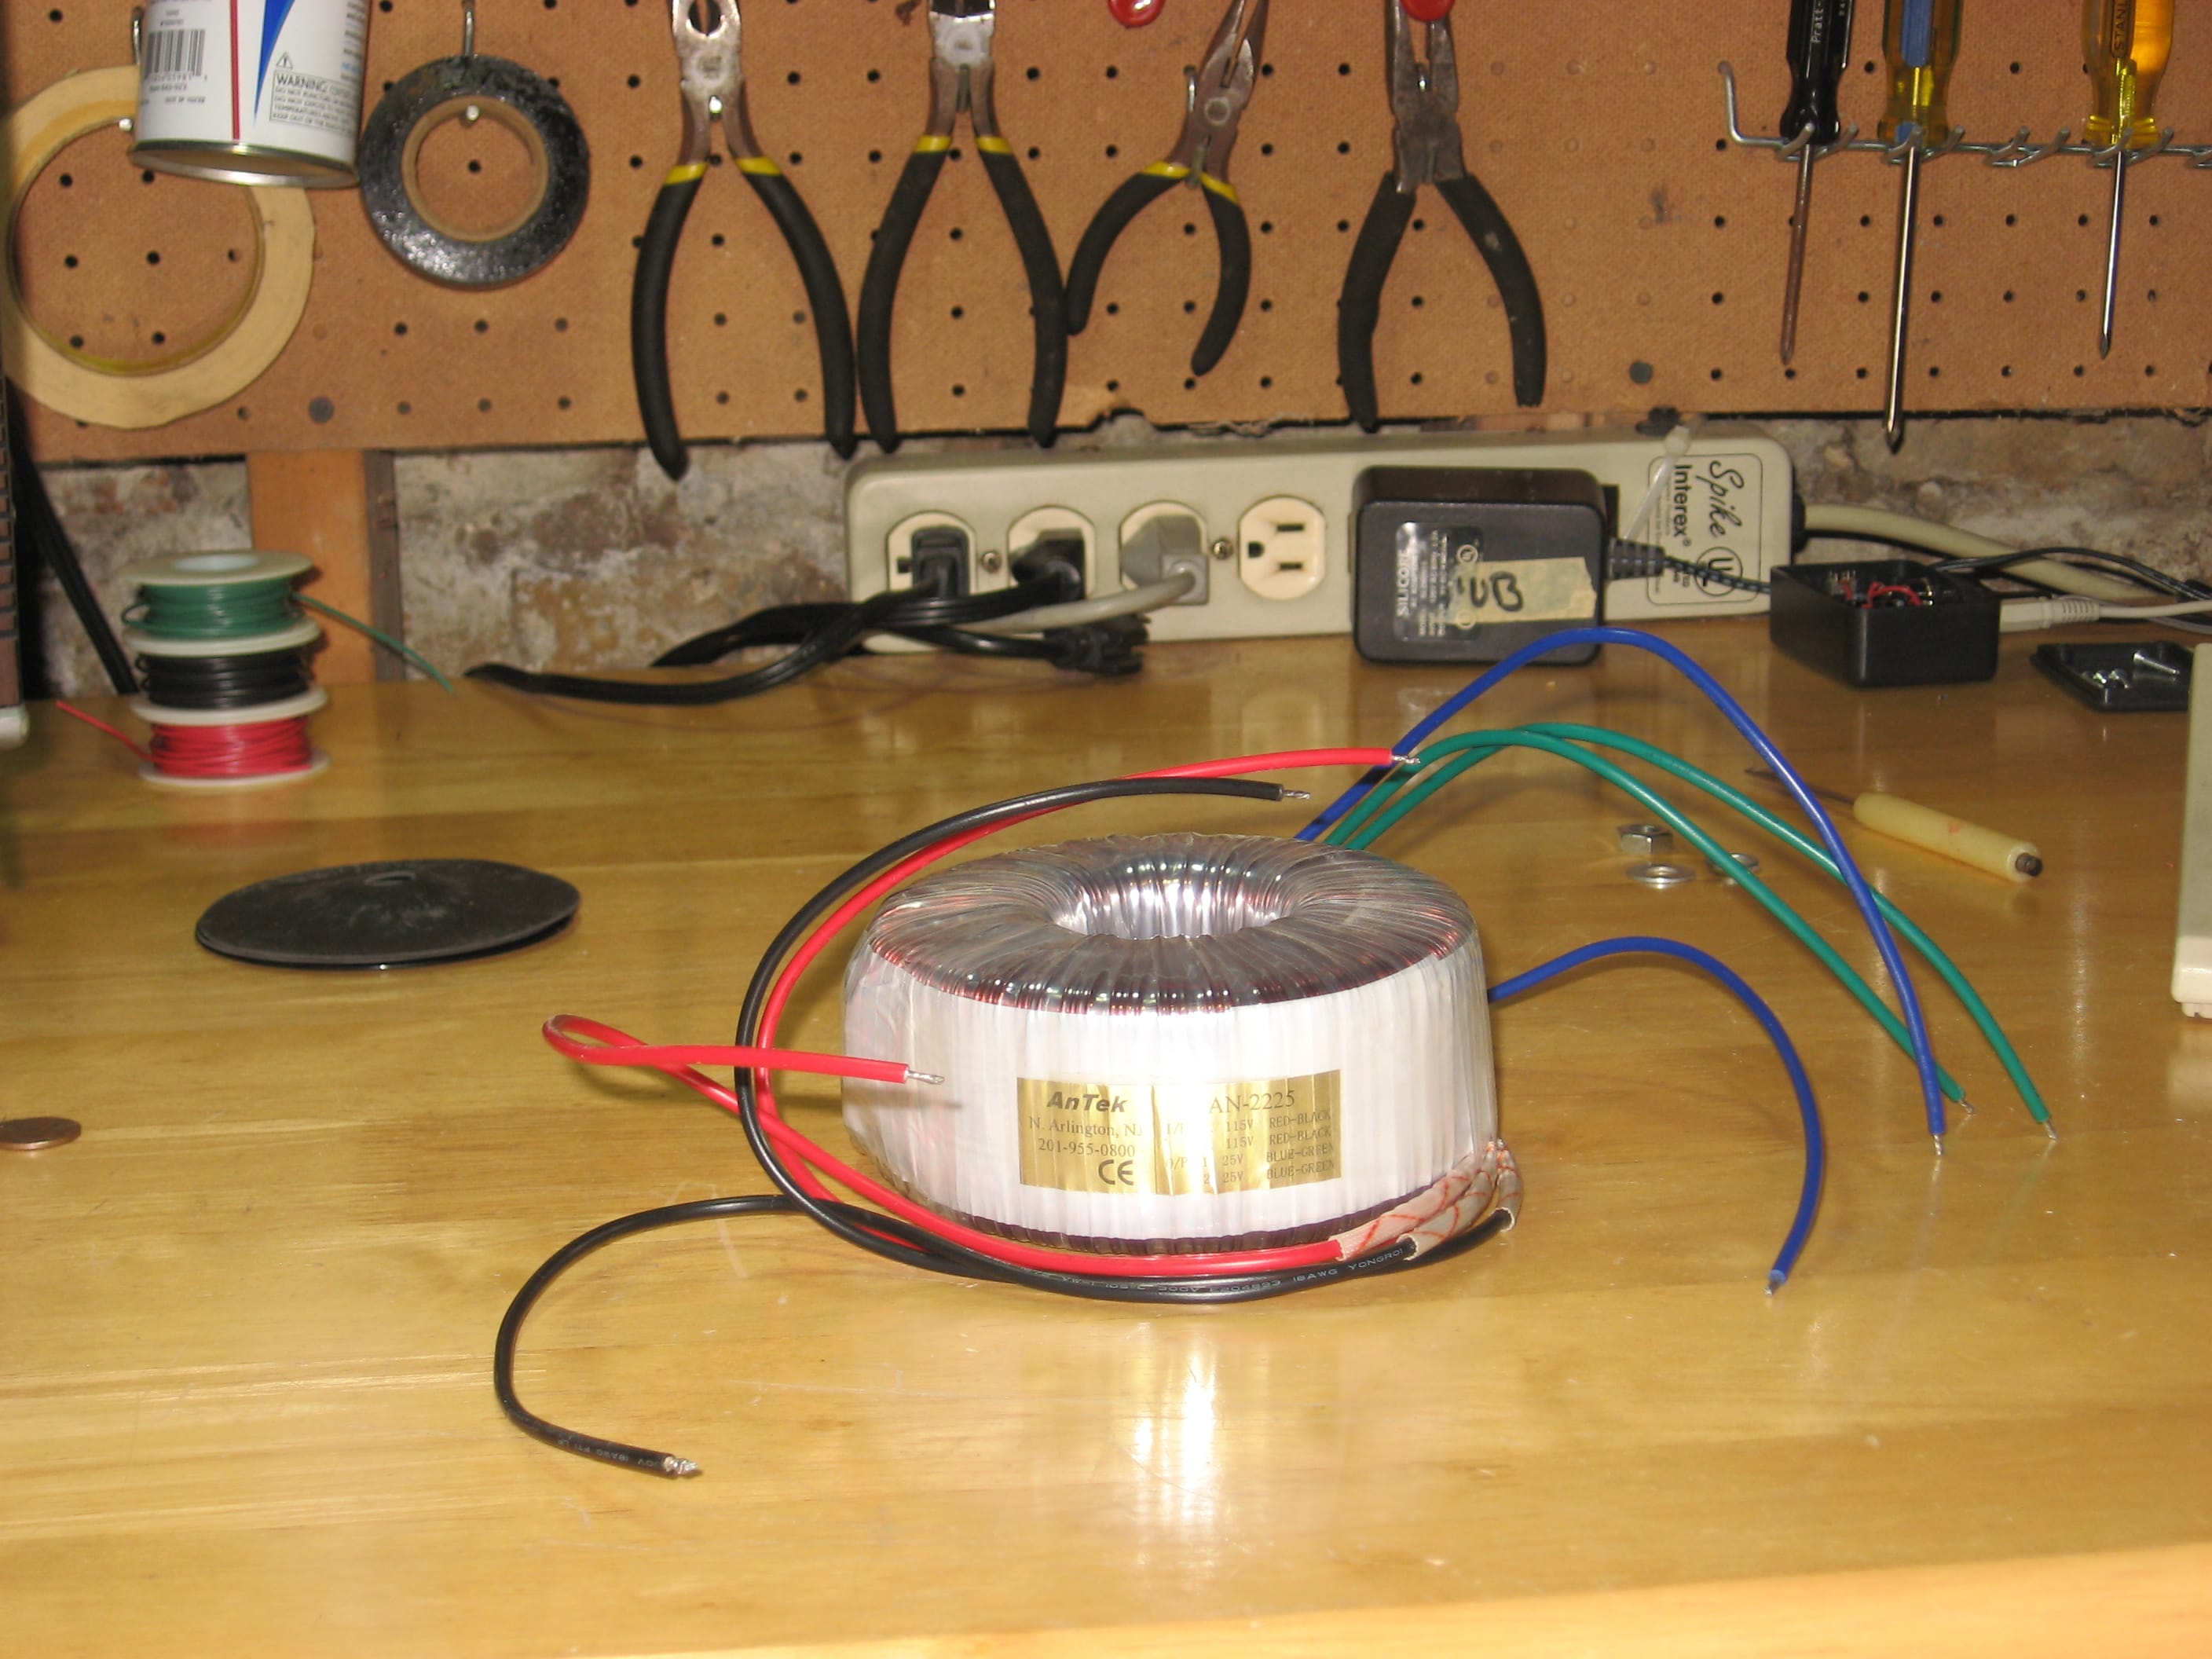
It took me a while to figure out how to wire the transformer for a single coil on the primary and a center-tap on the secondary. I finally just guessed and stood far away when I tested it. Here's the data sheet for my transformer. On the primary connect the center black and red leads to form one long coil. On the secondary connect the center blue and green leads together form a center tap. On the transform I have the leads are come out of the wrapper in the order listed on the data sheet.
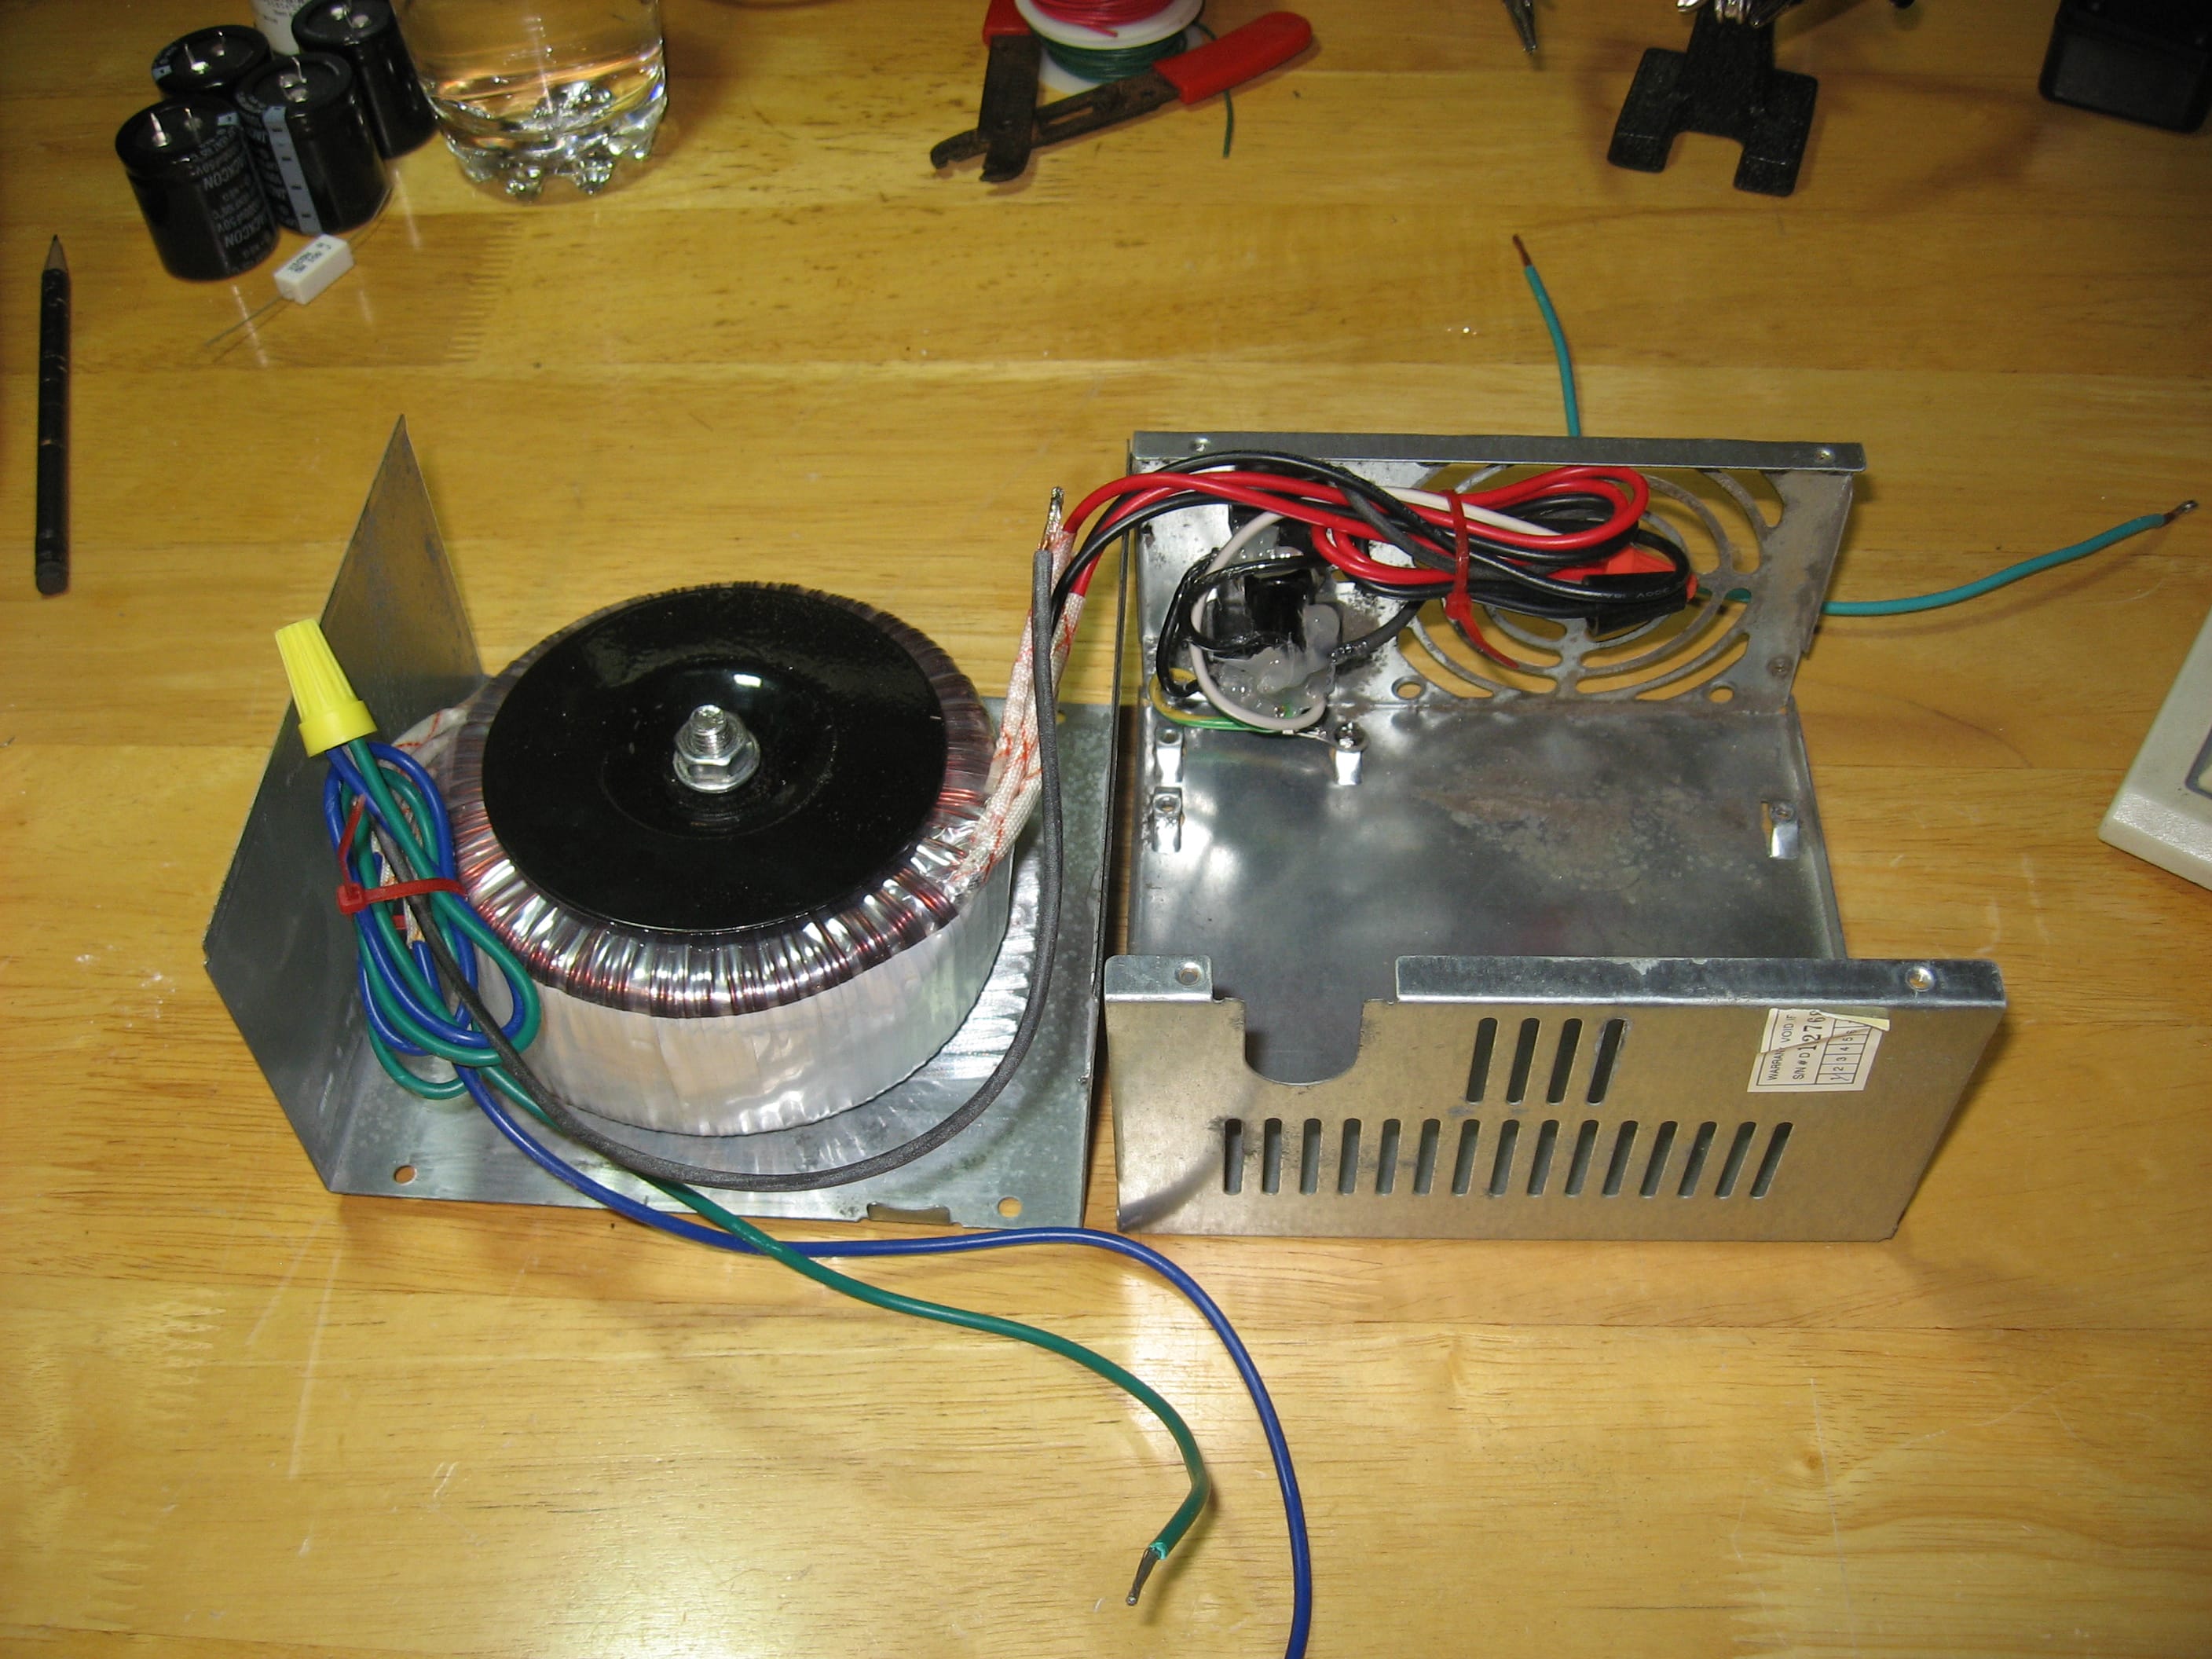
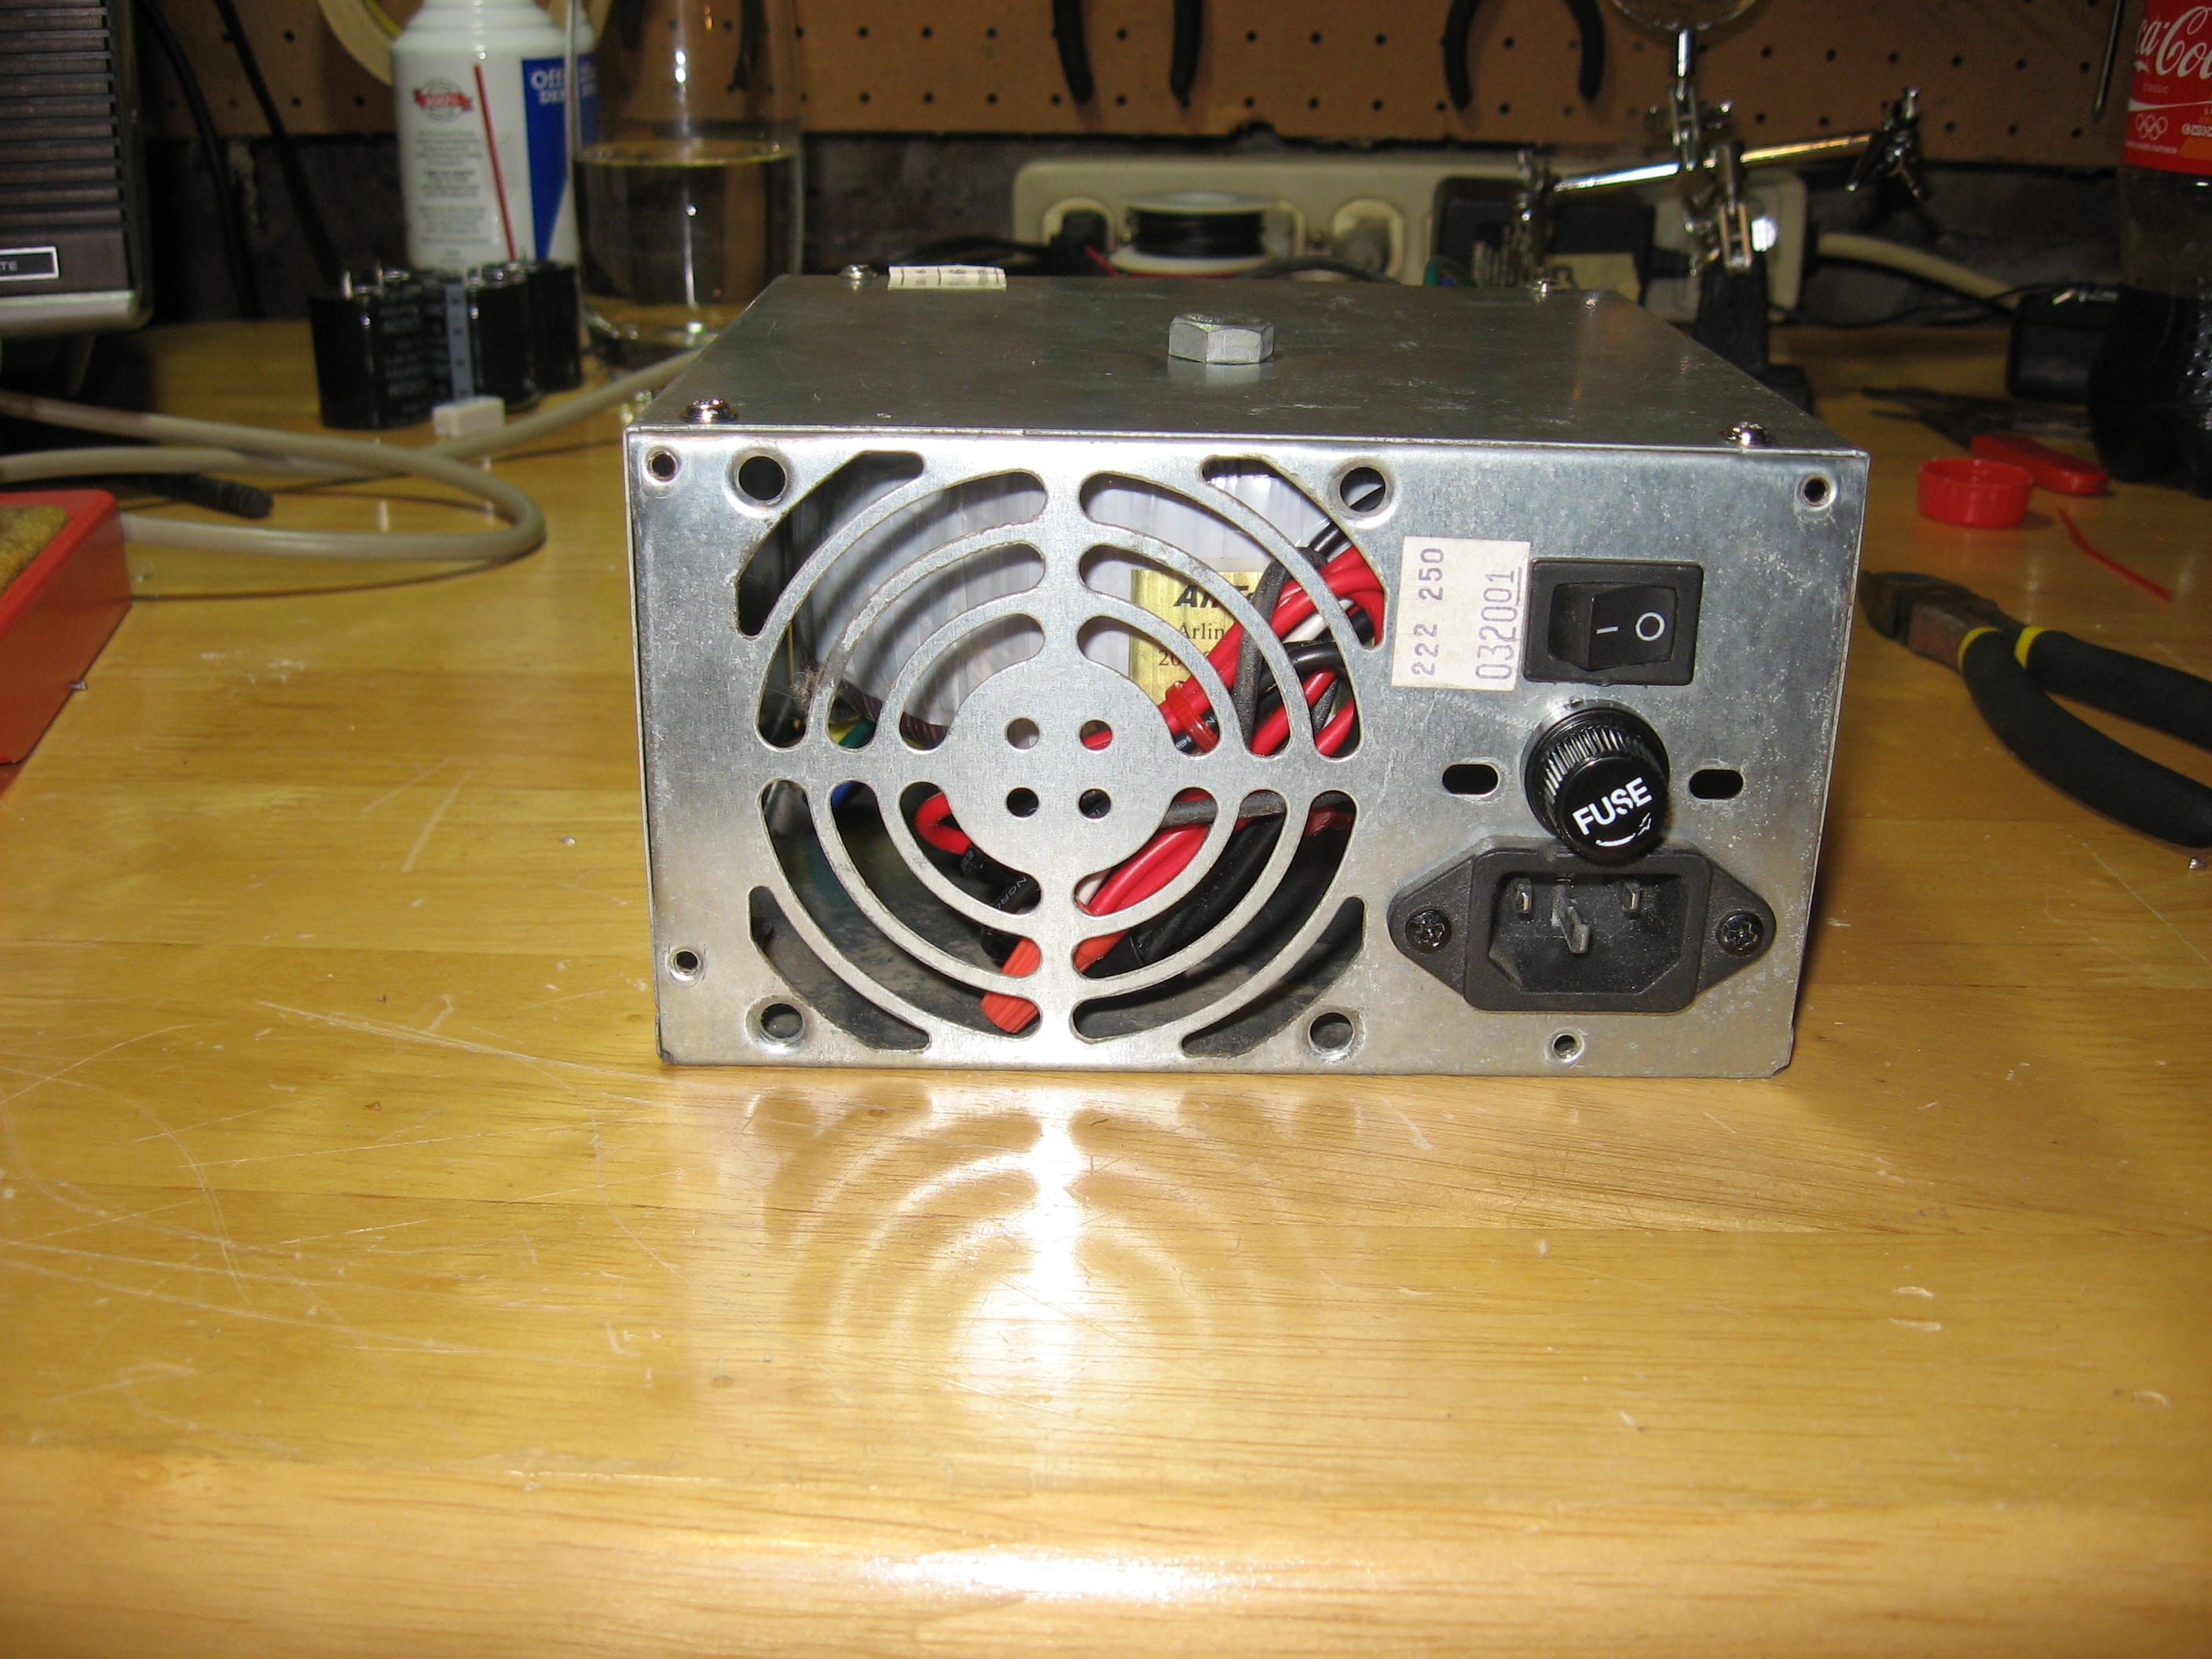
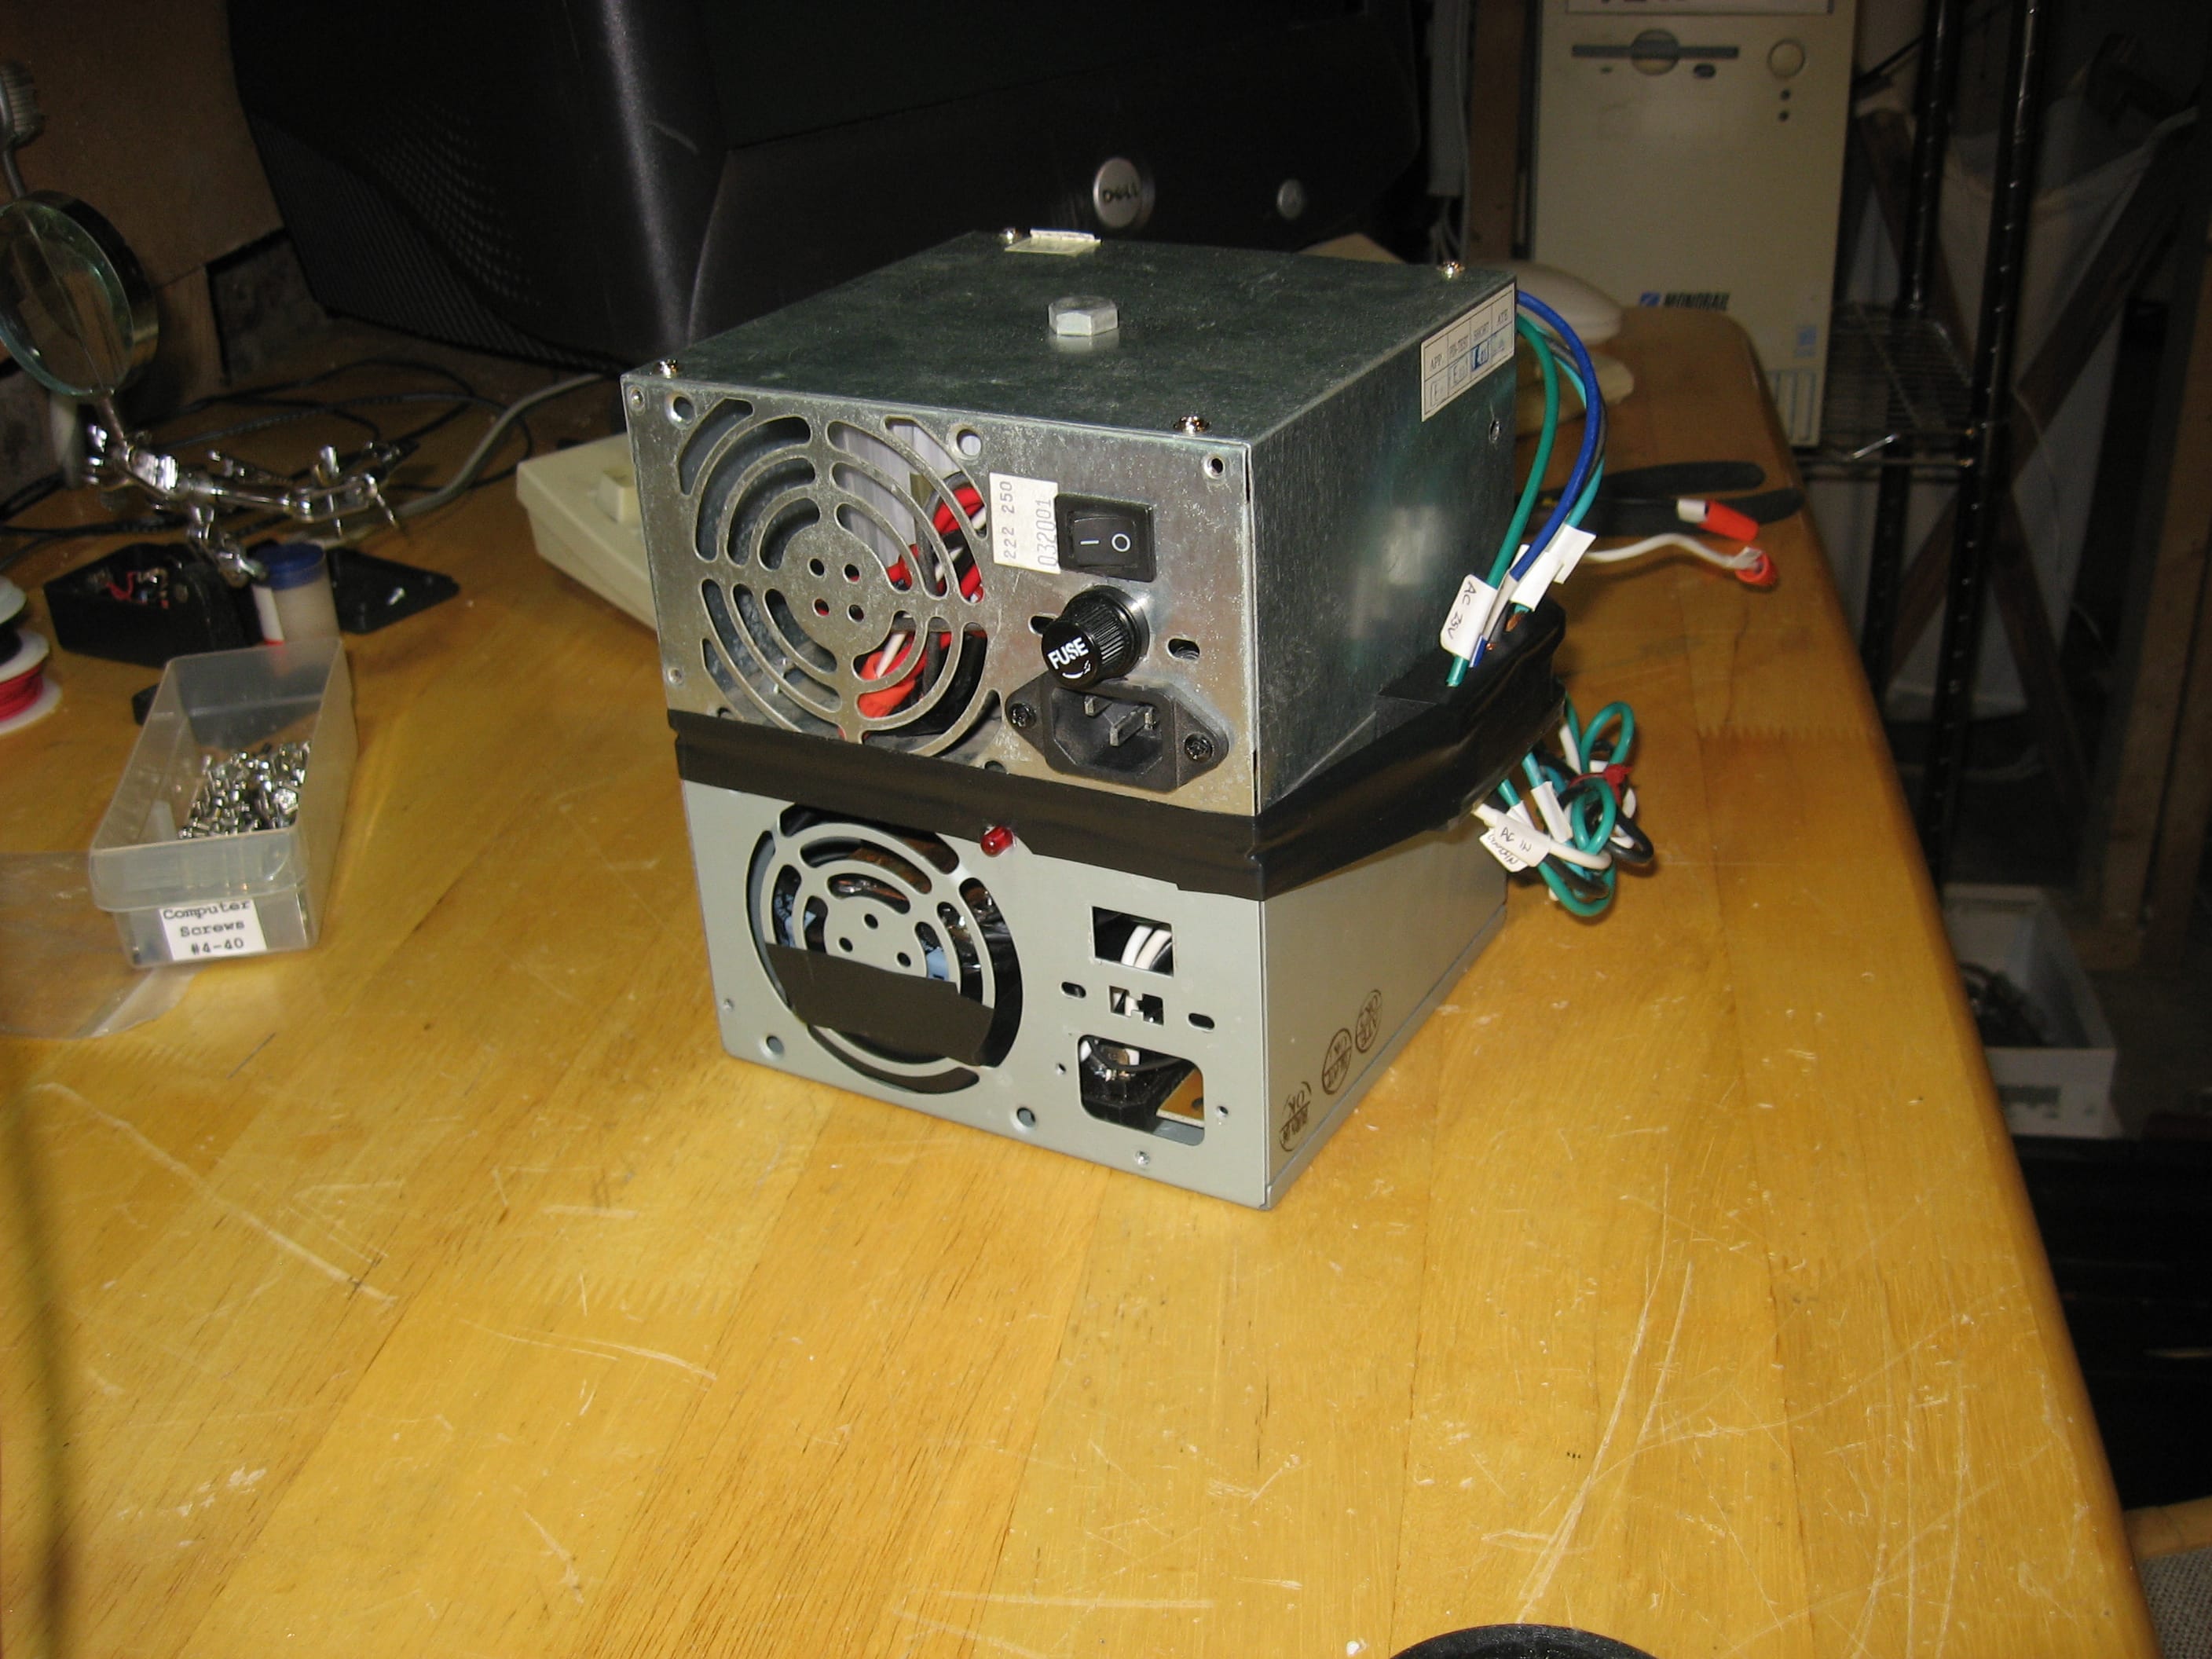
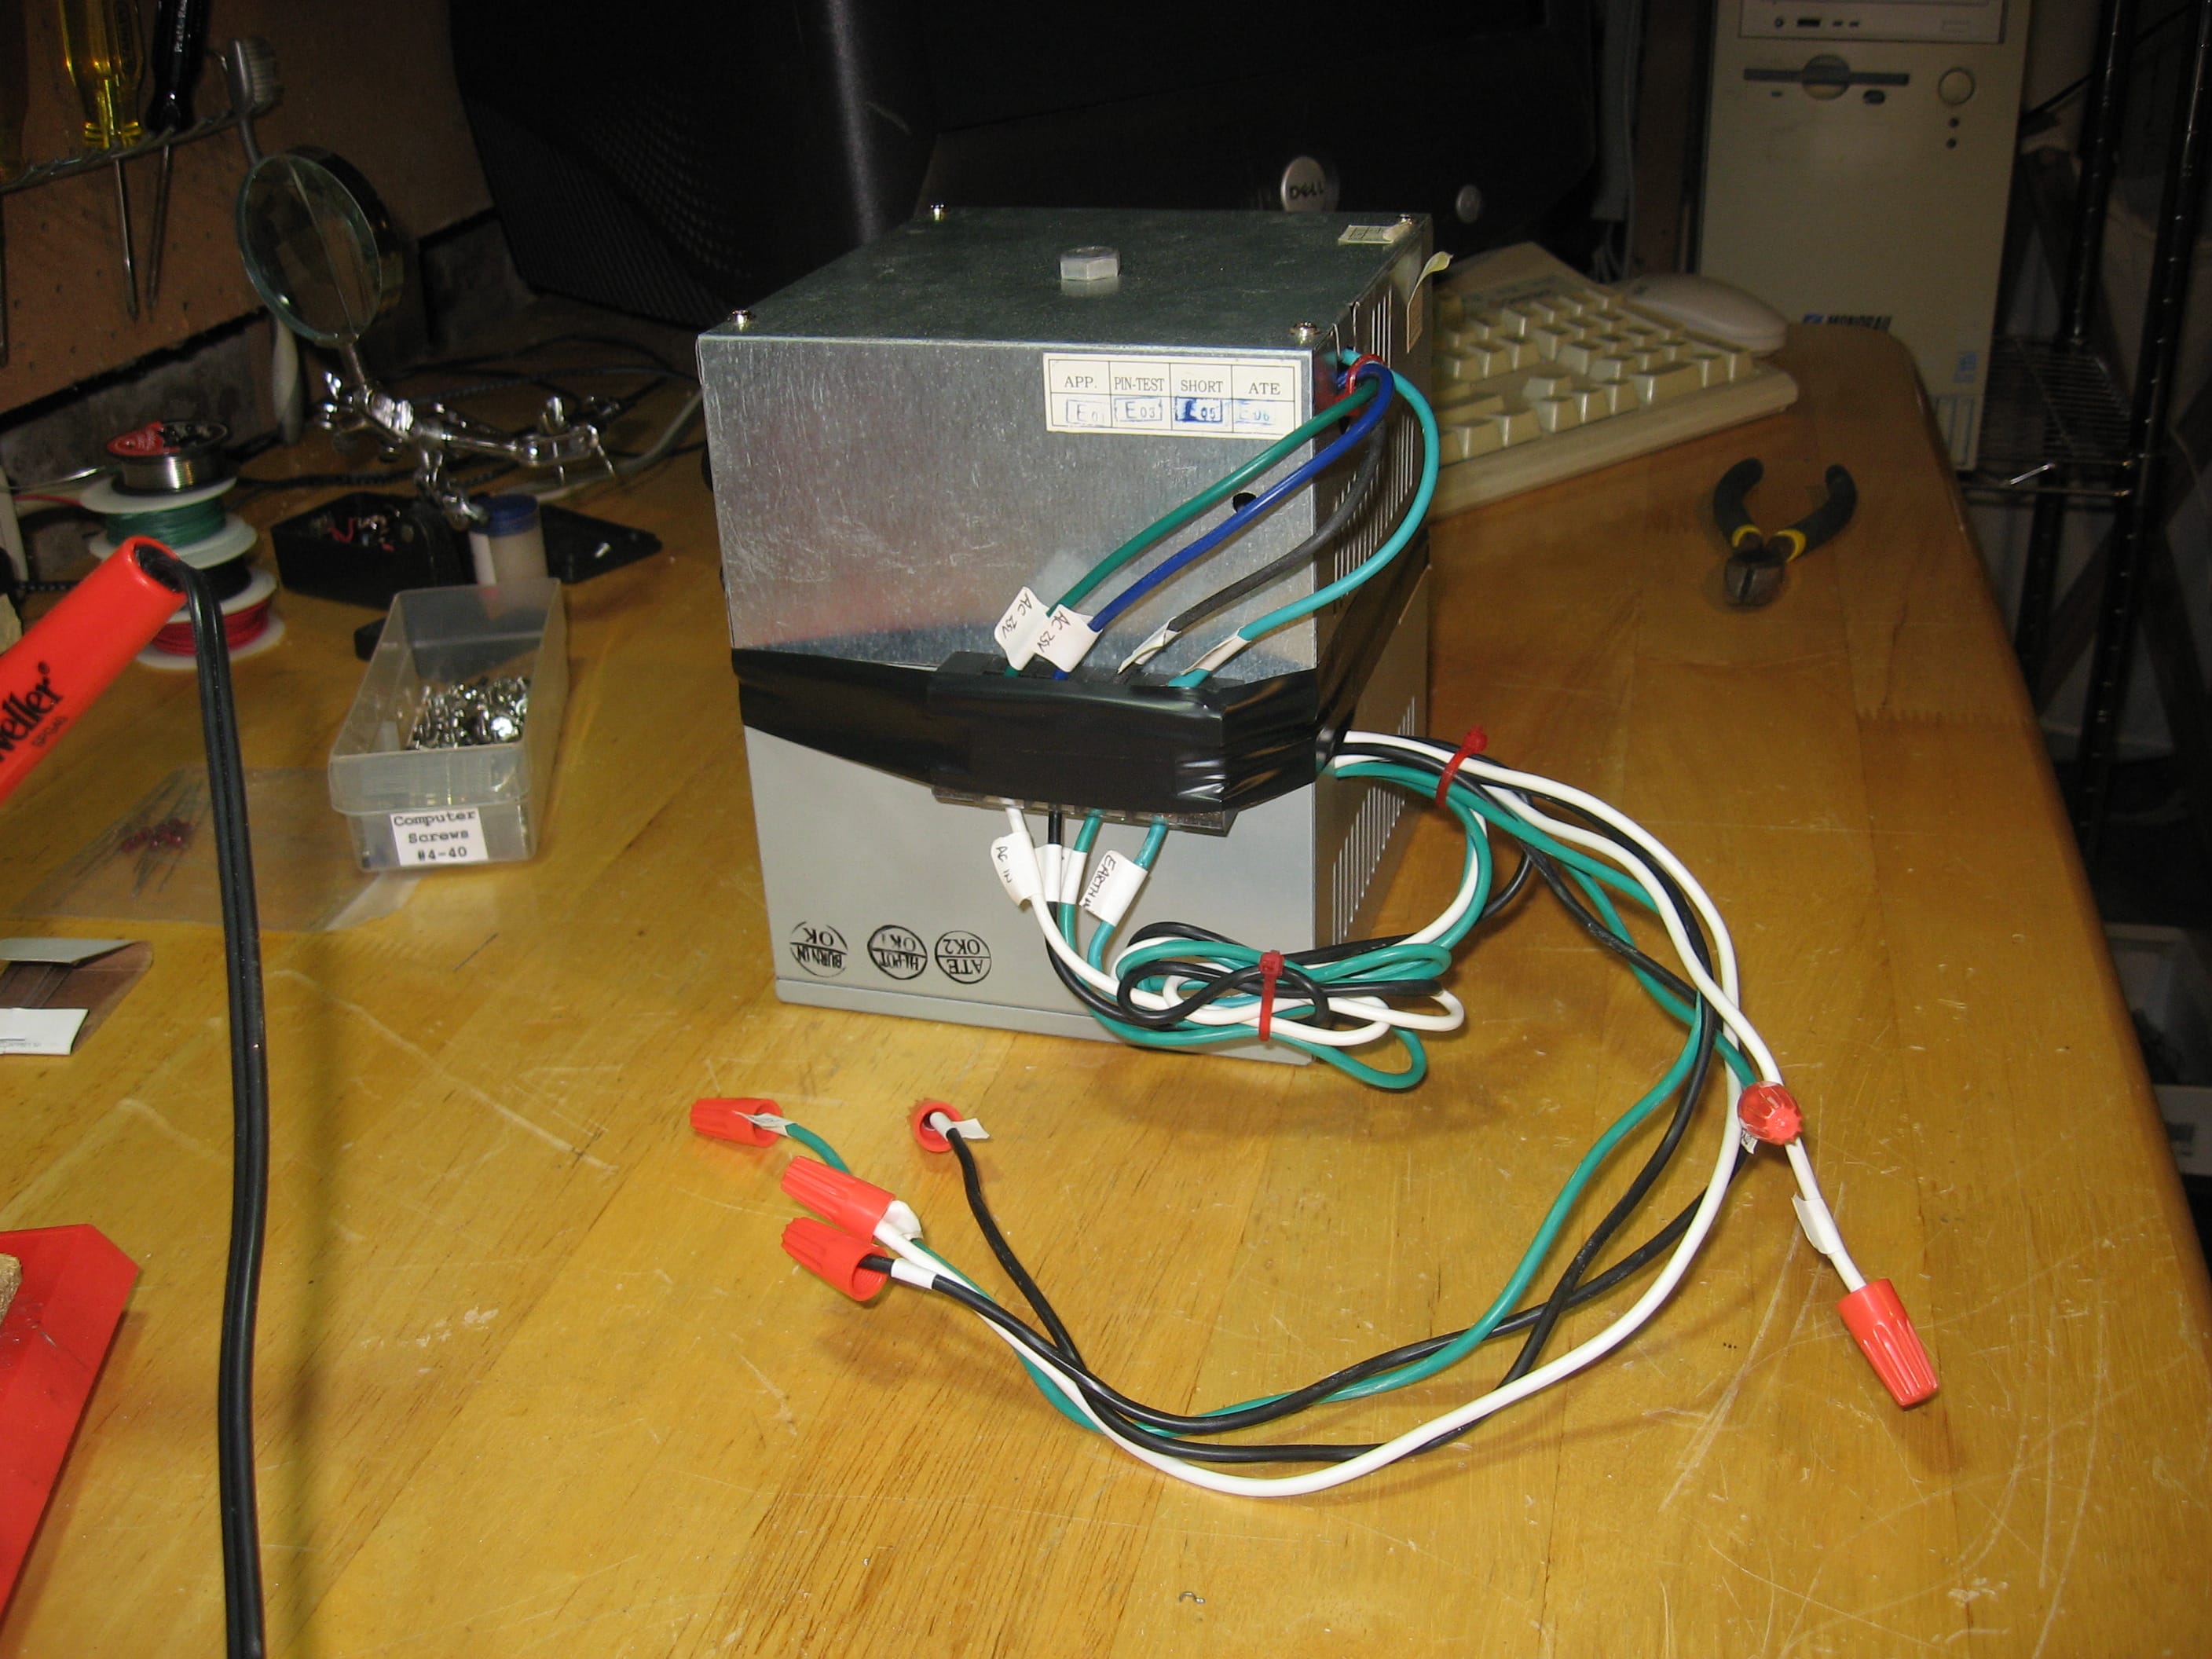
I haven't decided on what to use for a case yet so I am mounting everything in old computer PSU enclosures. The first box is the mains wiring and the transformer with AC 25 Volt, ground, and earth coming out.
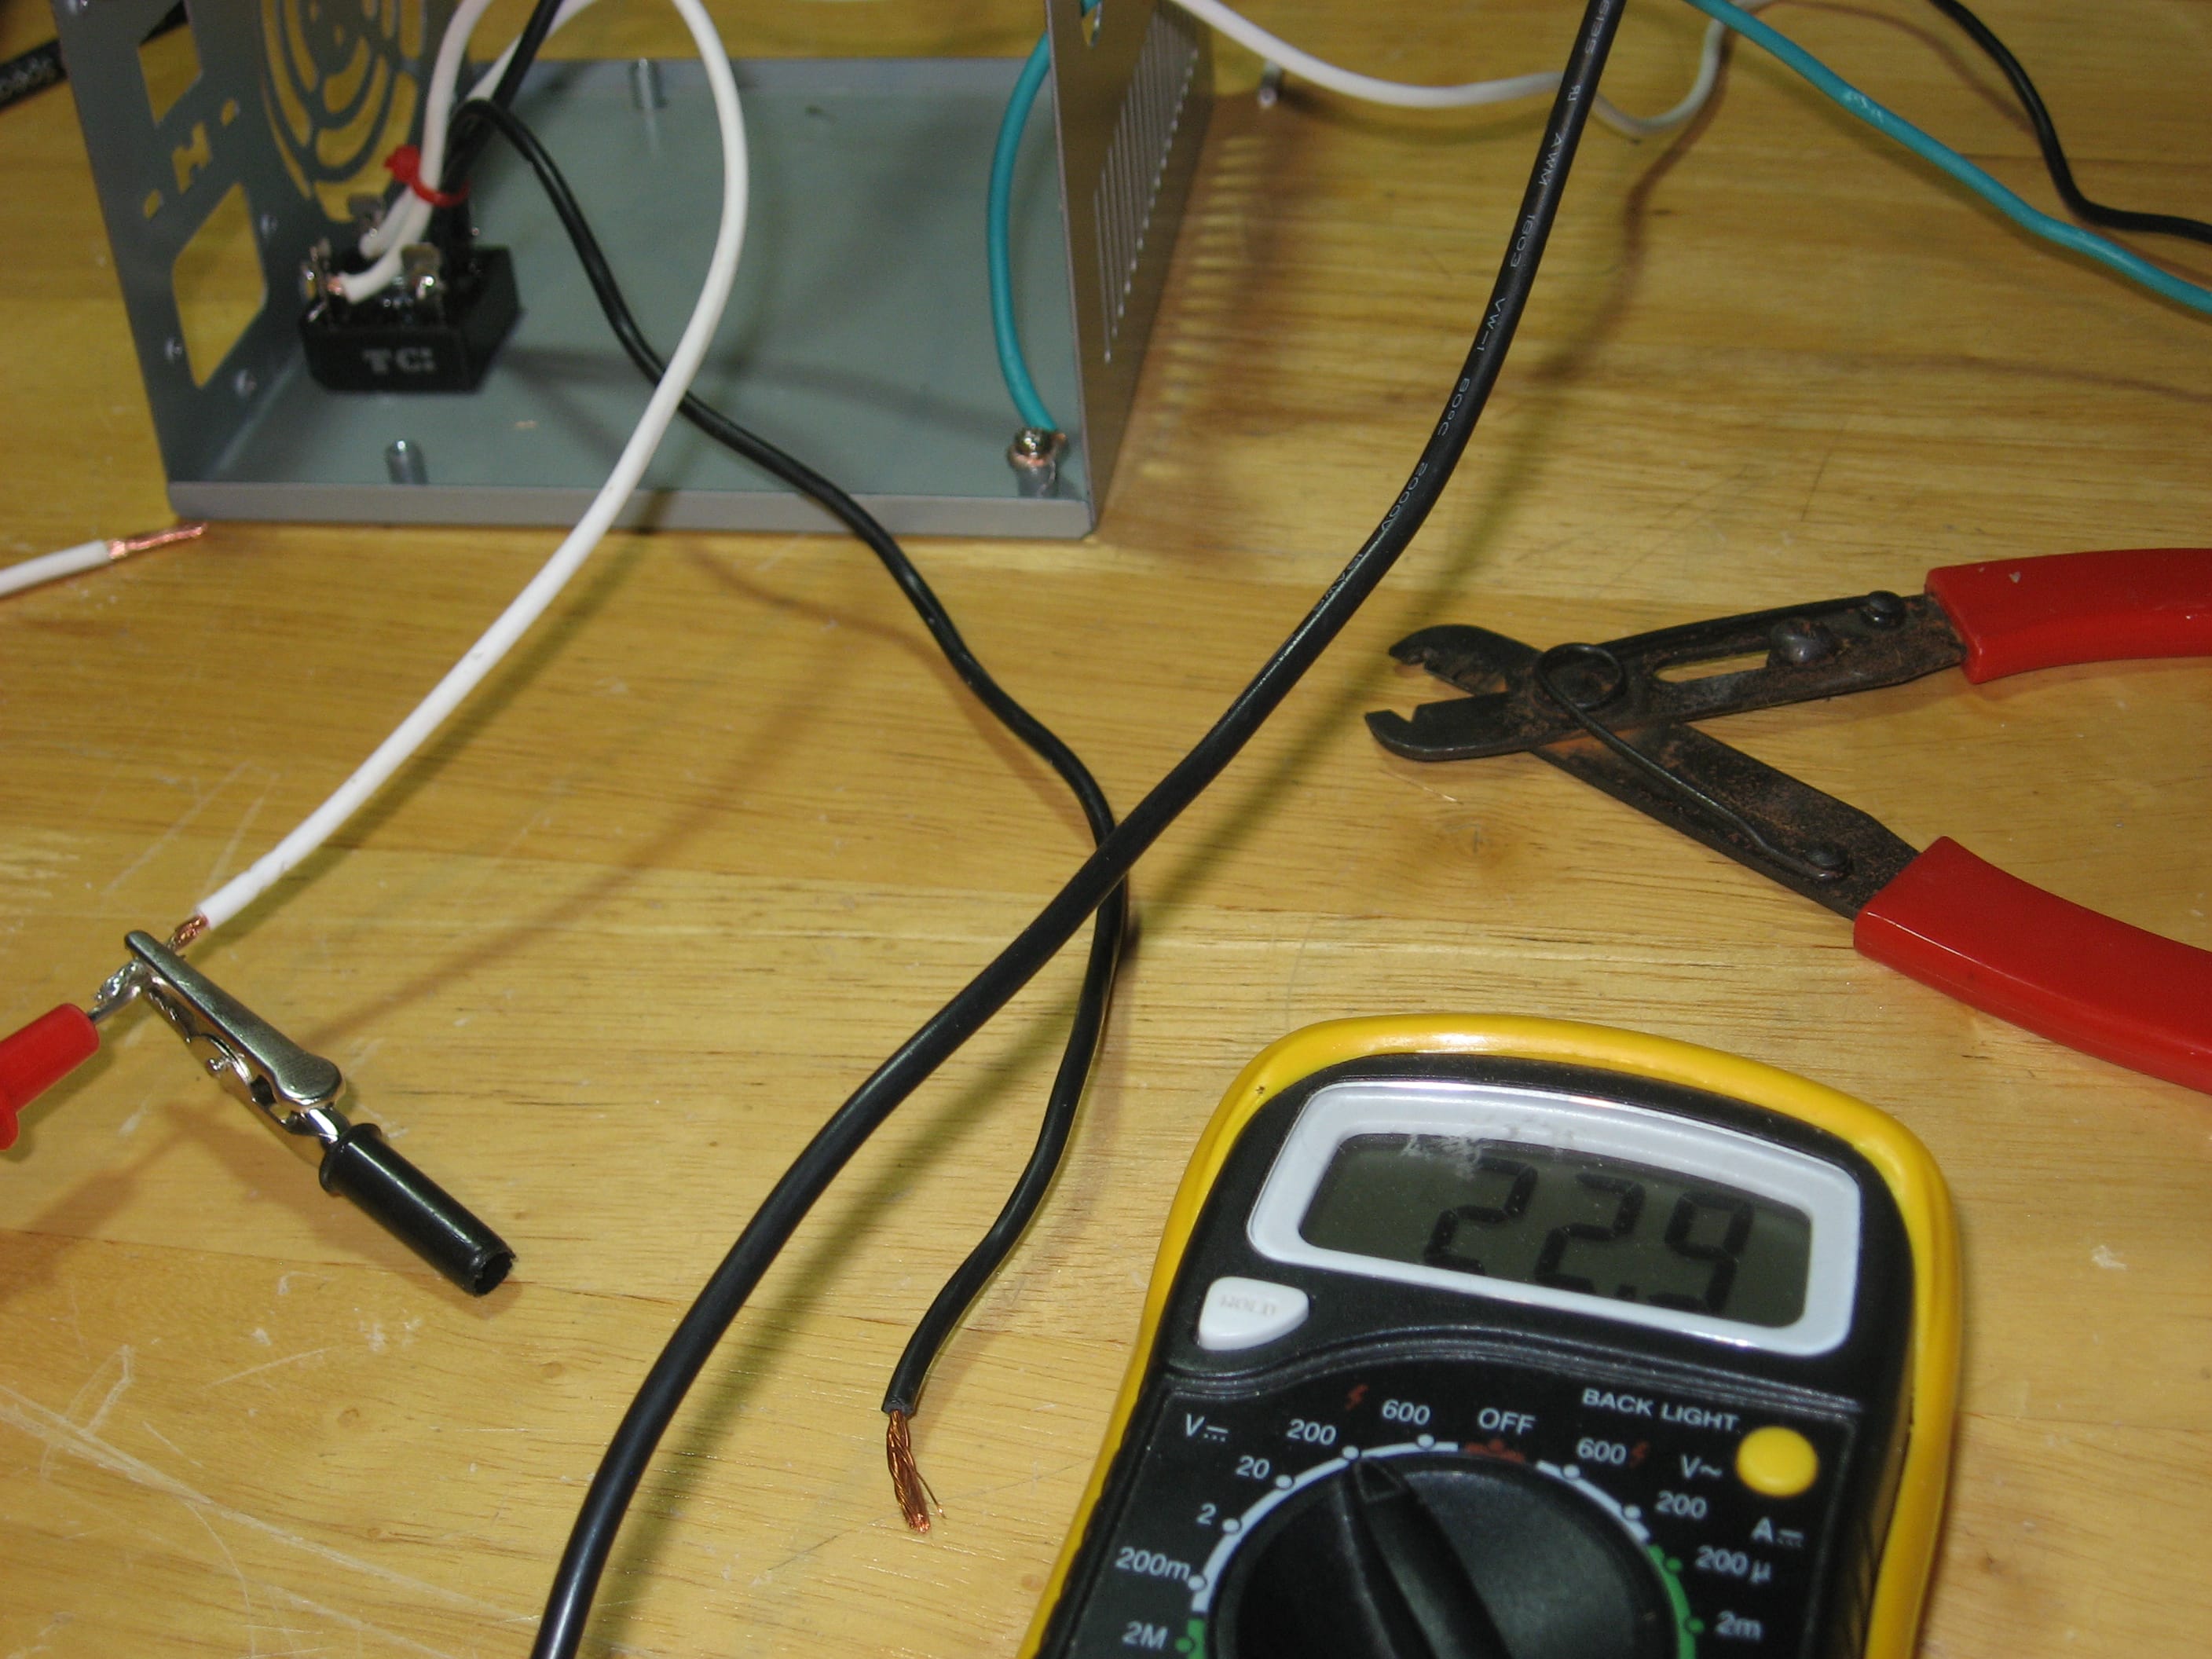
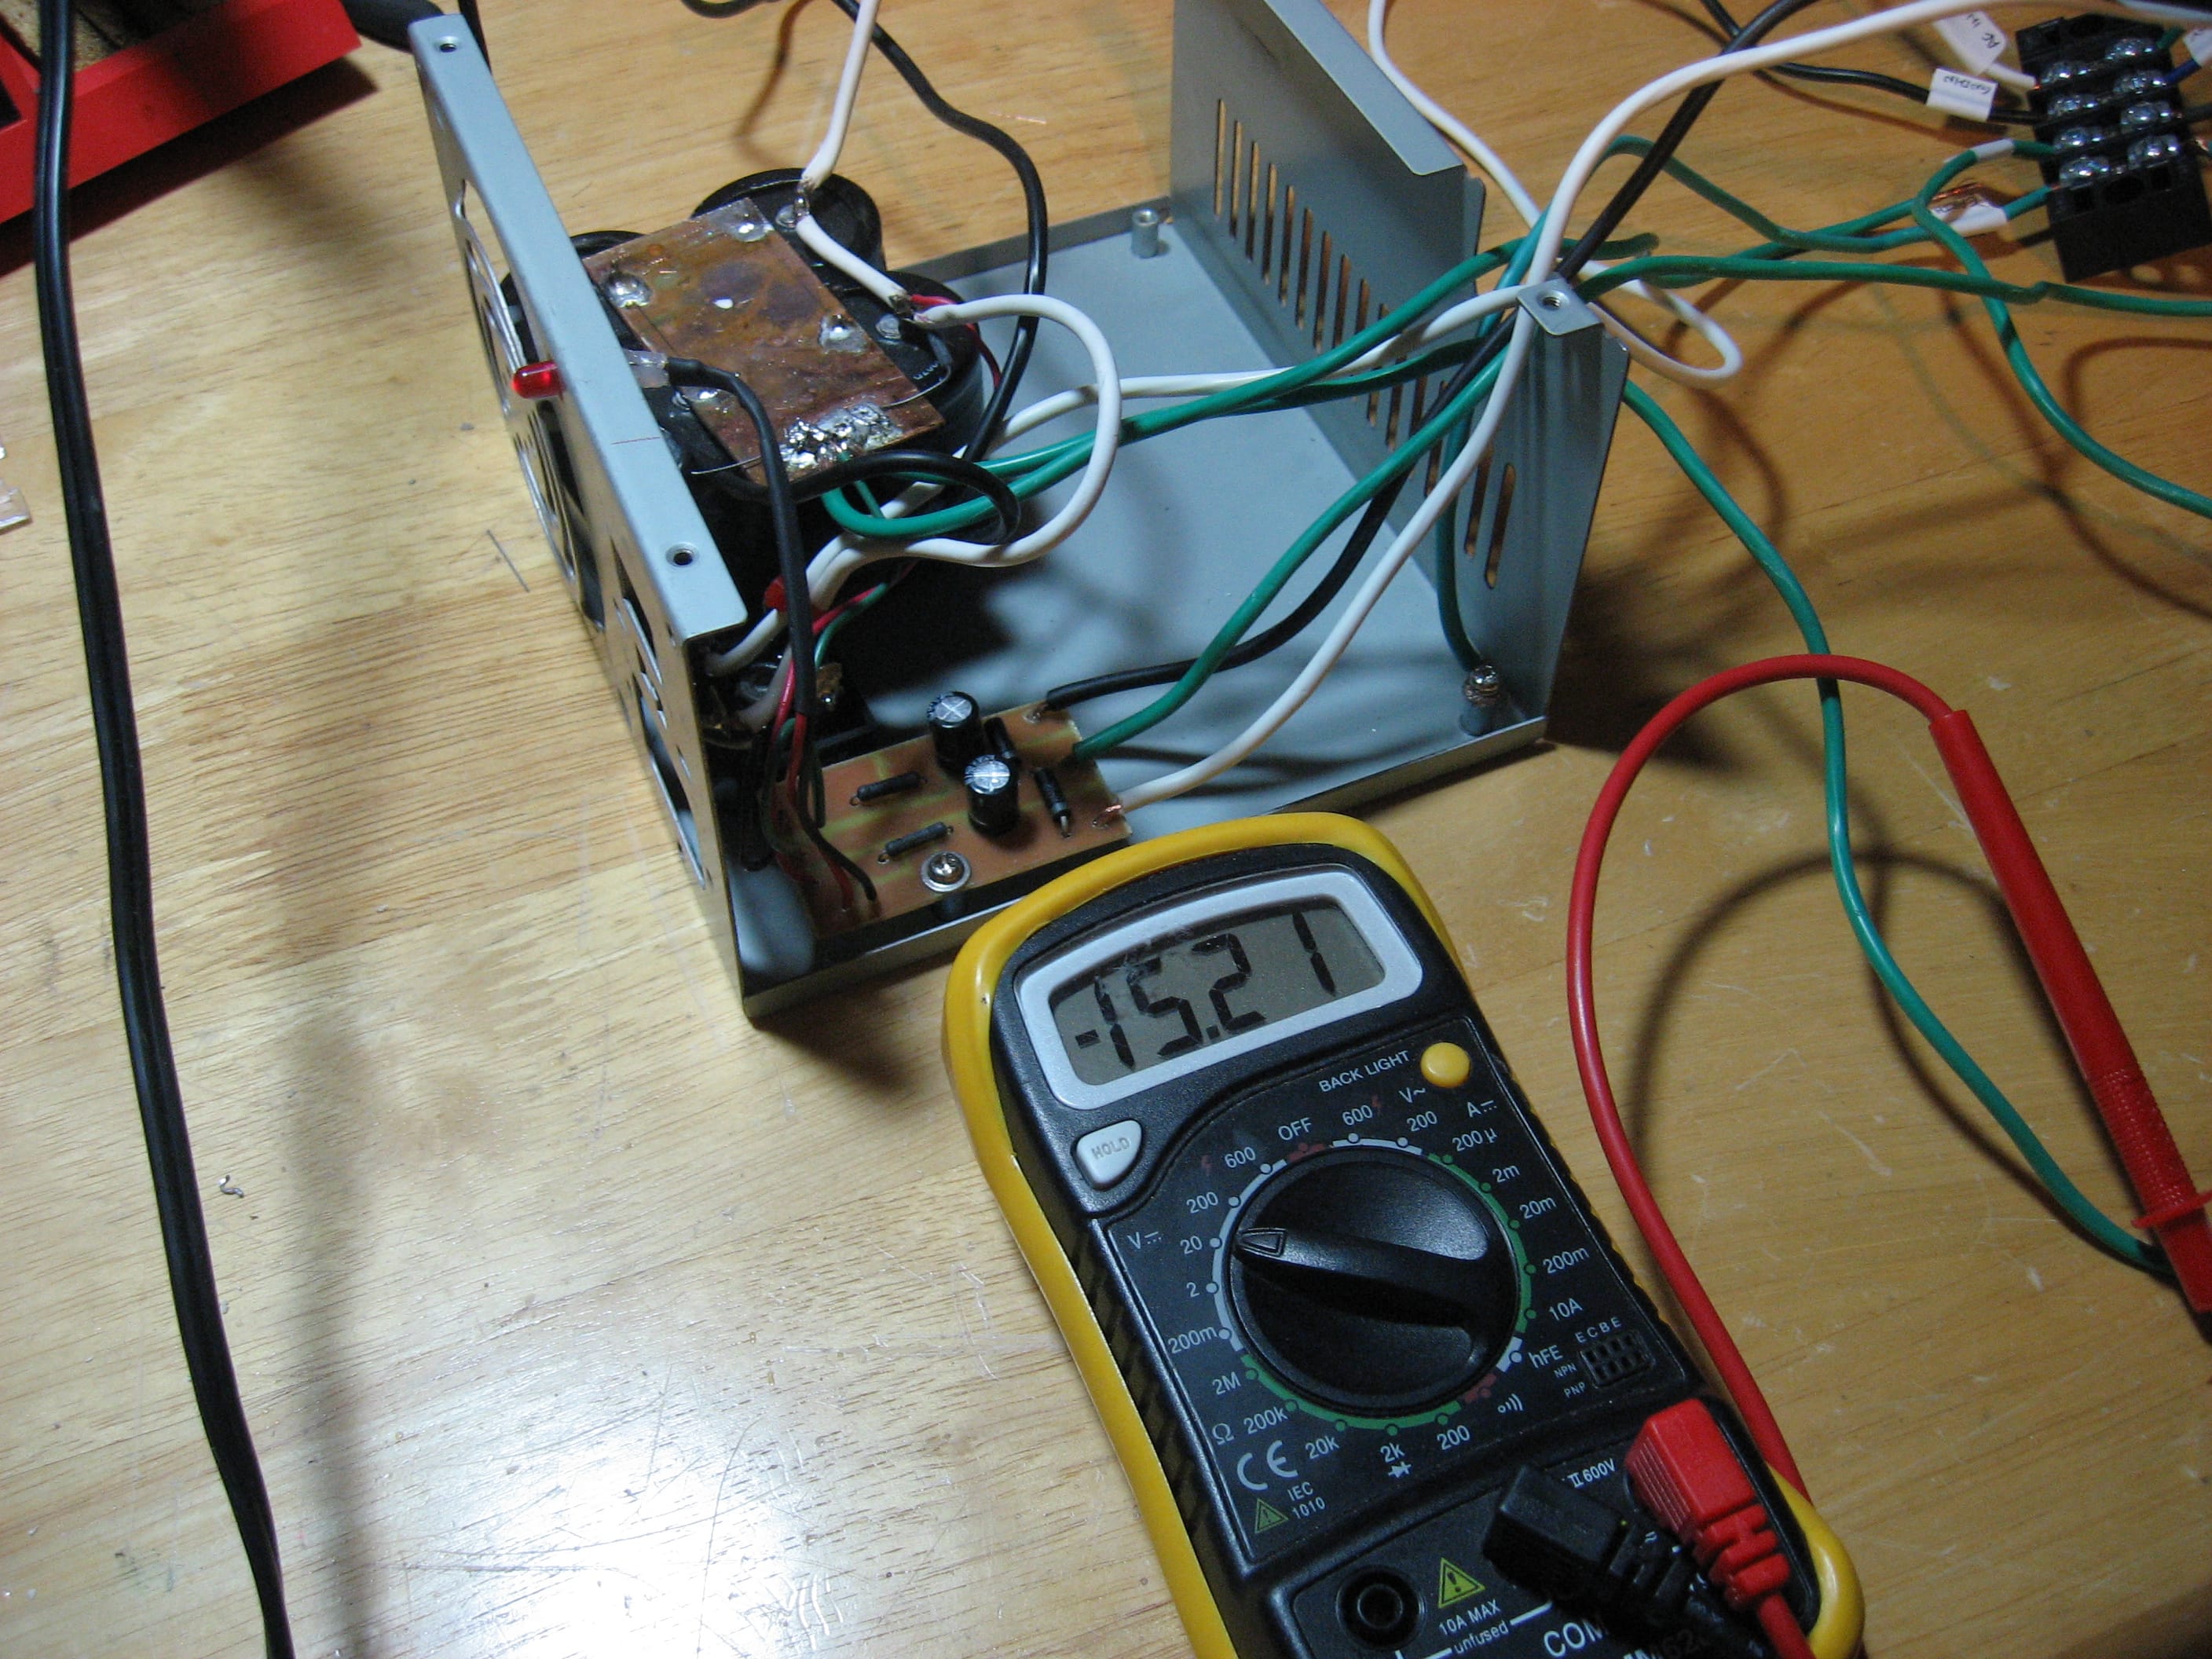
After adding the bridge rectifier you can see that the voltage reading is pretty close to the rated ± 25V of the transformer.

Next I needed to build the capacitor bank. It was suggested that the ground of this section be able to carry large amounts of voltage, something like a copper bar. I used a small chunk of copper pipe that I cut along the length and pounded flat. After a broken drill bit and a bit of cutting I had a very nice ground plate.
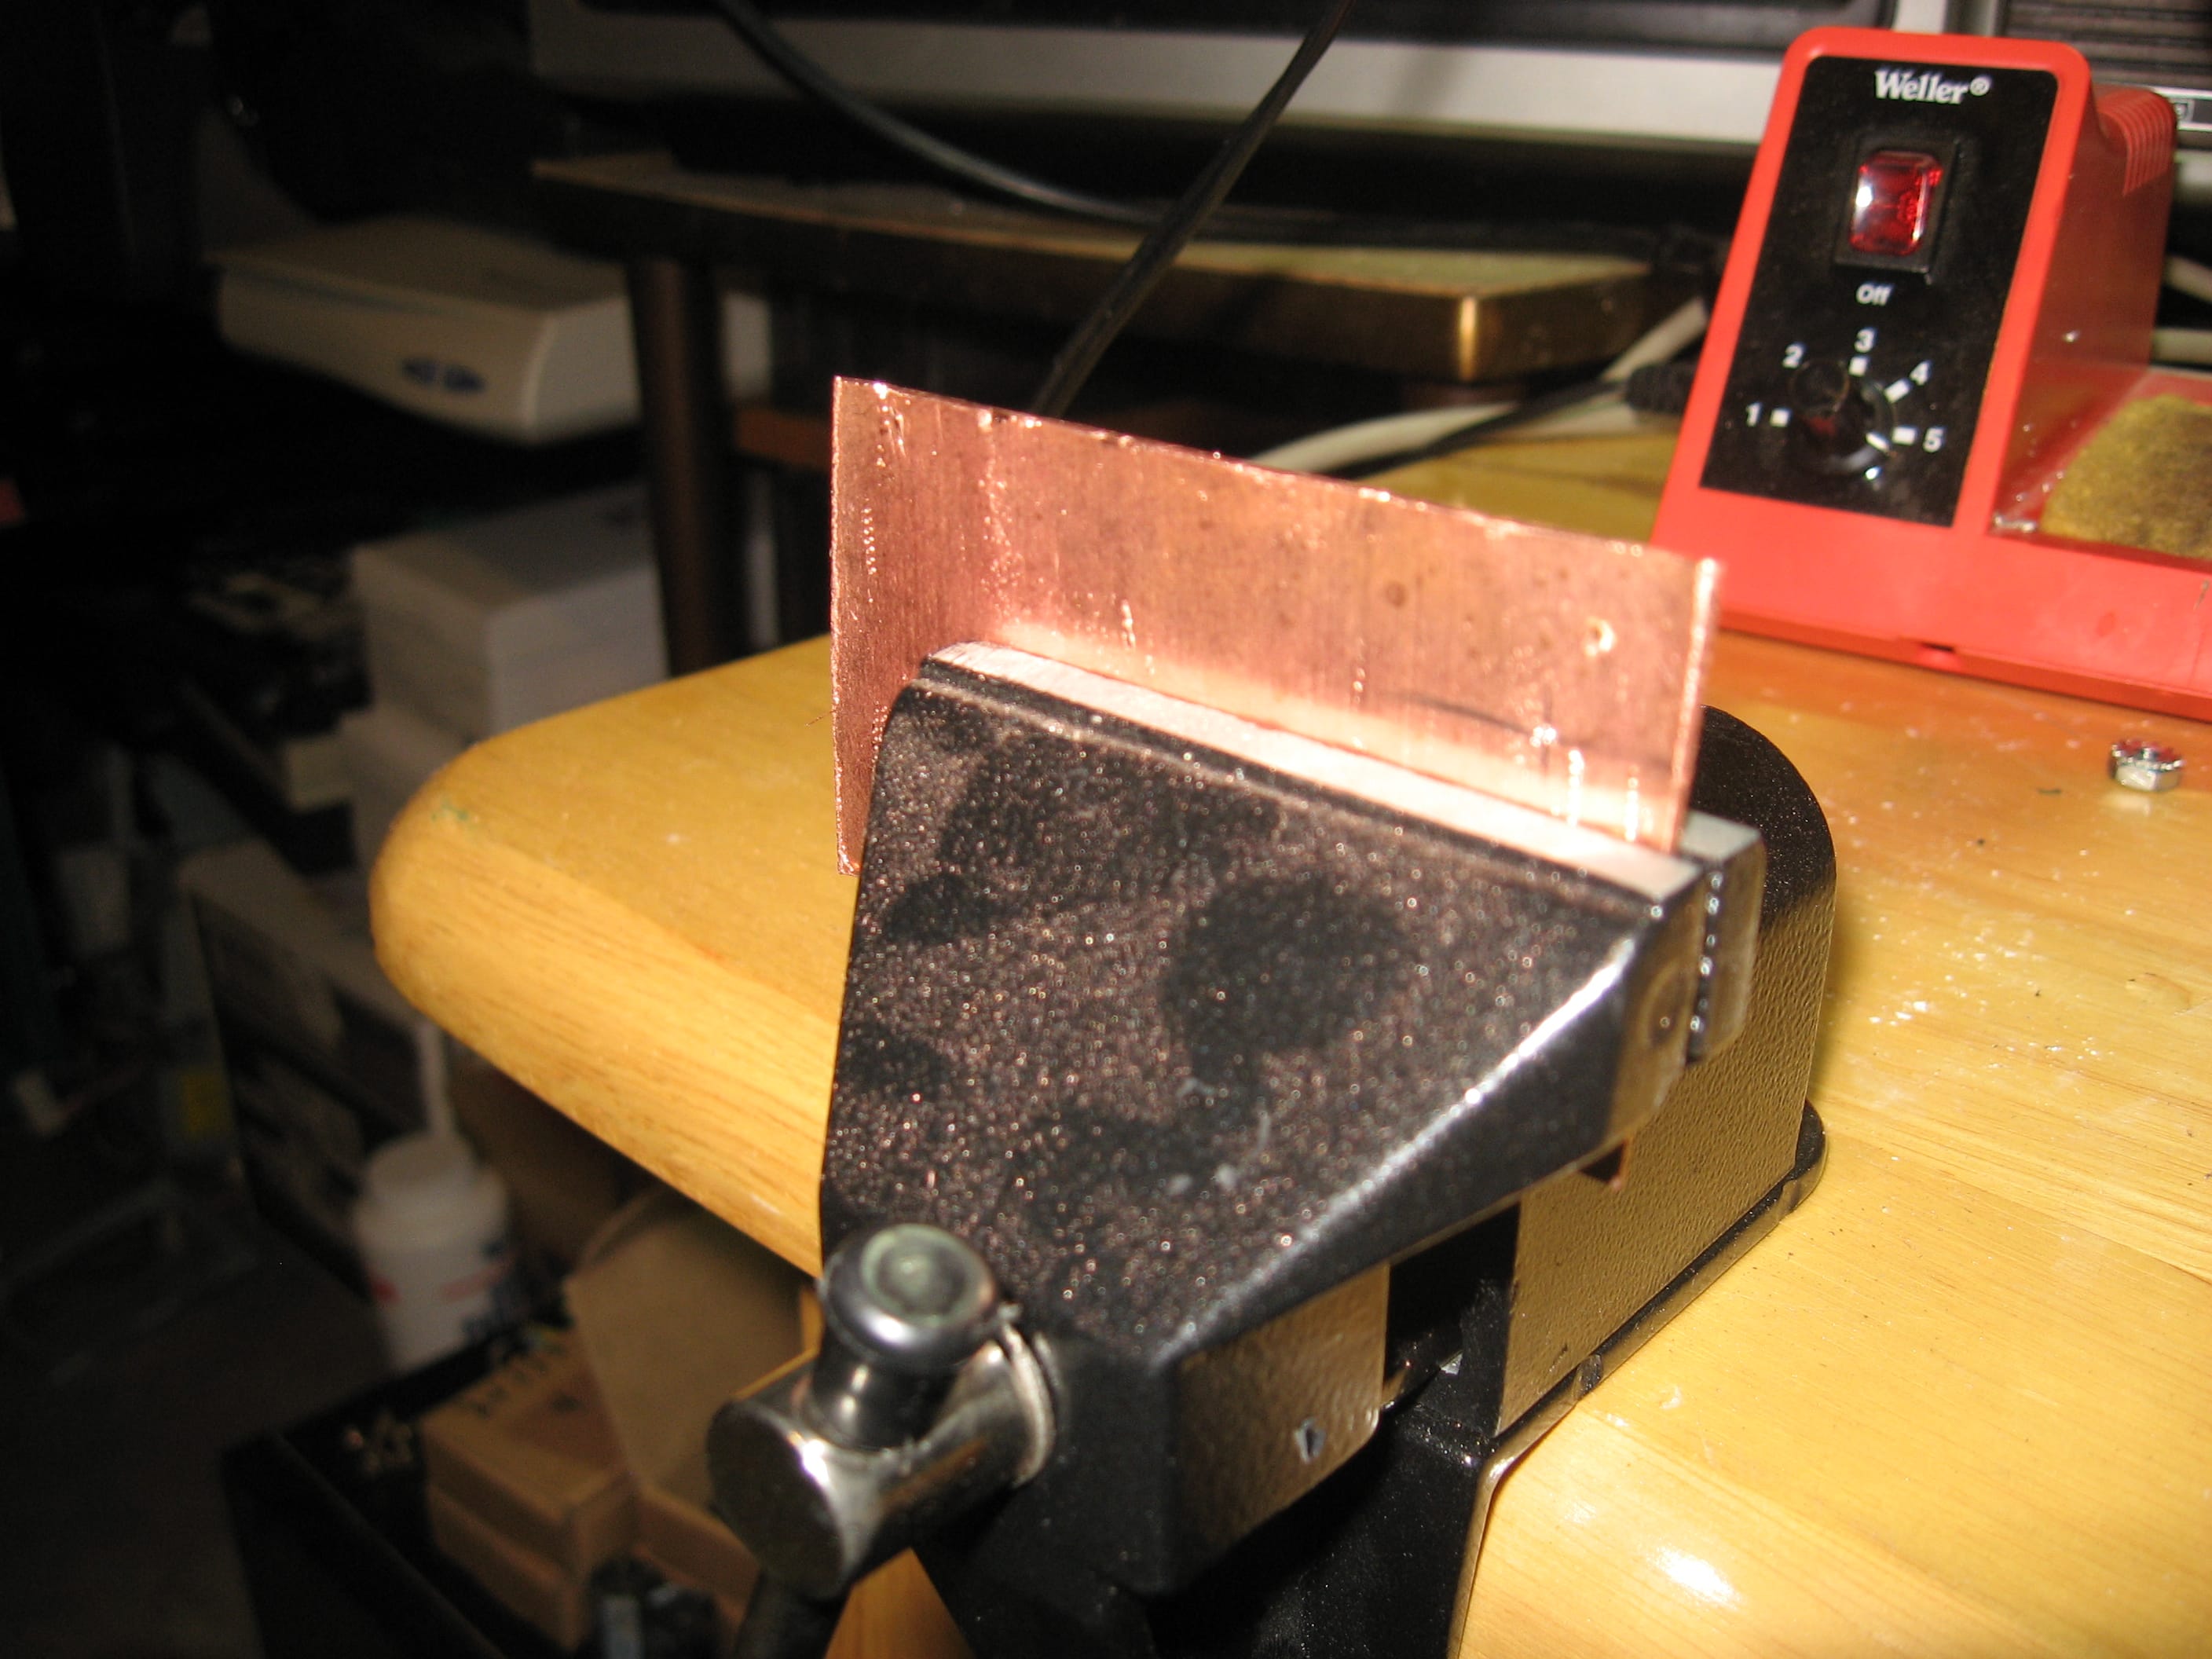
Soldering this proved to be a problem. the soldering iron on max couldn't come close to heating the copper enough. So out comes the blow torch.

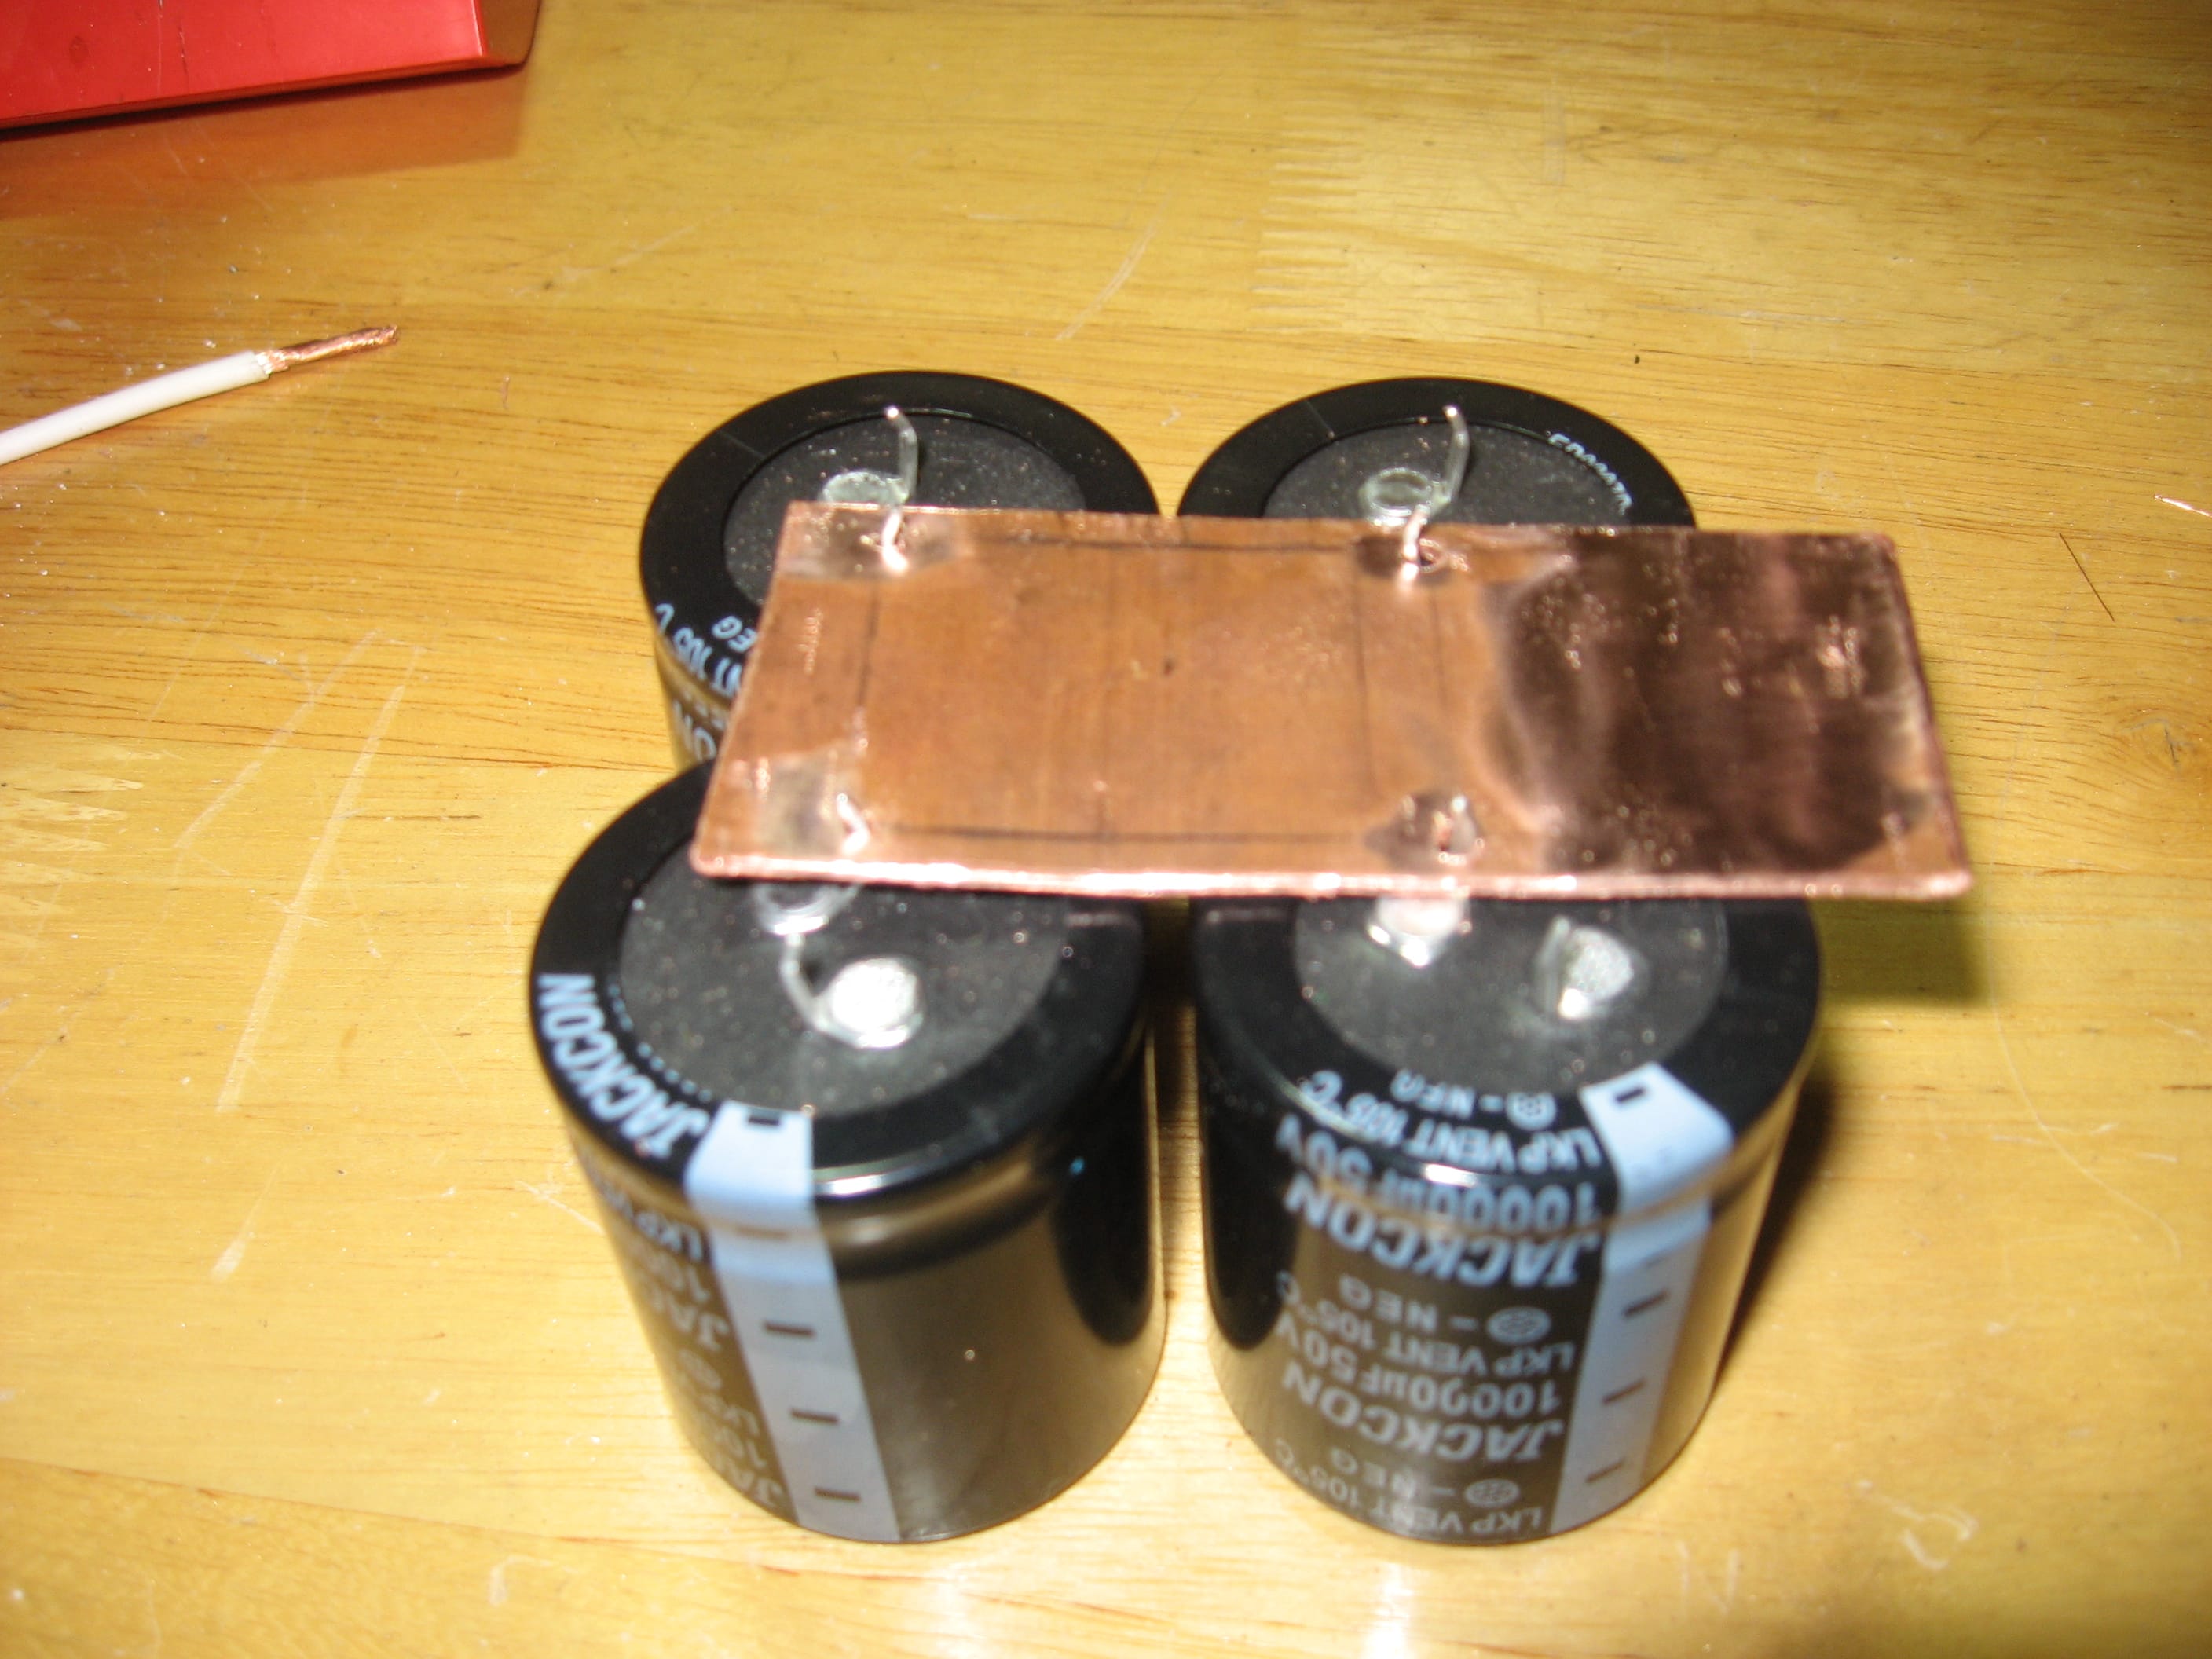
After some trial and error and almost melting the caps I finally got it.
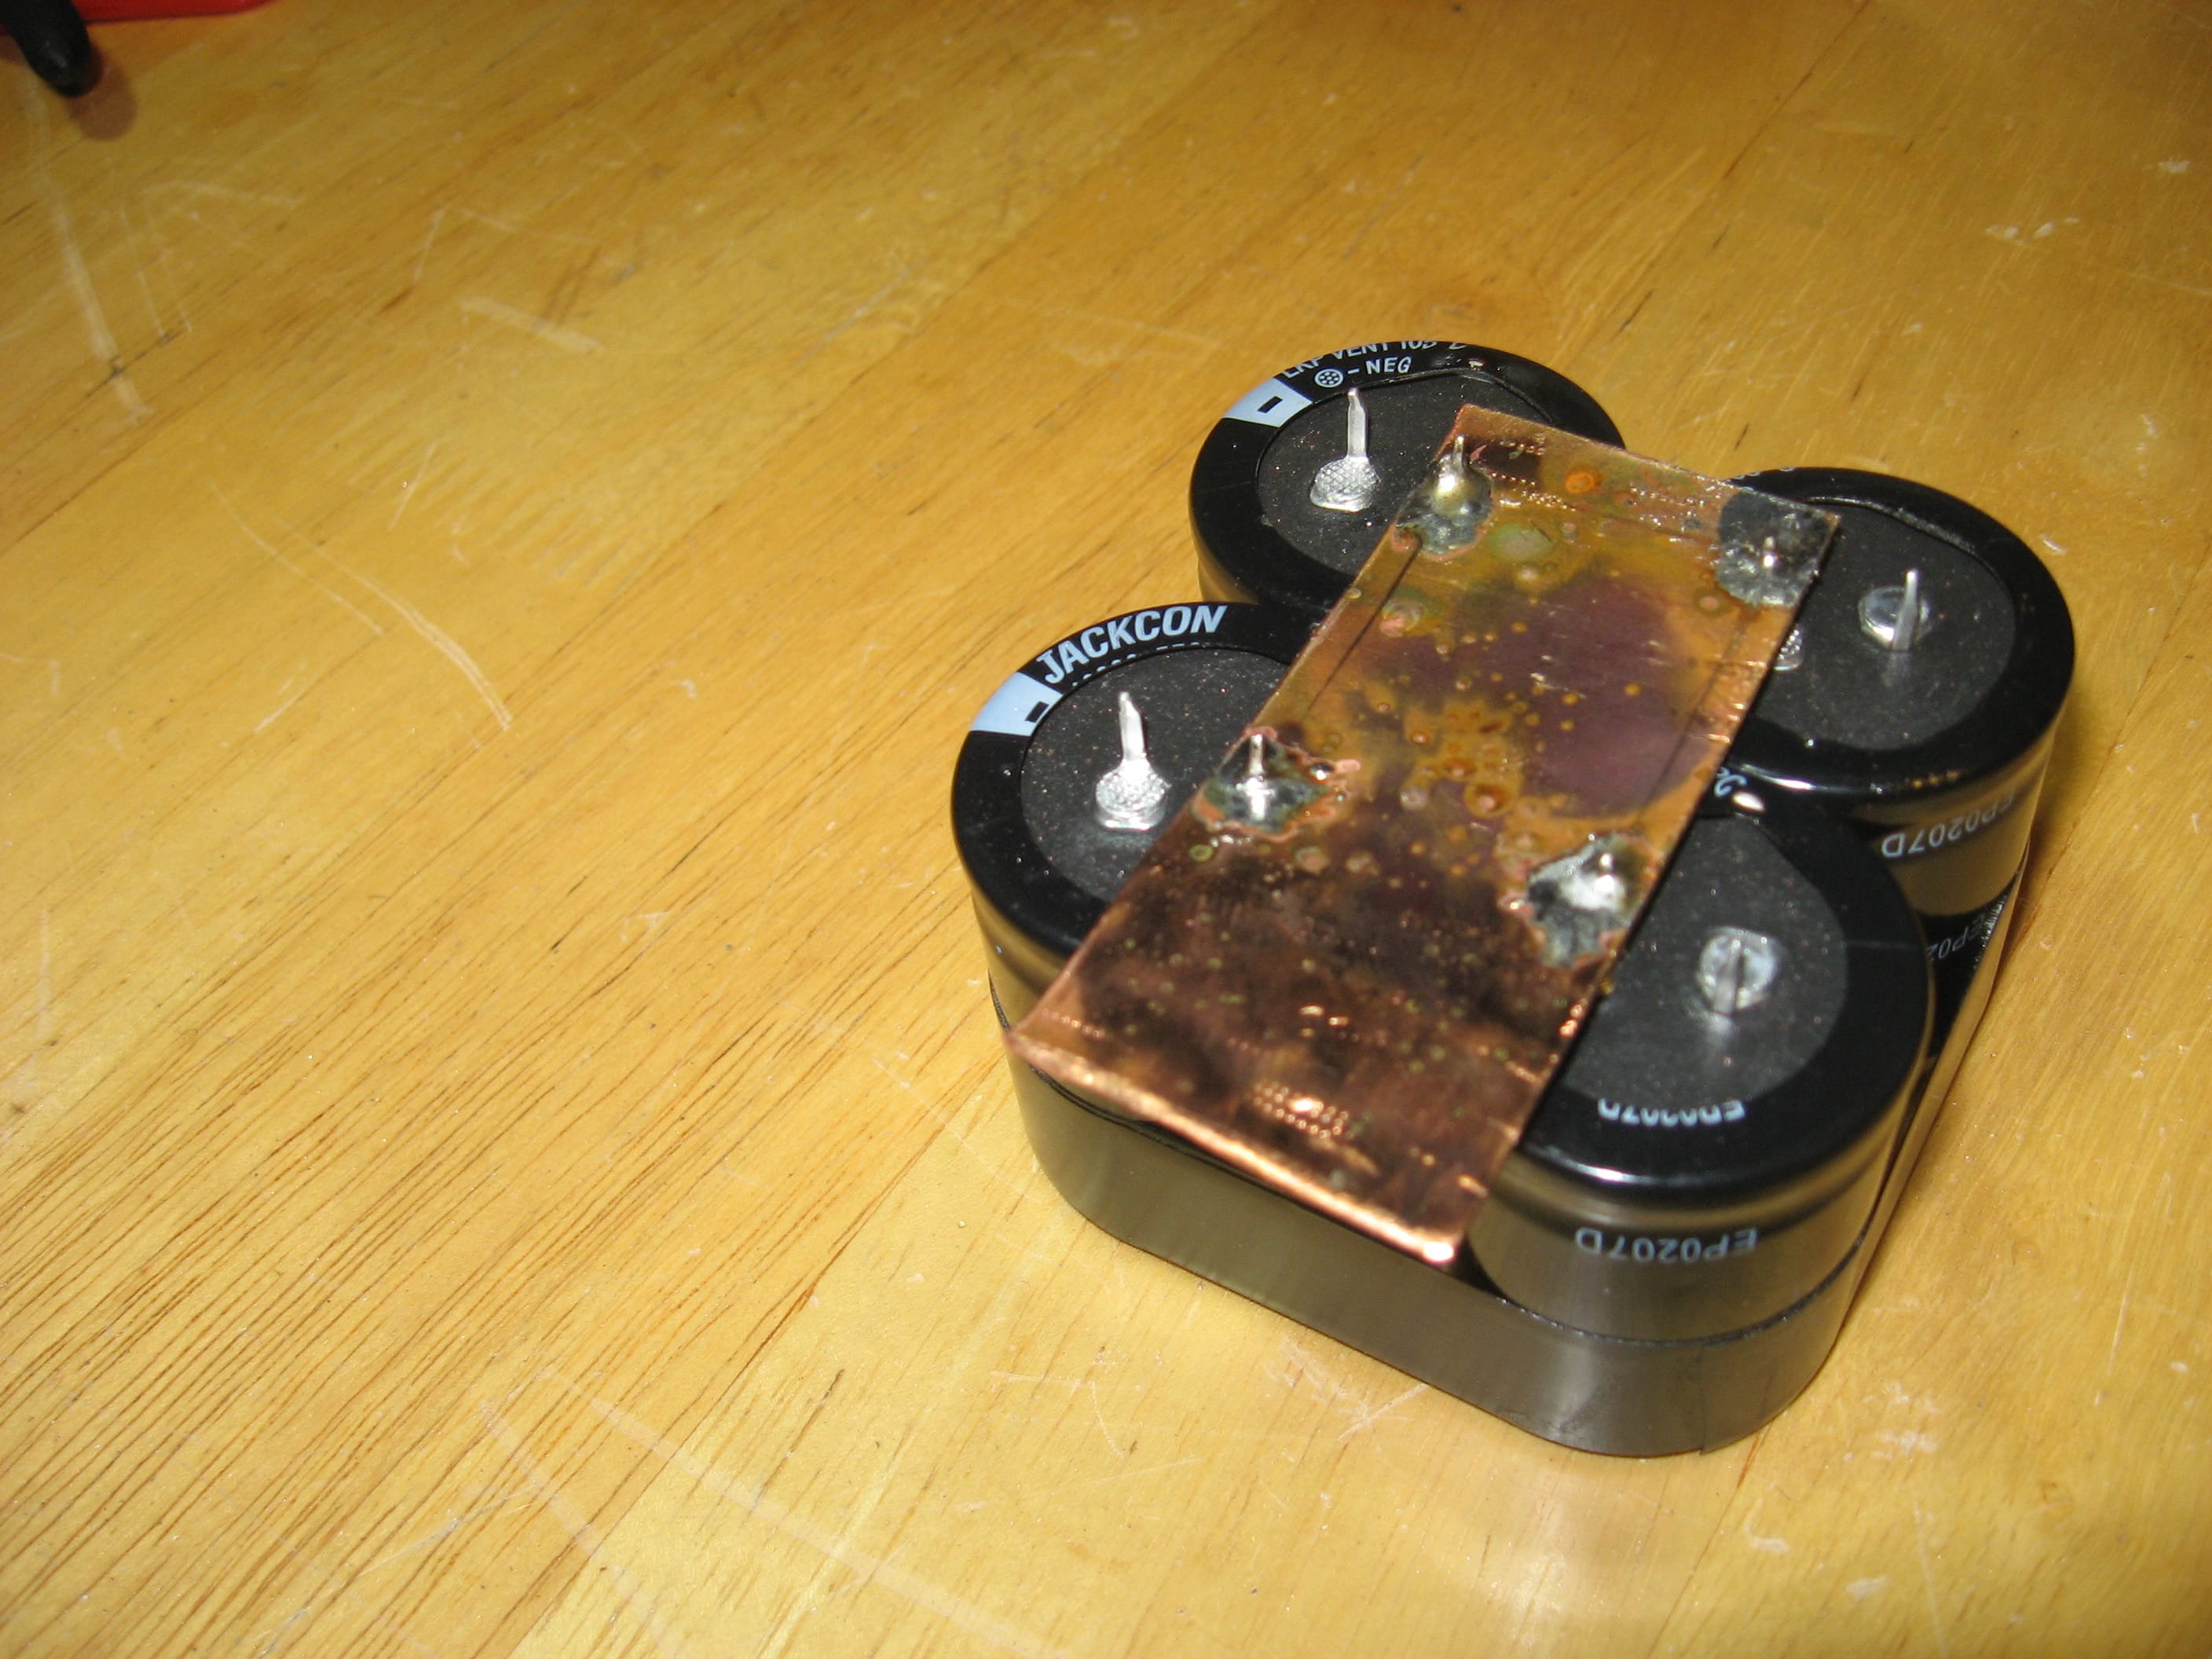
And now we have filtered ±35V.
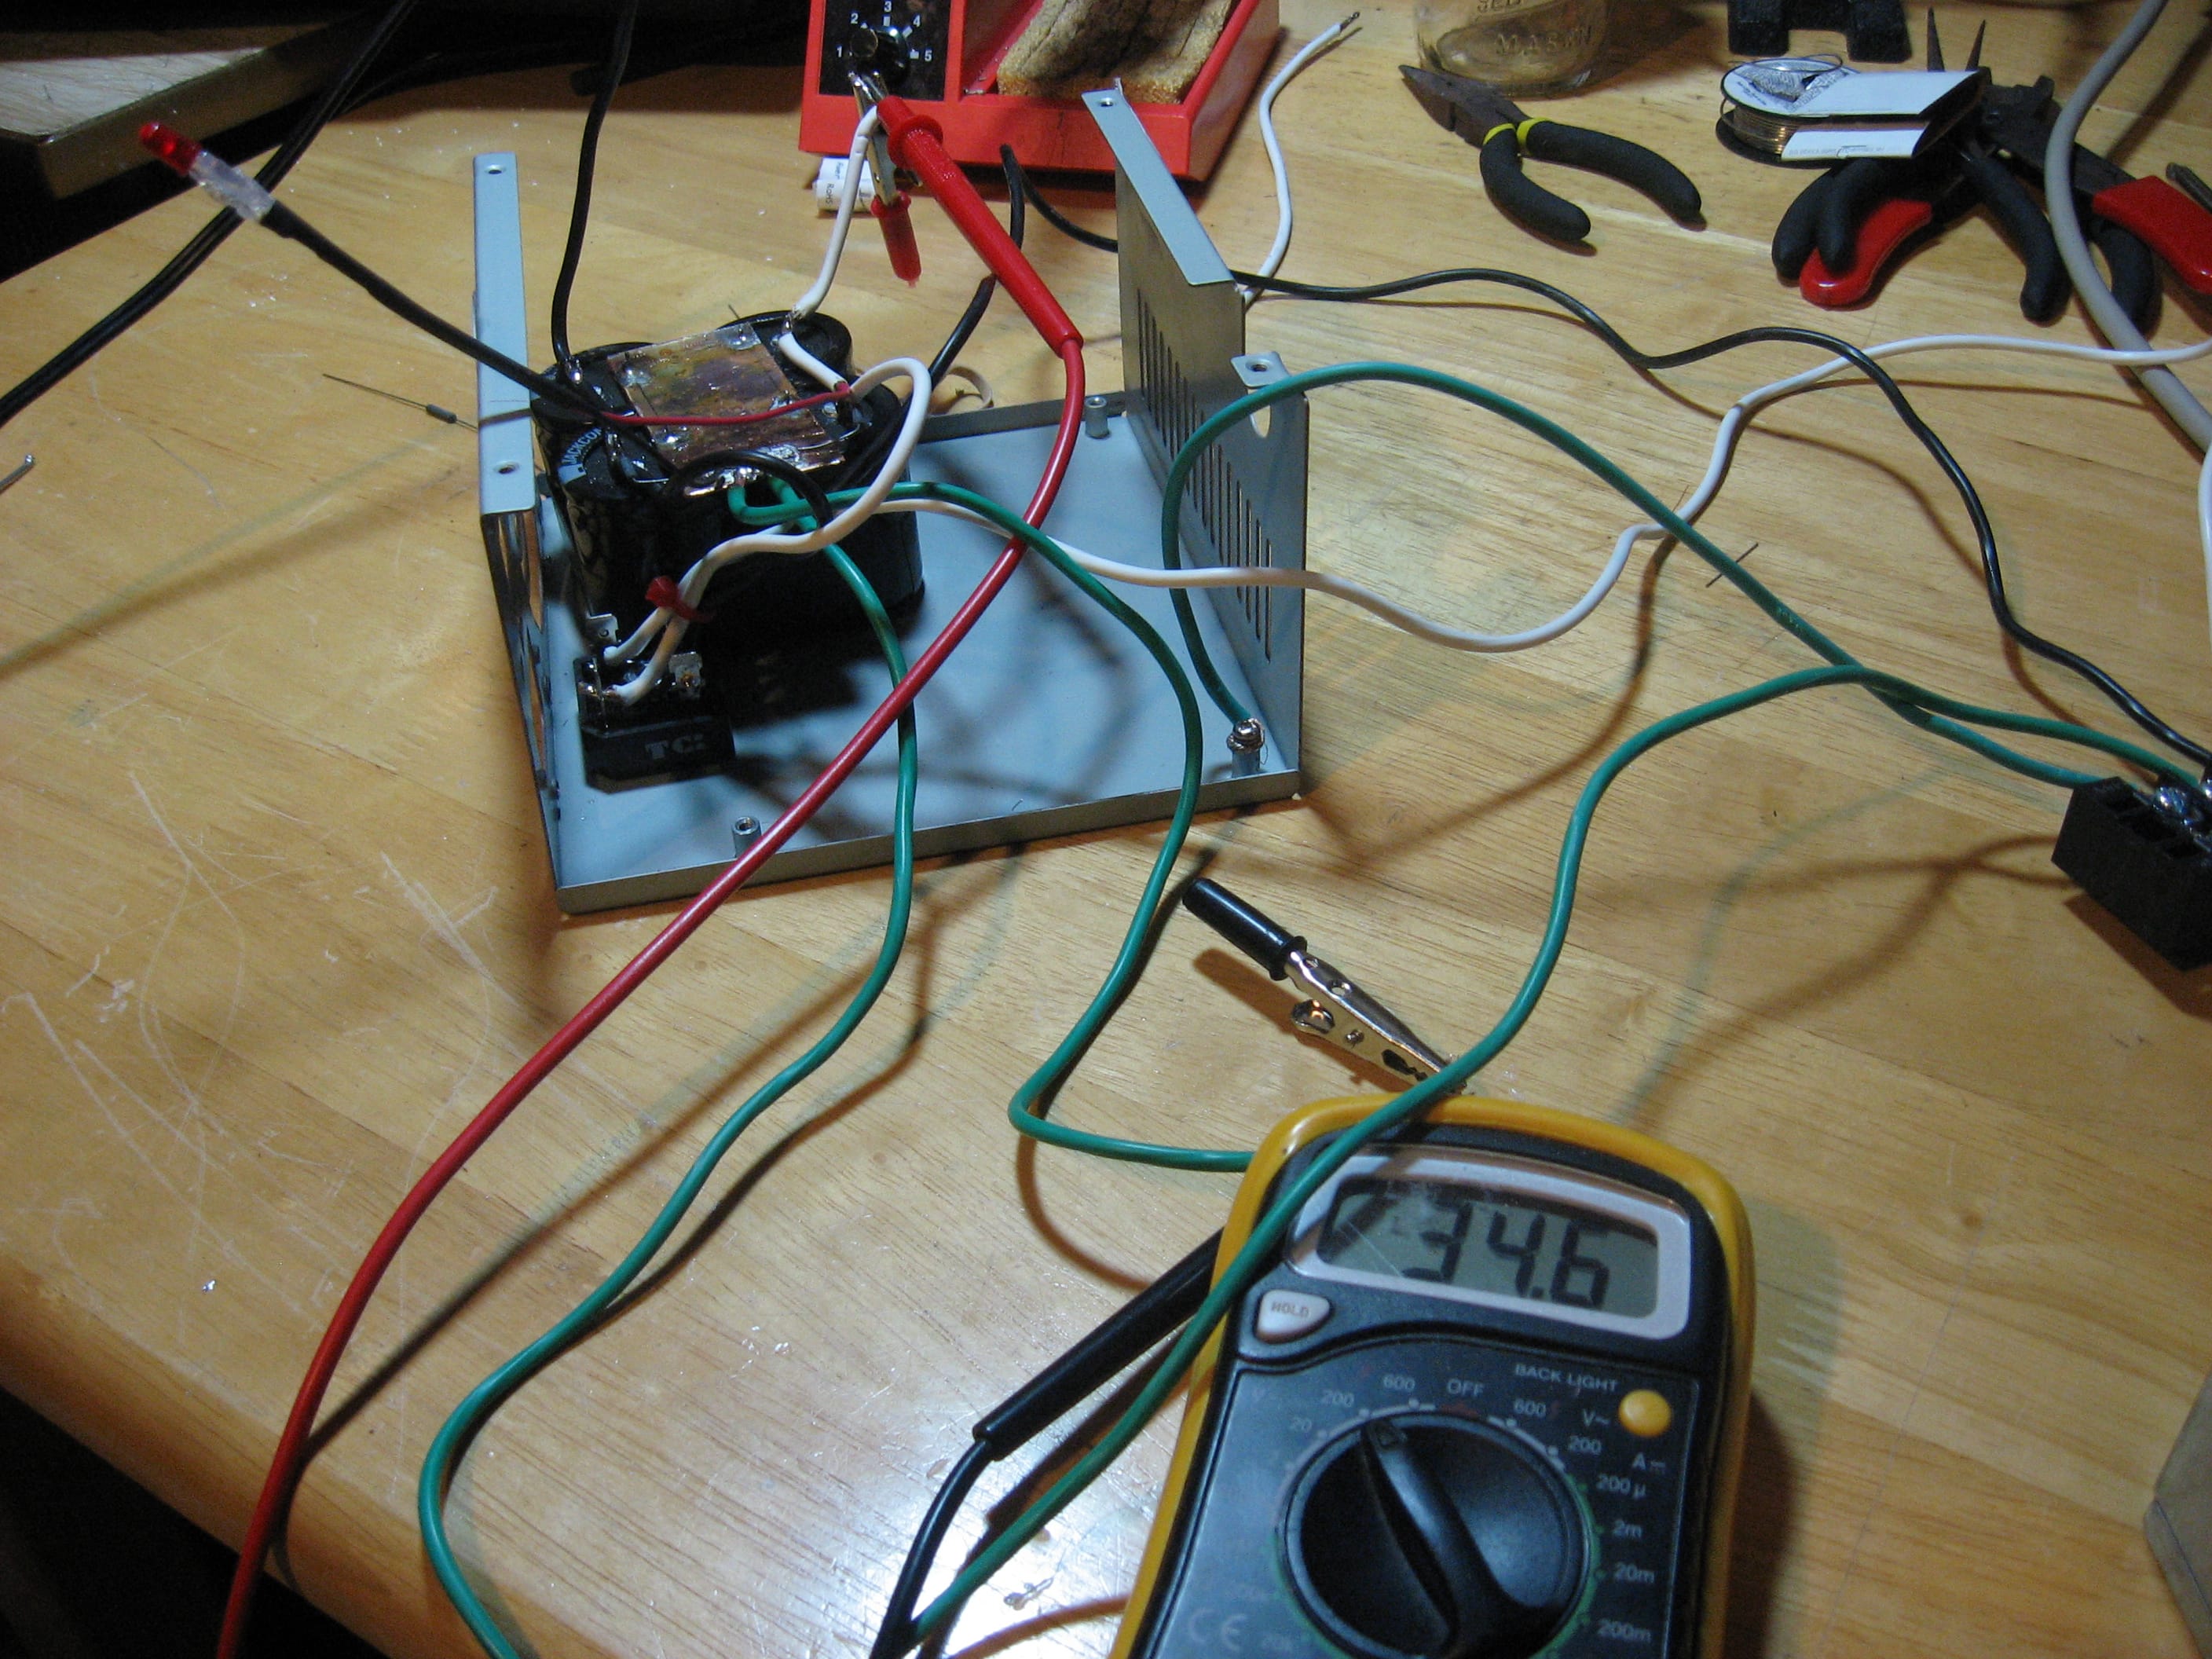
For the ±15V components I decided to make a board using my new circuit board etcher.
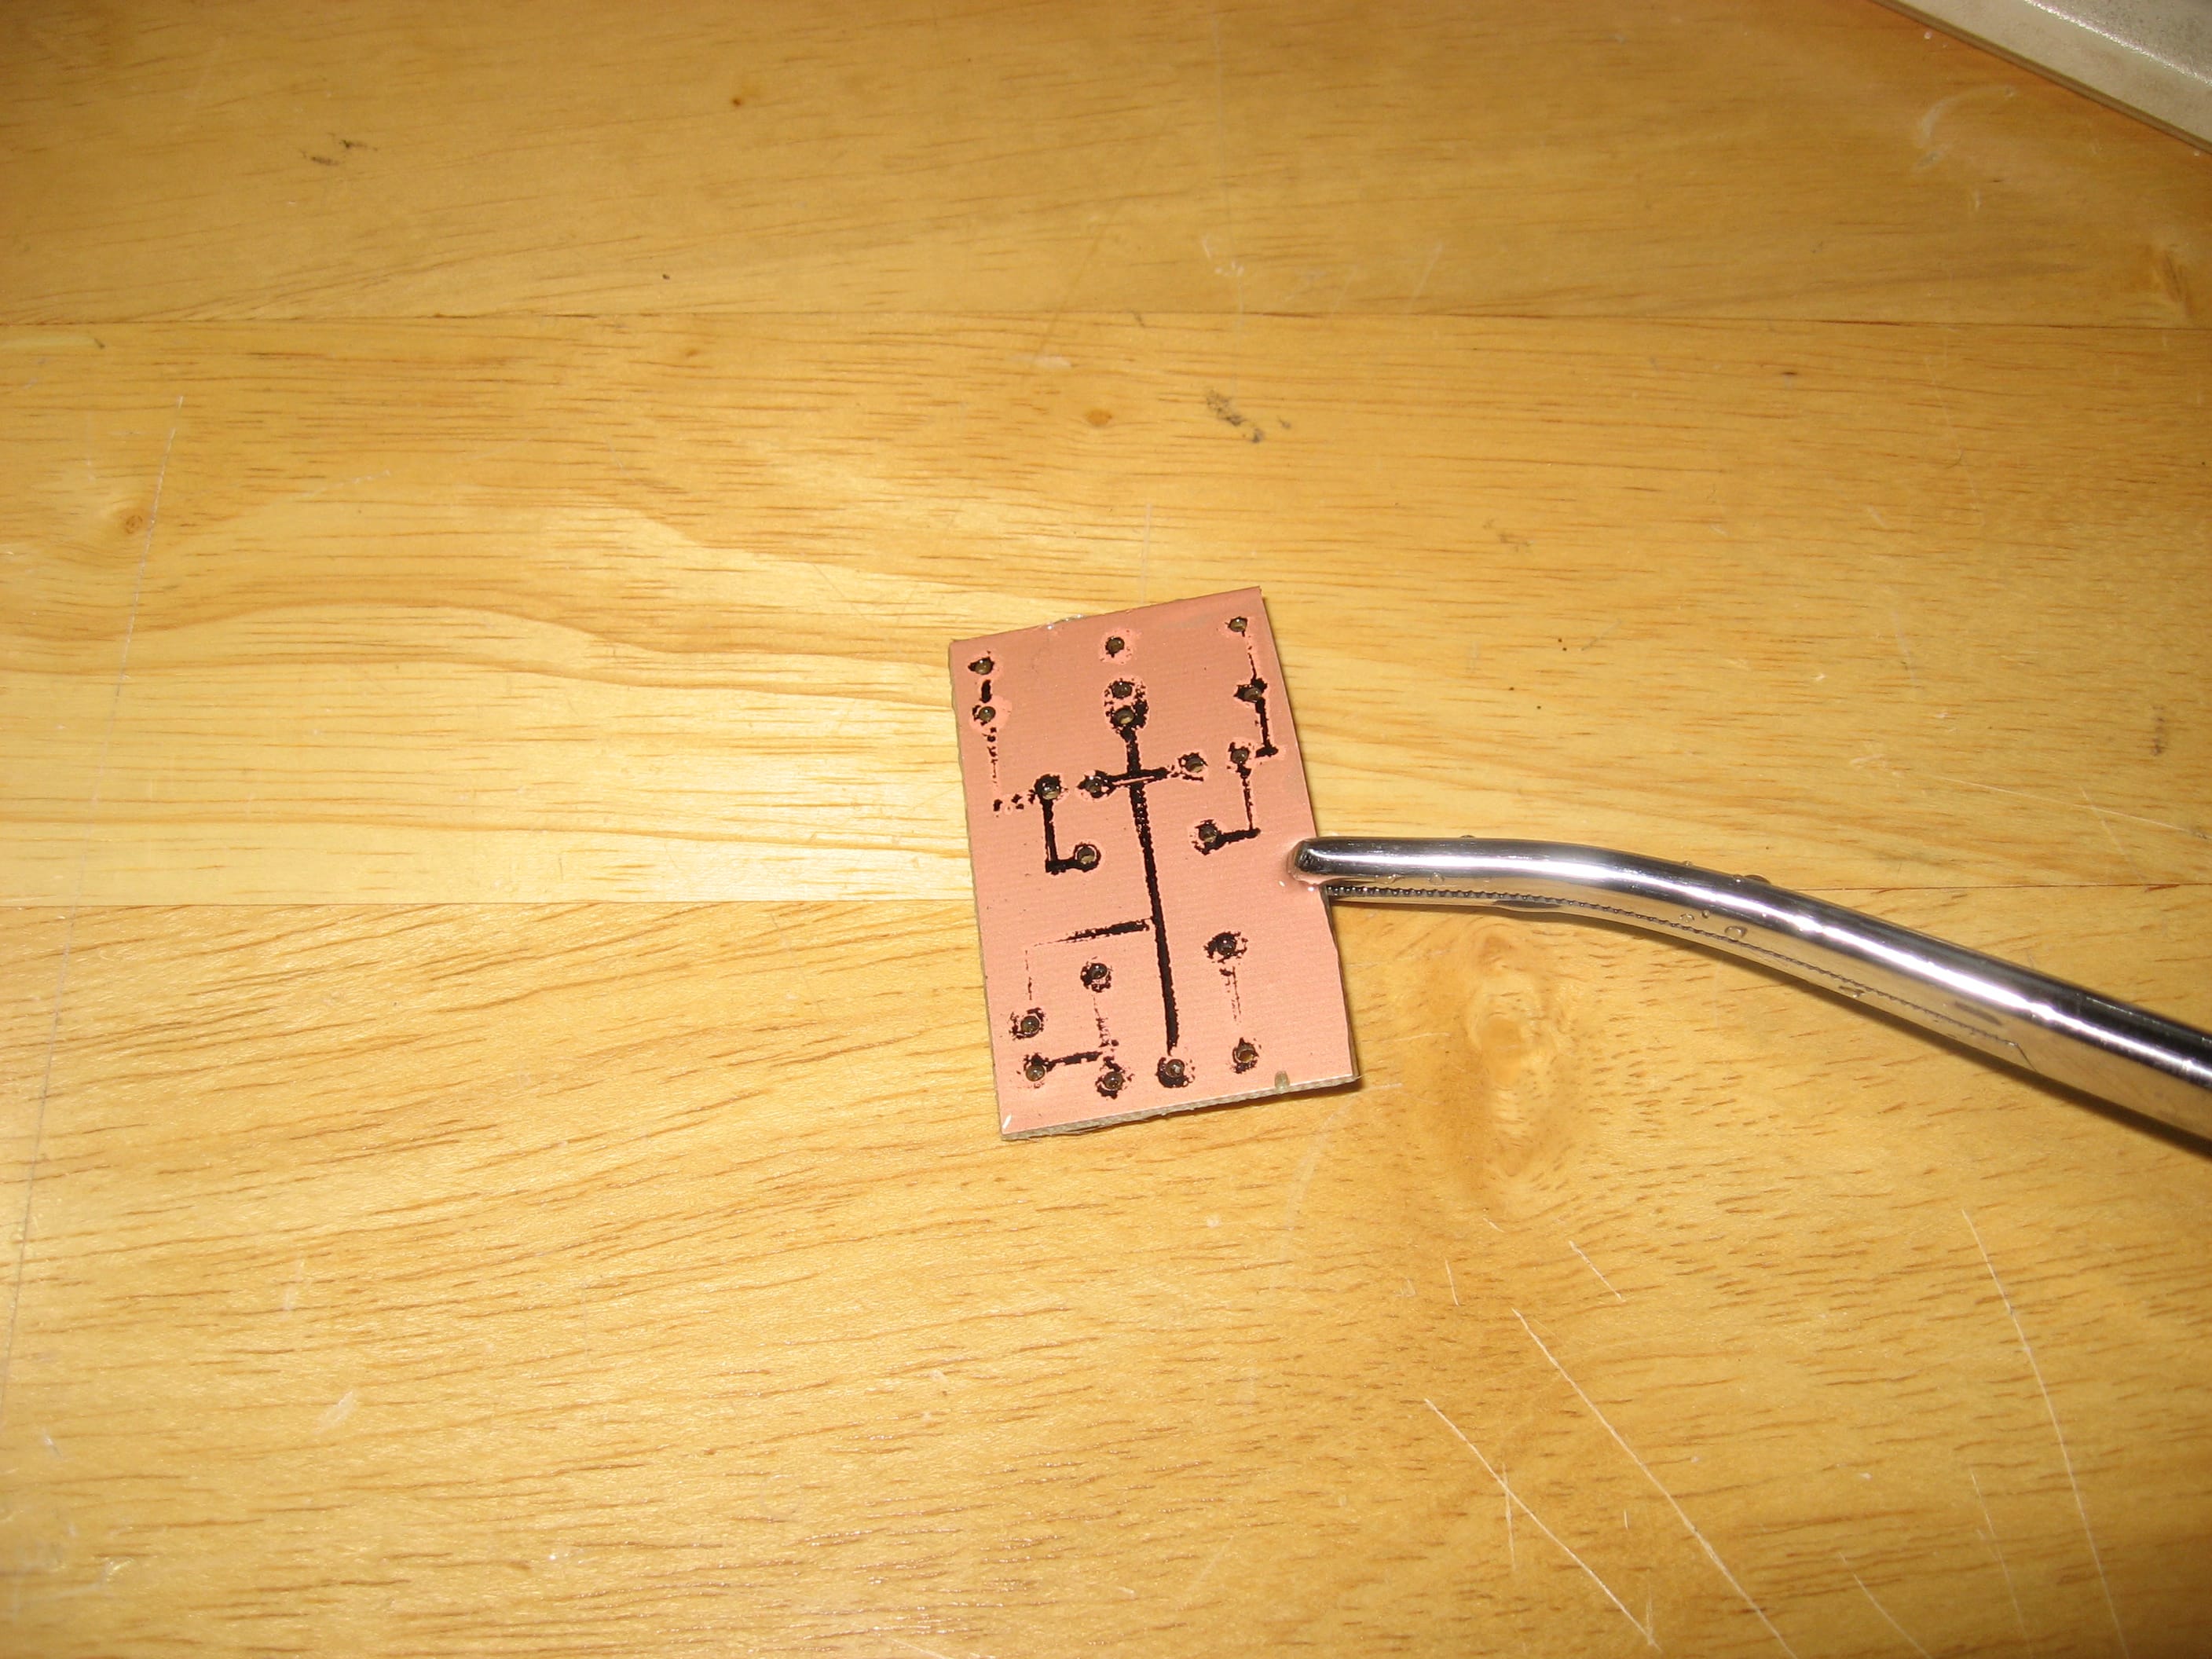
I cut a small piece of board, marked where the holes should be, sketched the traces and drilled the holes.

According to the instructions that came with my etcher all I needed to do was draw the traces with an etch resistant pen (Sharpee) and put it in the etcher for about 10 minutes. This is the result.s
I tried it again making the traces darker and thicker. That worked a little better but the board still came out useless. Finally I just ground pits in the copper to seperate the traces. This worked fine for the power supply but the large chunks of copper on the board cause capacitance which can disturb the characteristics of the amplifier design so I'll need to find a different etch resist.
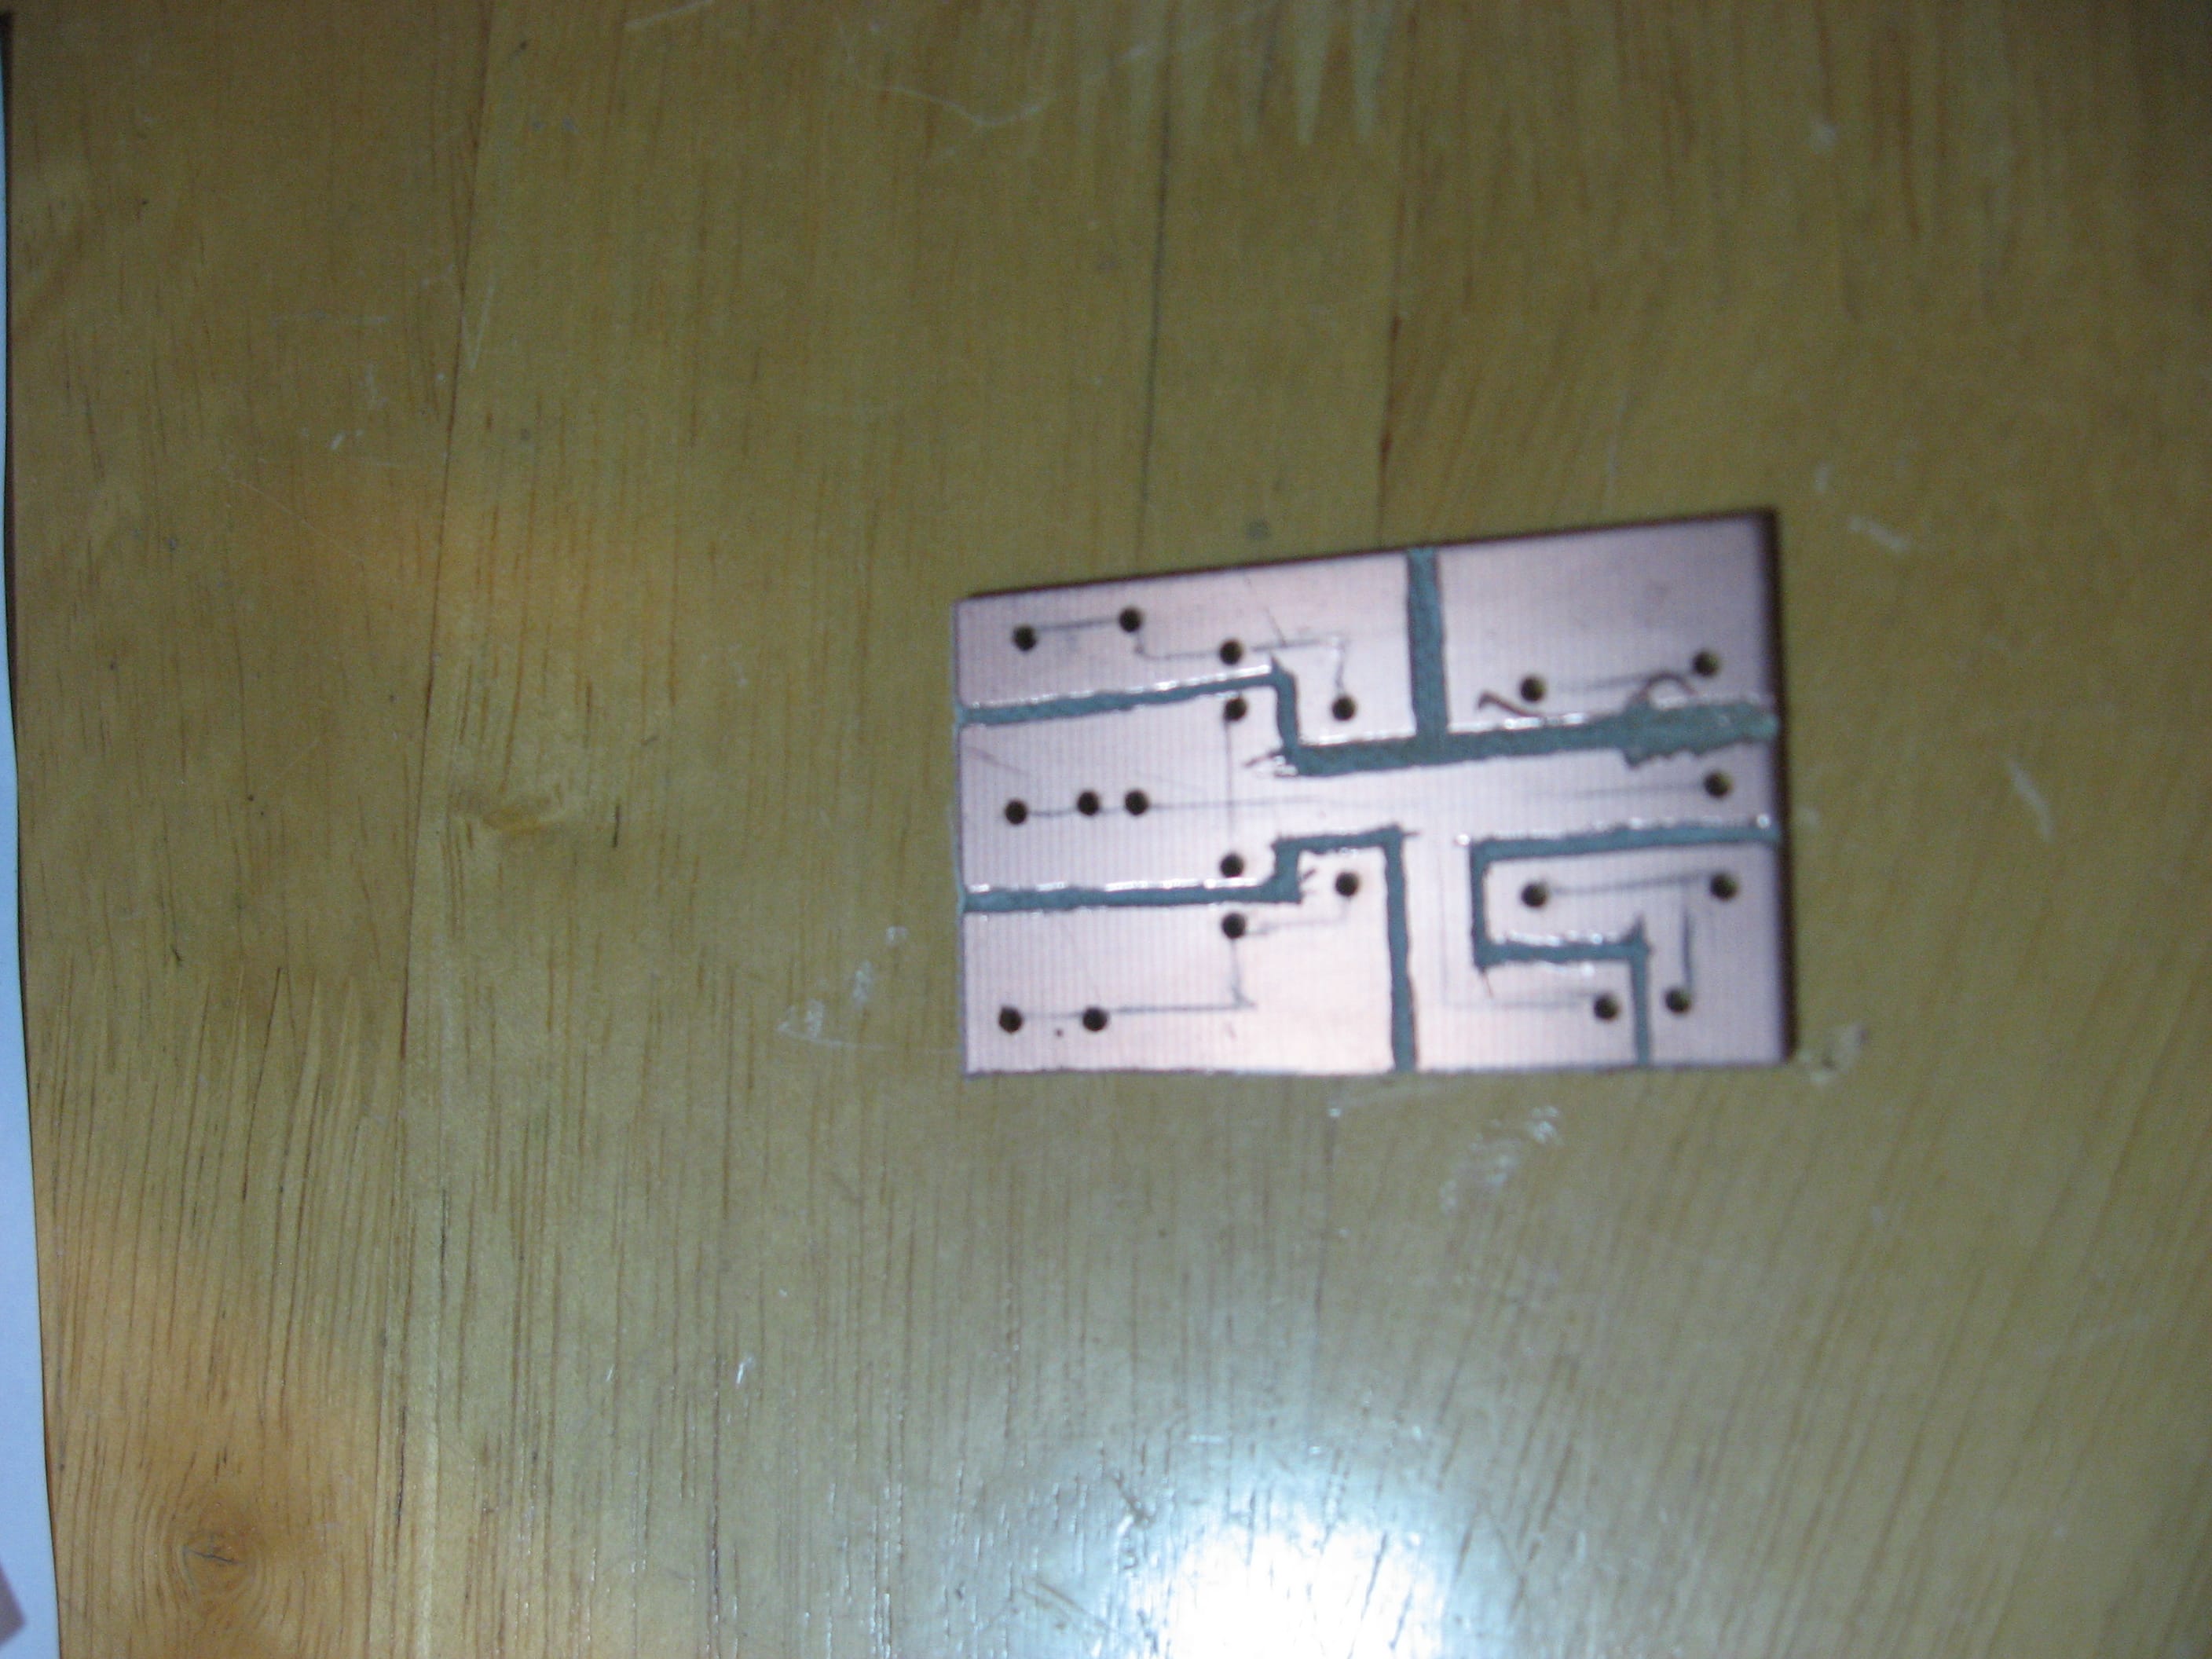
Overall it turned out OK.
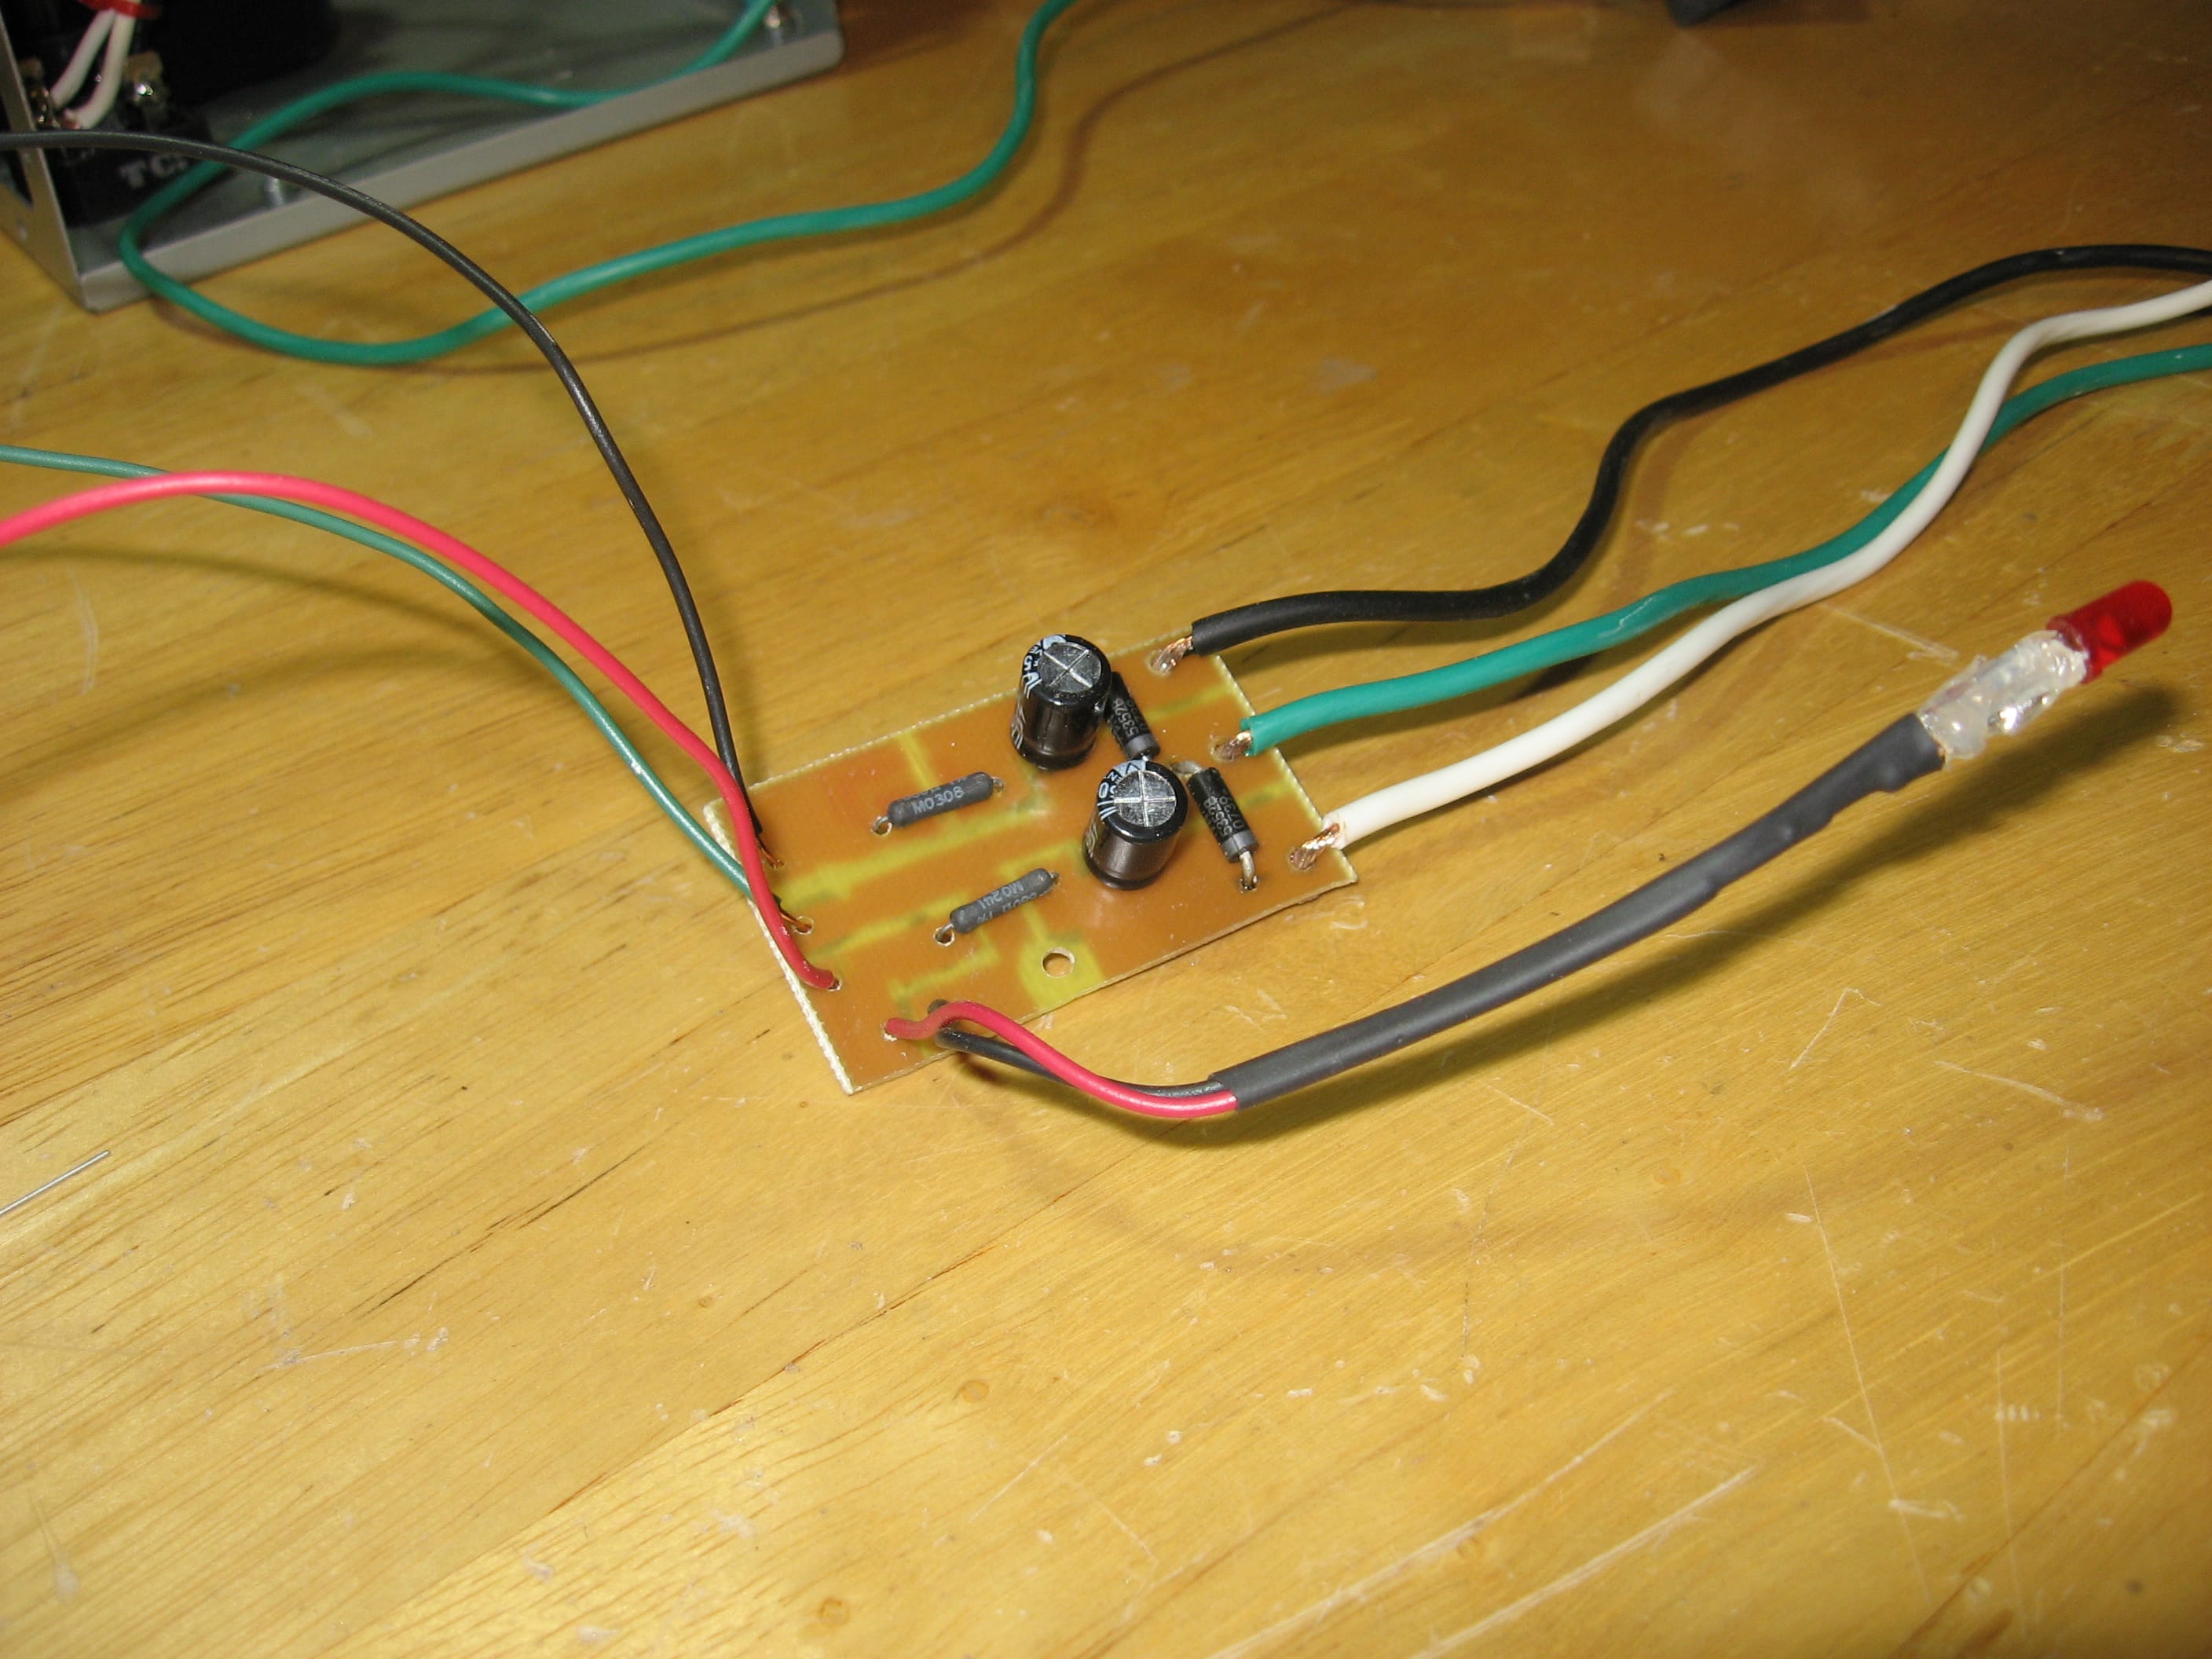
Soldering was difficult because the smallest drill bit I had was about twice as big as needed and I put the diodes in backwards.

Now for the test.
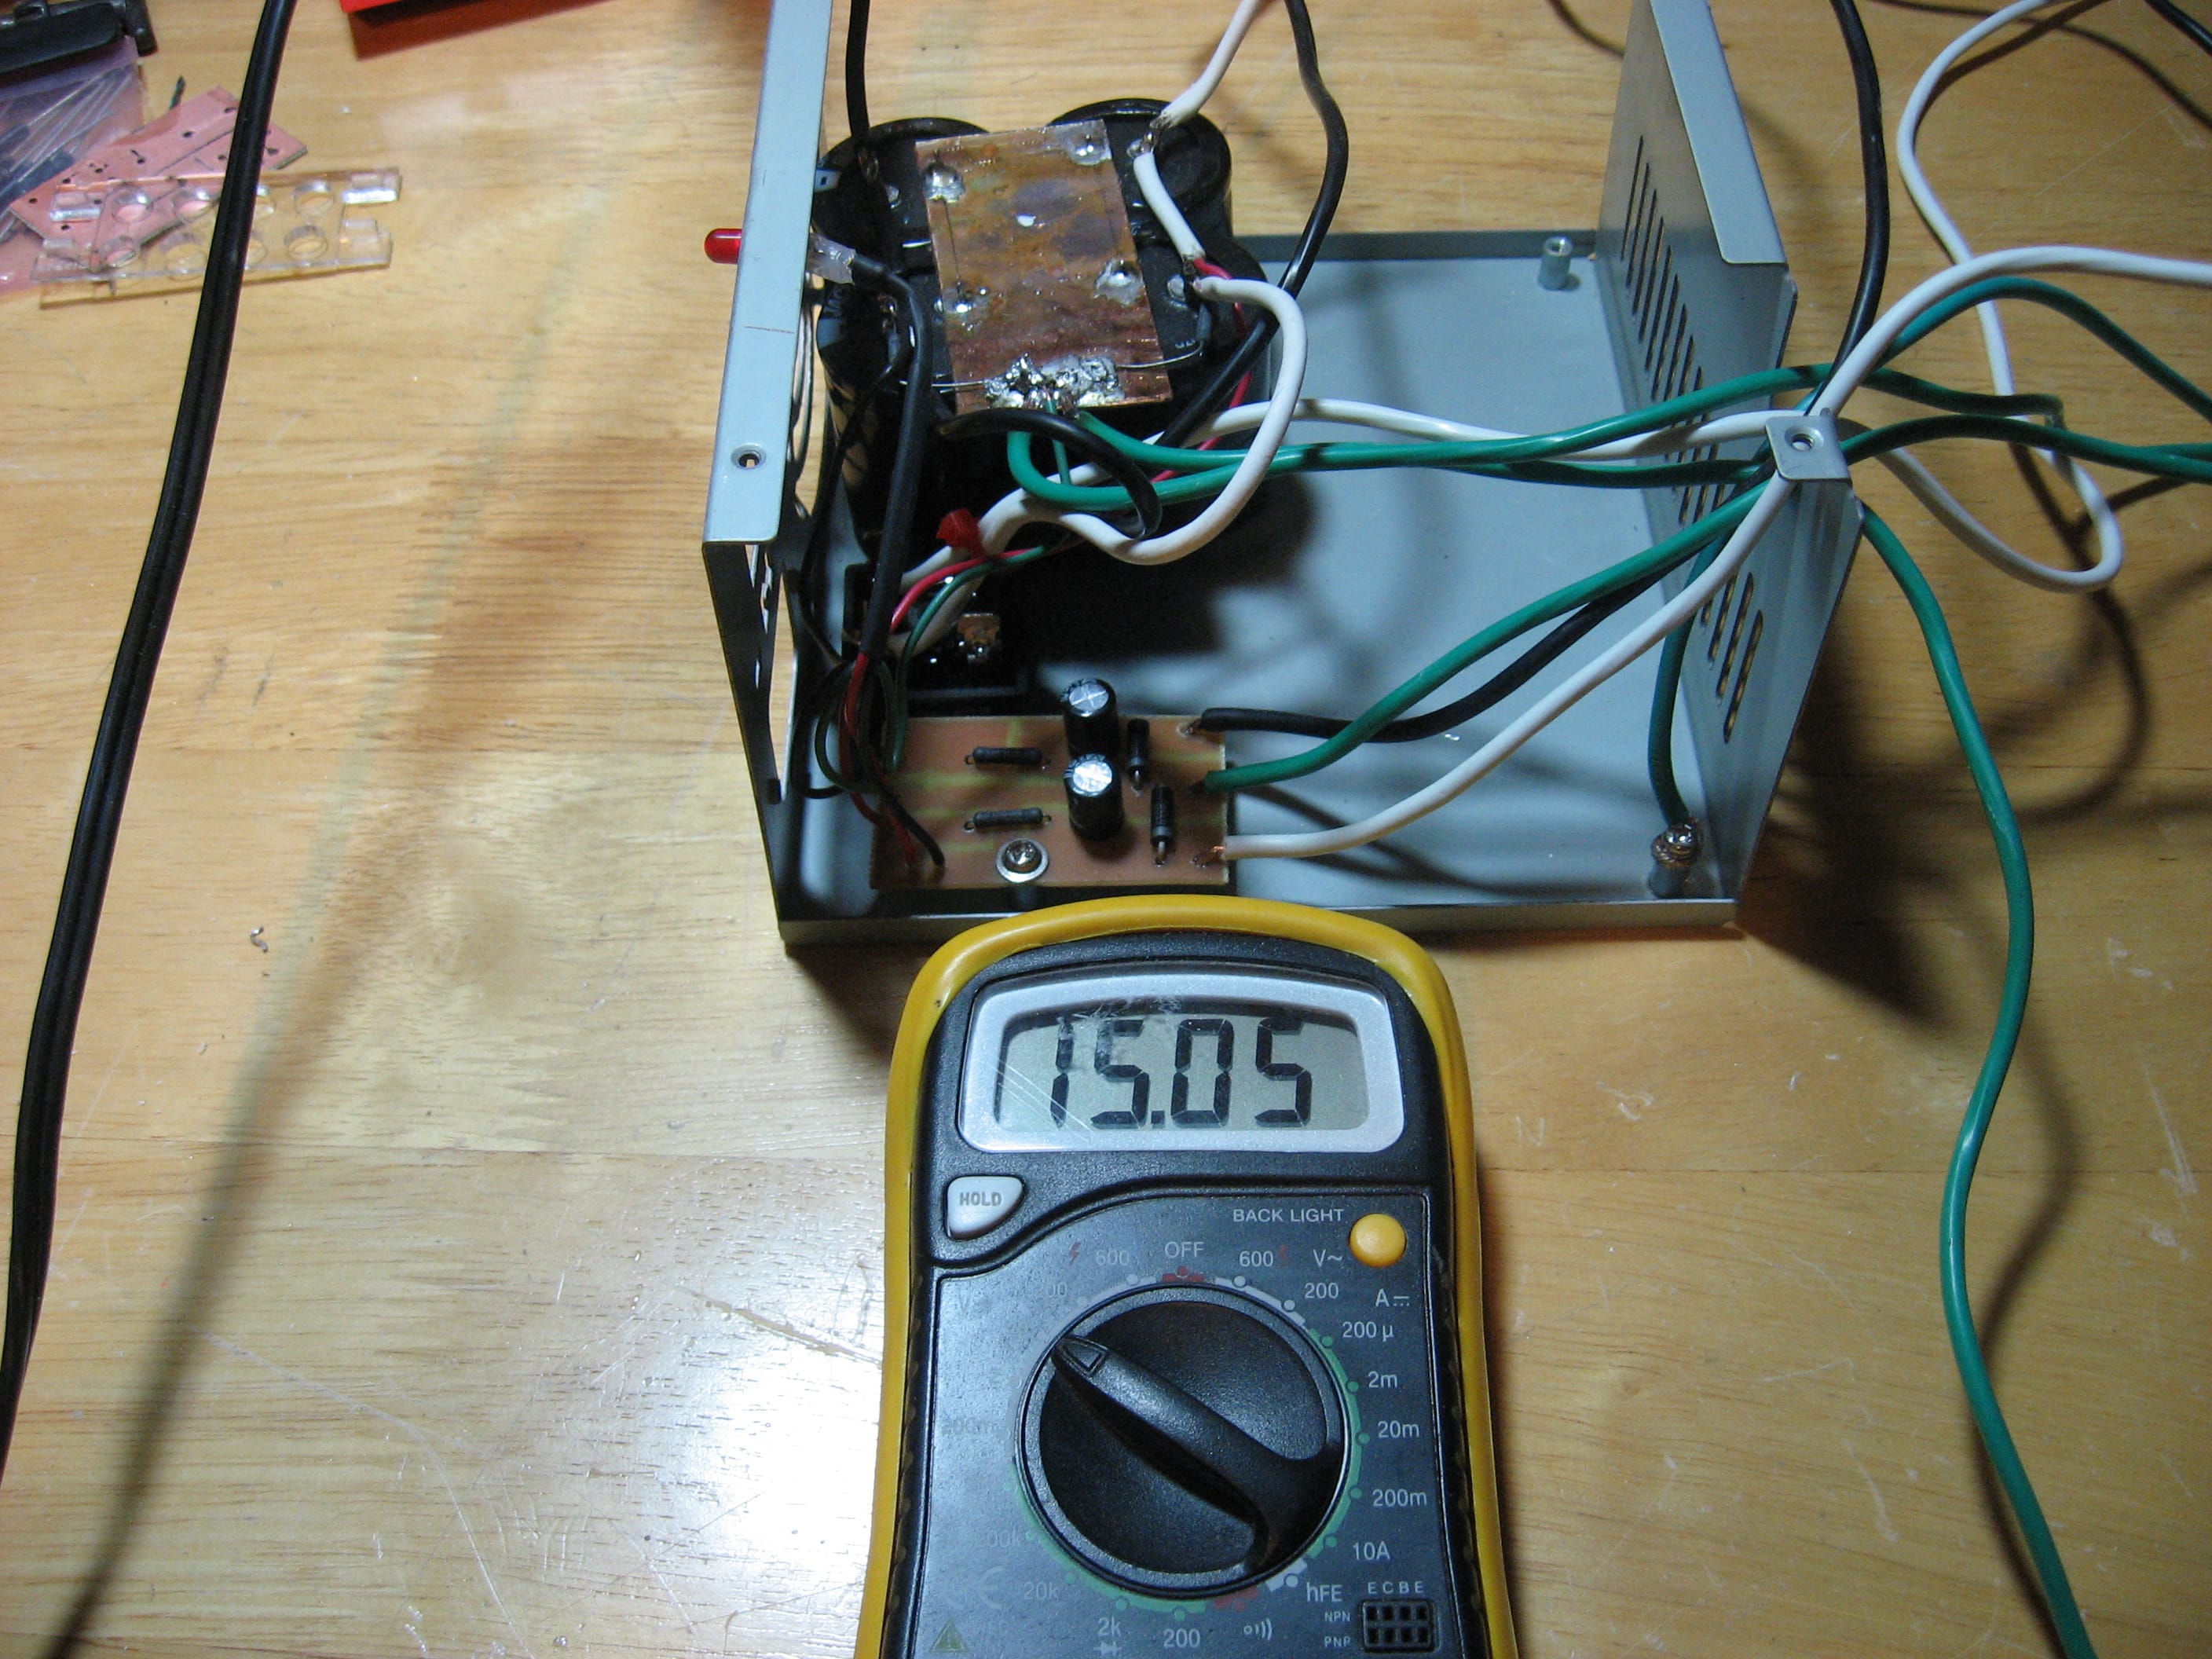
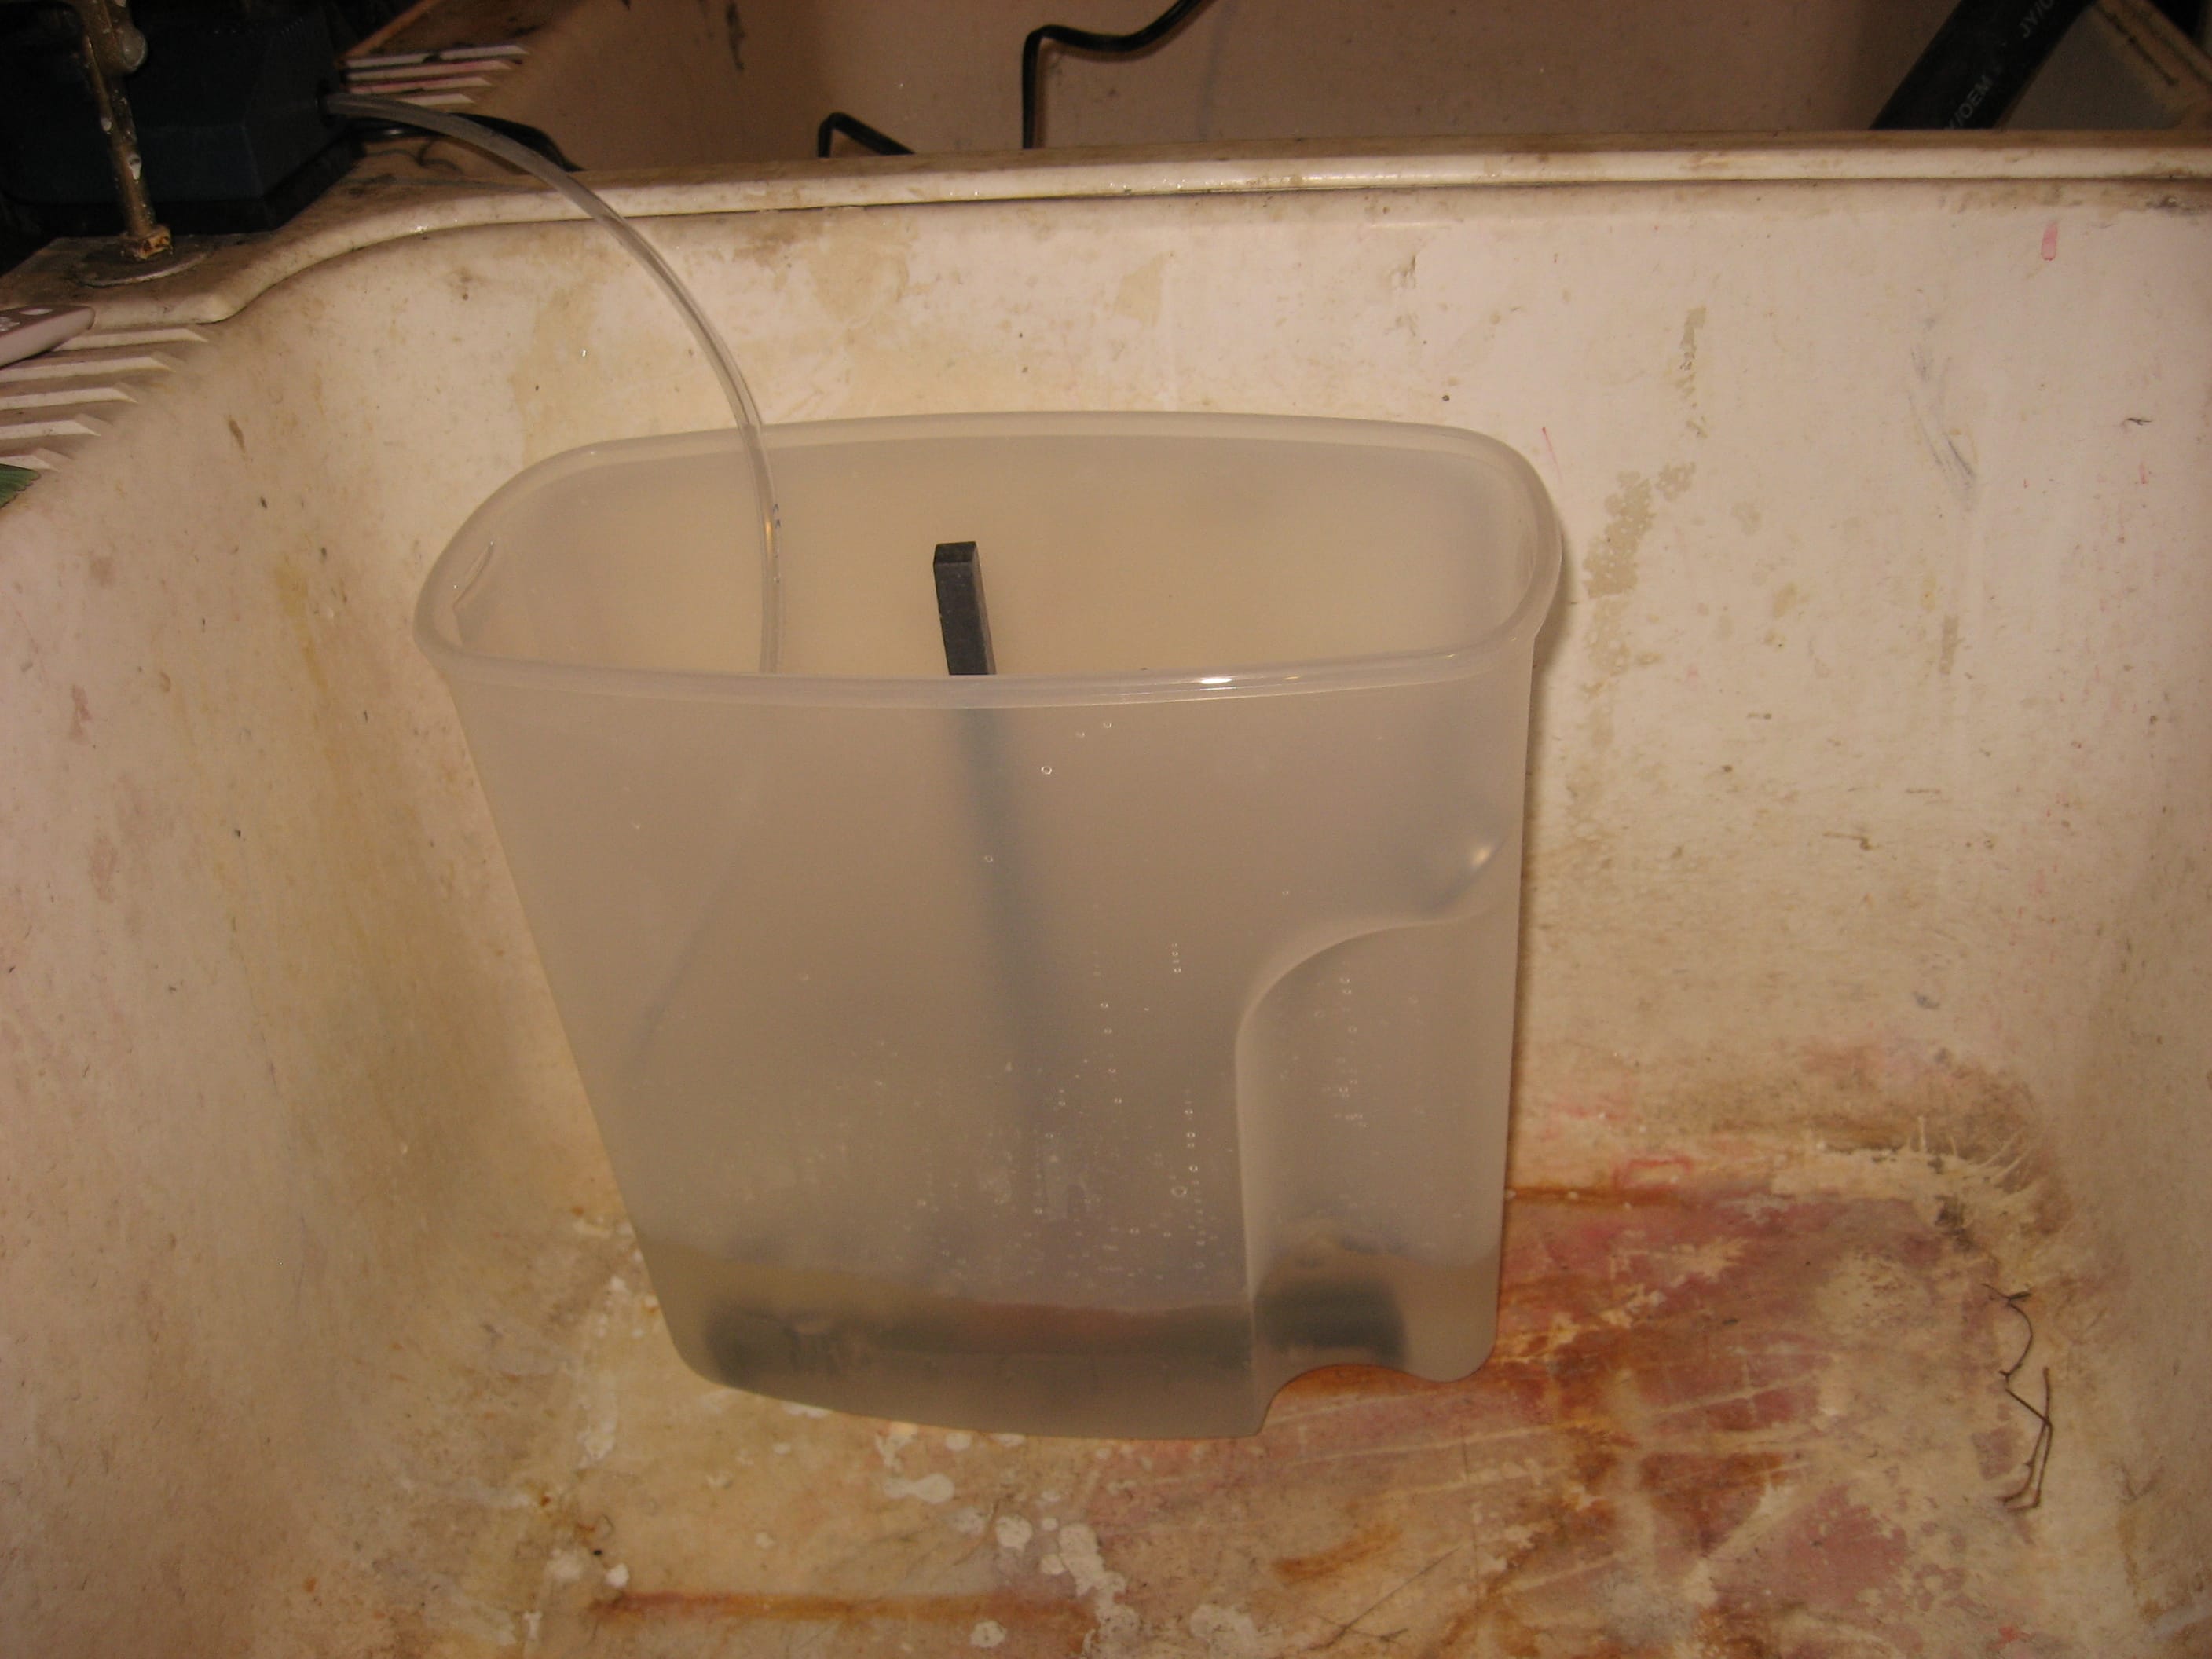
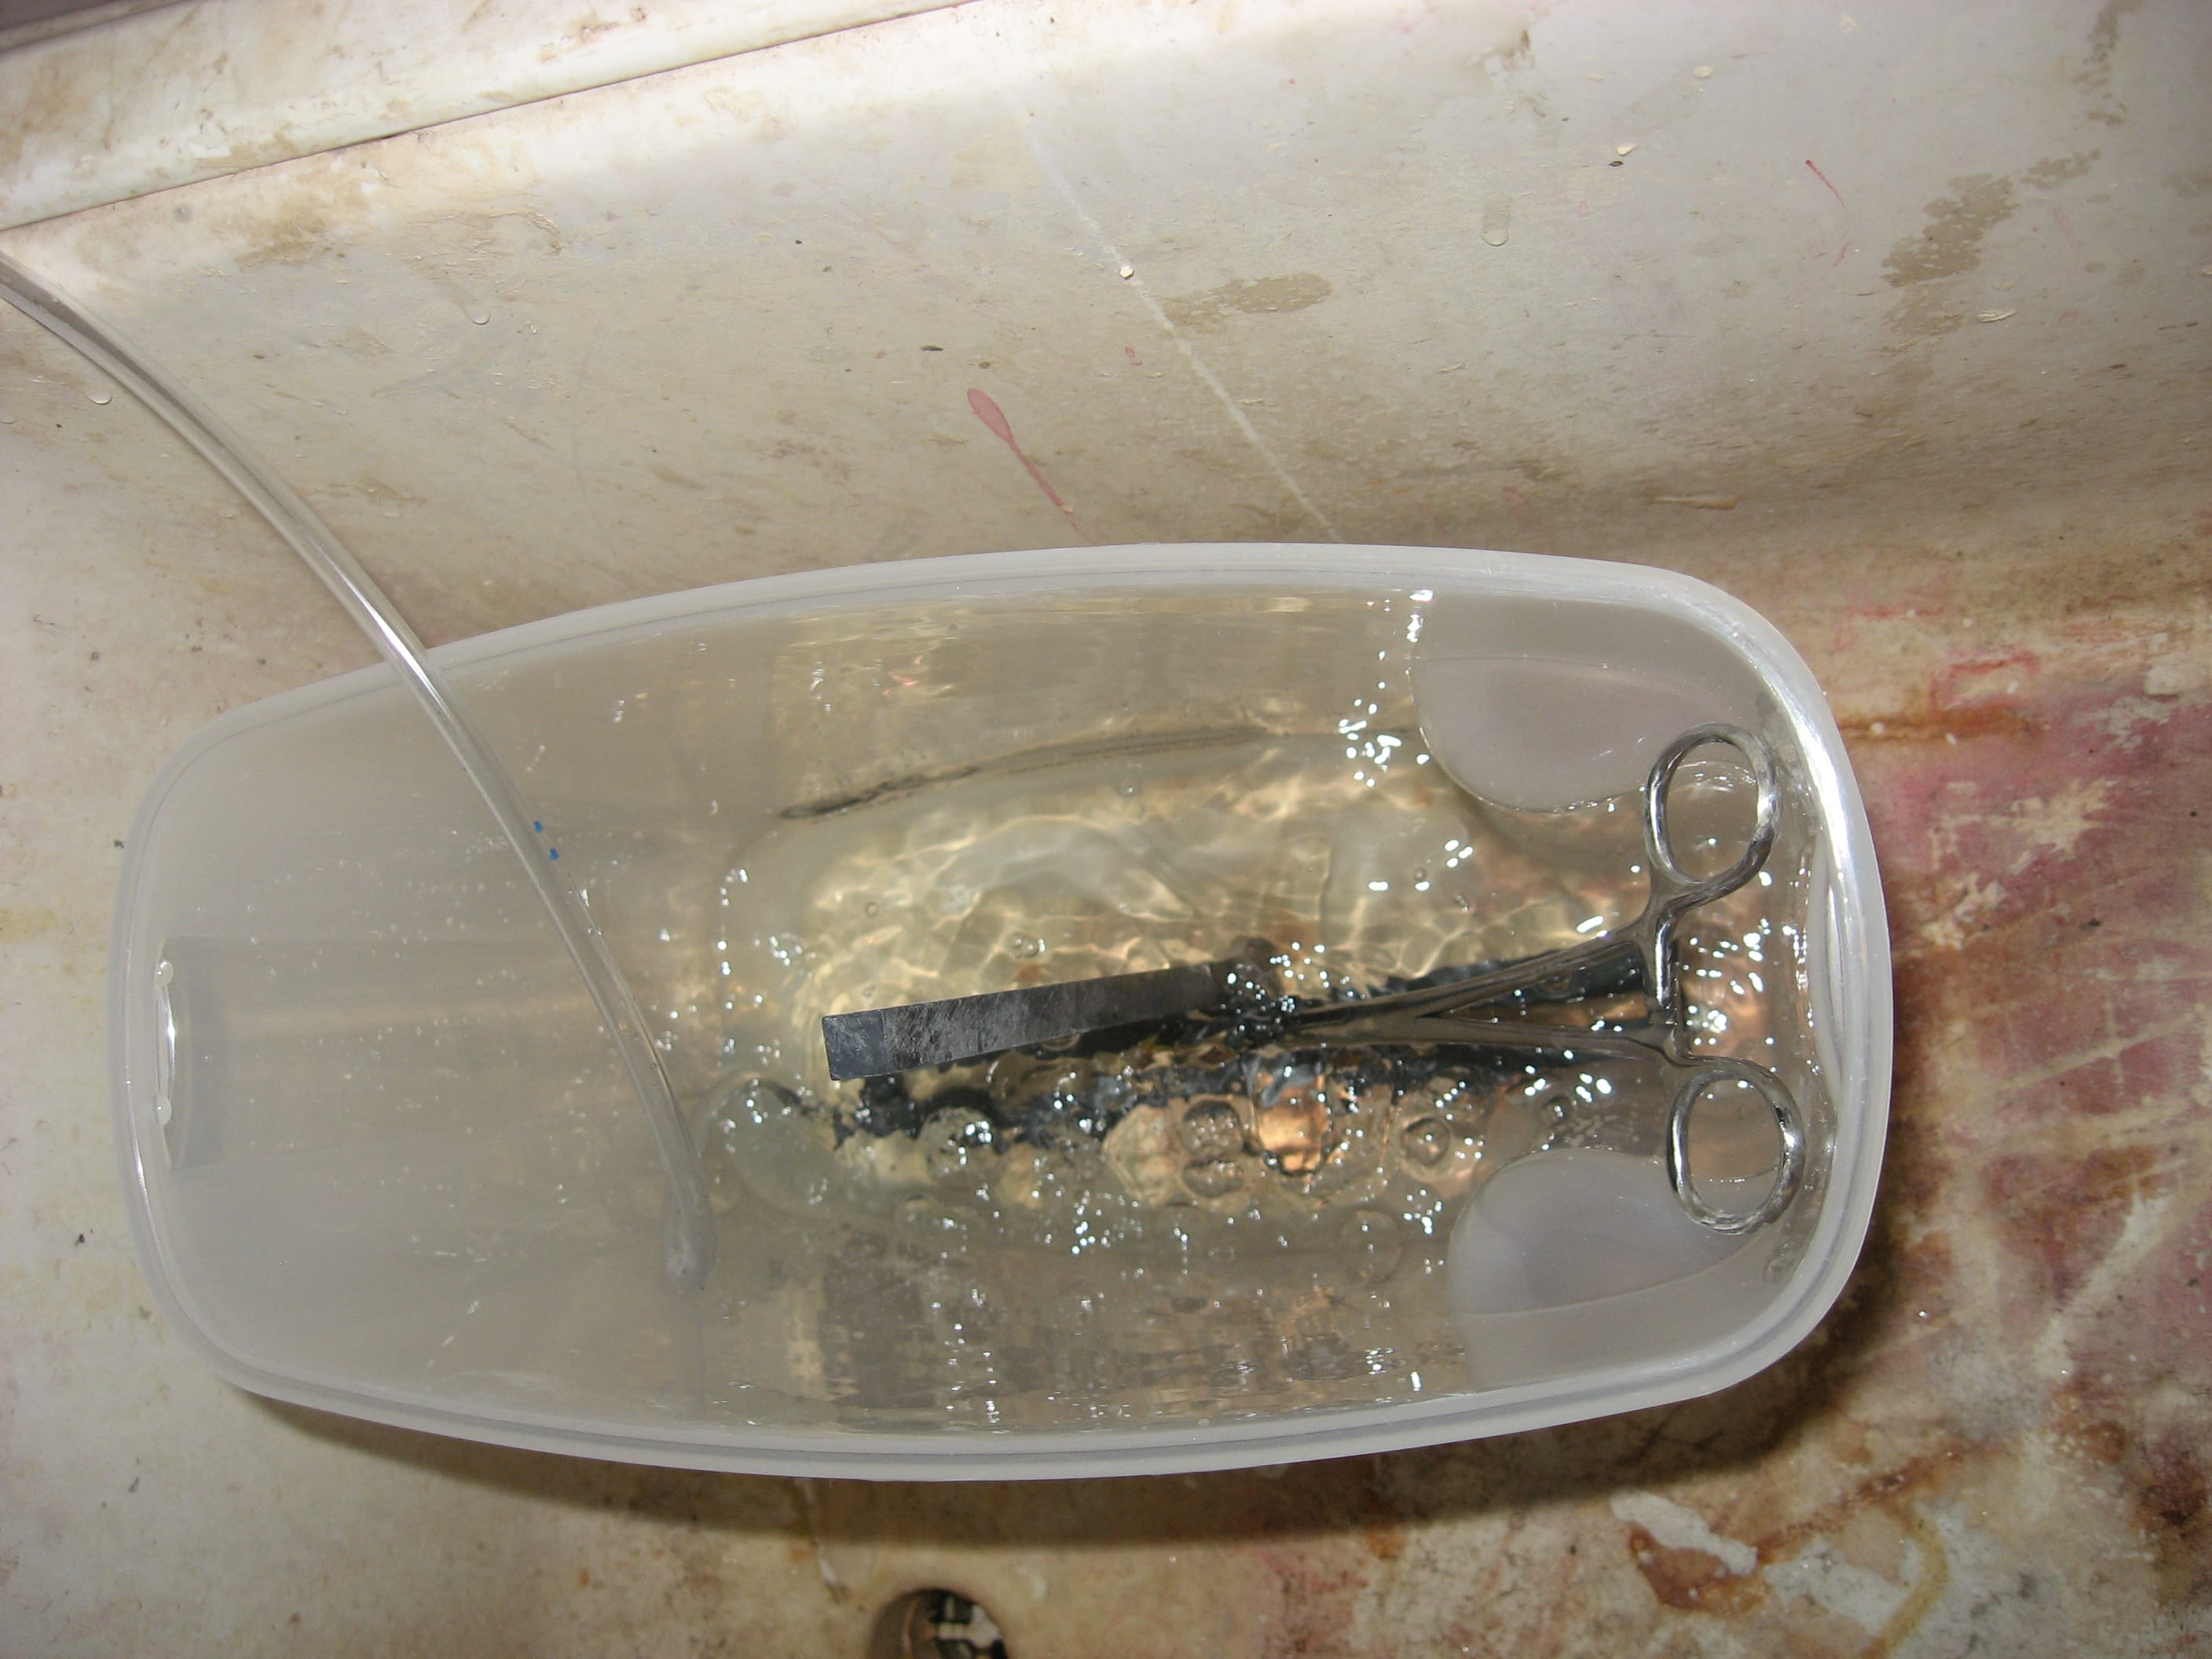
And everything put together into a nice package. This setup is temporary until I can find a case for the entire amp.
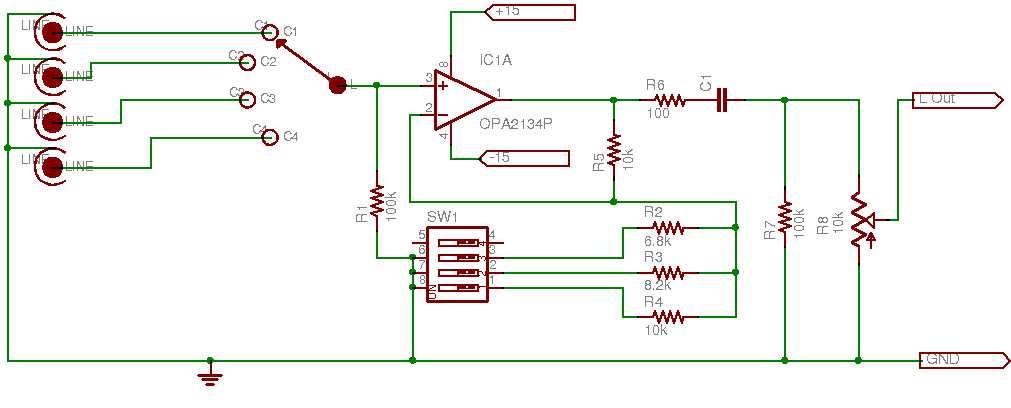
Pre Amplifier
| Part | Description | Source | Part # | Quantity |
Each |
Cost |
| R1 | 100kΩ 1% | Jameco | 1867642 | 2 |
$0.02 |
$0.04 |
| R2 | 6.8kΩ 1% | Mouser | 660-MF1/4DCT52R6801F | 2 |
$0.04 |
$0.08 |
| R3 | 8.2kΩ 1% | Mouser | 660-MF1/4DC8201F | 2 |
$0.03 |
$0.06 |
| R4-5 | 10kΩ 1% | Jameco | 1867634 | 4 |
$0.02 |
$0.08 |
| R6 | 100Ω 1% | 2 |
||||
| R7 | 100kΩ | Jameco | 1867642 | 2 |
$0.02 |
$0.4 |
| R8 | 10KΩ Pot | Axe-Man | 2 |
|||
| C1 | 3.3μF 50V | Jameco | 607961 | 2 |
$0.12 |
$0.24 |
| IC1 | OPA2134 Amp | Jameco | 275830 | 2 |
$2.29 |
$4.58 |
| SW1 | 4 Position DIP | 2 |
||||
| SW2 | Dual pole 4 position selector | 1 |
||||
| Total | $60.20 |
Construction
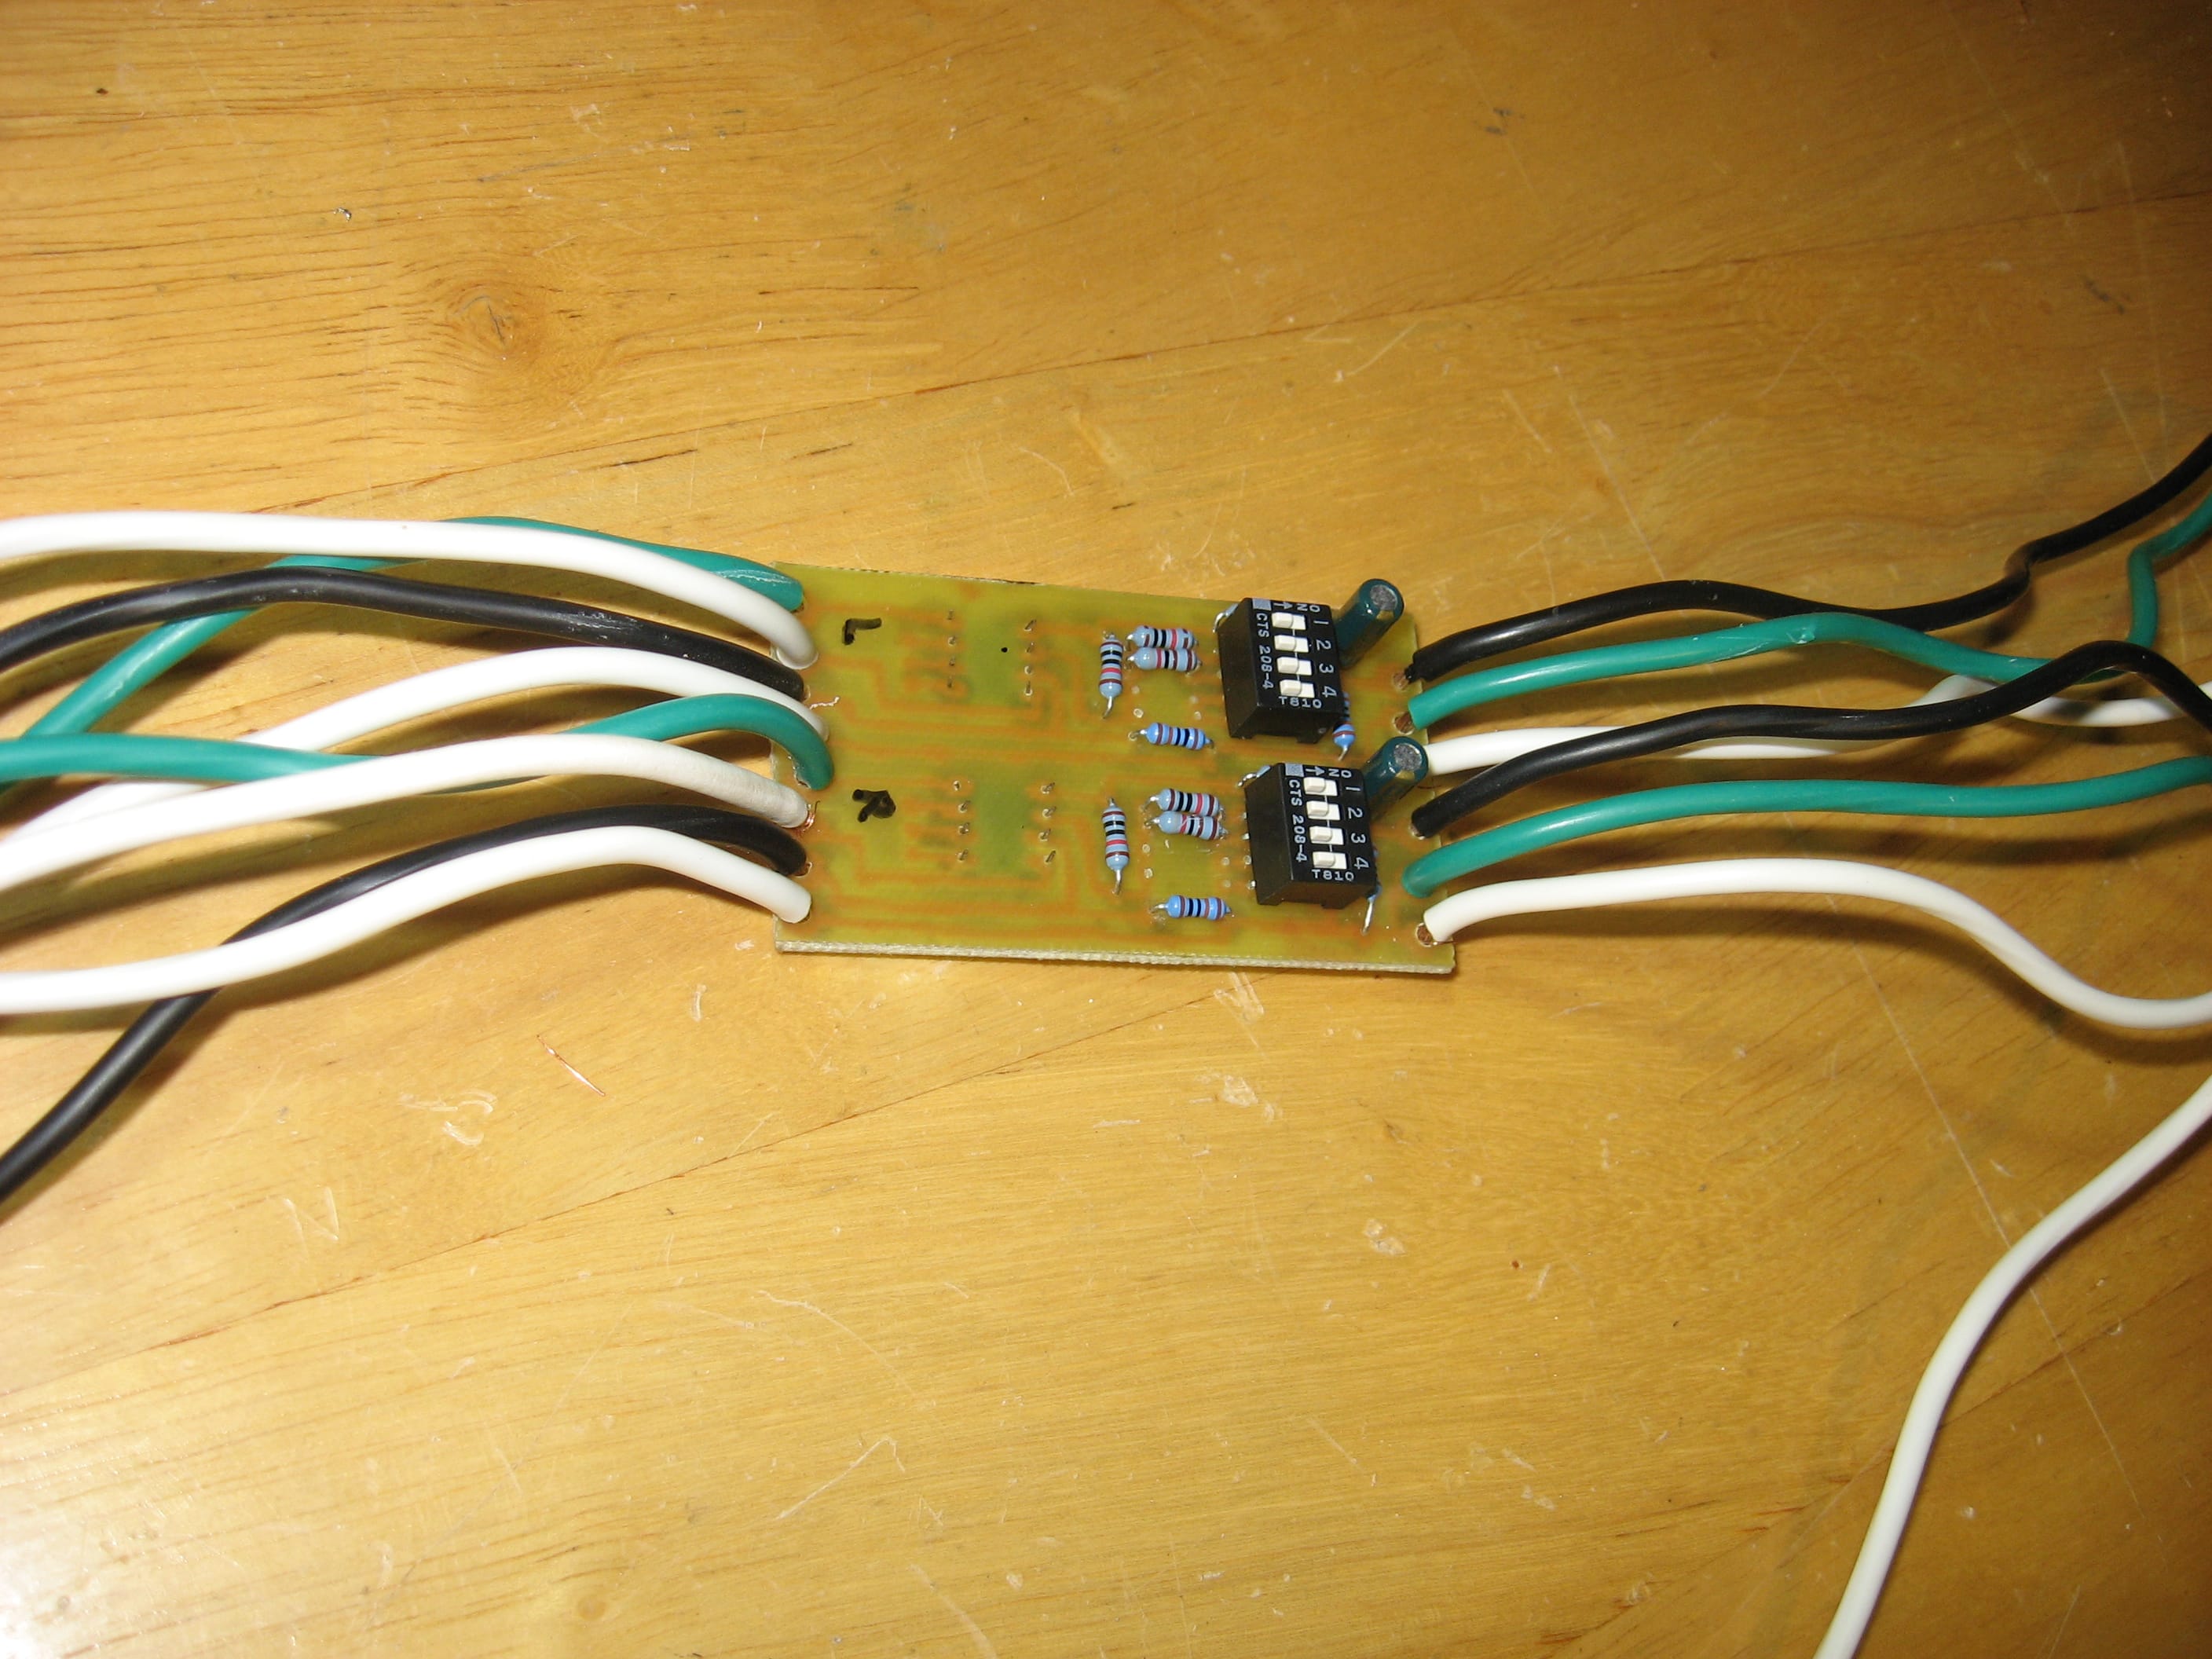
The voltage for the preamp and power amp are too high to use a breadboard so I jumped right in and made boards

For the second time (first time was during the construction of amp v1.0) I forgot that when designing the board layout you must reverse the pins for chips since you're designing the bottom of the board and the chip goes on top.

Power Amplifier
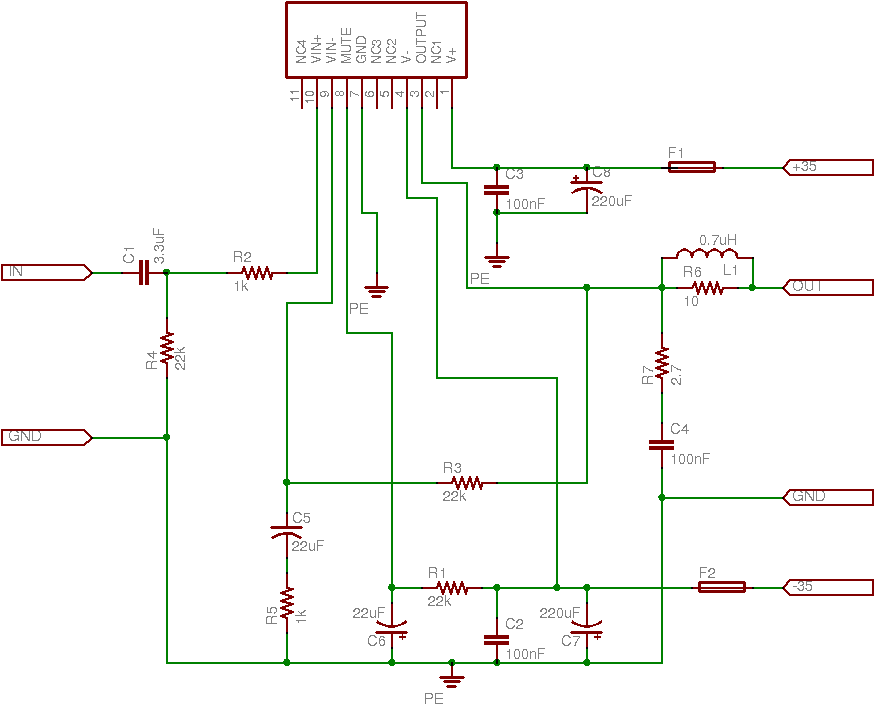
| Part | Description | Source | Part # | Quantity |
Each |
Cost |
| R1 | 22kΩ 1% | Mouser | 660-MF1/4DC2202F | 2 |
$0.03 |
$0.06 |
| R2 | 1kΩ 1% | Jameco | 1867626 | 2 |
$0.02 |
$0.04 |
| R3-4 | 22kΩ 1% | Mouser | 660-MF1/4DC2202F | 4 |
$0.03 |
$0.12 |
| R5 | 1kΩ 1% | Jameco | 1867626 | 2 |
$0.02 |
$0.04 |
| R6 | 10Ω 1% | 2 |
||||
| R7 | 2.7Ω | 2 |
||||
| C1 | 3.3μF 50V | Jameco | 607961 | 2 |
$0.12 |
$0.24 |
| C2-4 | 100nF 50V (0.1μF) | Jameco | 609545 | 6 |
$0.22 |
$1.32 |
| C5-6 | 22μF 50V | Jameco | 93739 | 4 |
$0.05 |
$0.20 |
| C7-8 | 220μF 50V | Jameco | 93780 | 4 |
$0.26 |
$1.04 |
| L1 | 10 turns of enamel wire wrapped around R6 | N/A | N/A | 2 |
N/A |
N/A |
| IC1 | LM3876 Opamp | Jameco | 126834 | 2 |
$5.85 |
$11.70 |
| F1-2 | 2 amp, 250 volt Fuse | Jameco | 10382 | 4 |
$0.24 |
$0.96 |
| Total | $60.20 |
Construction
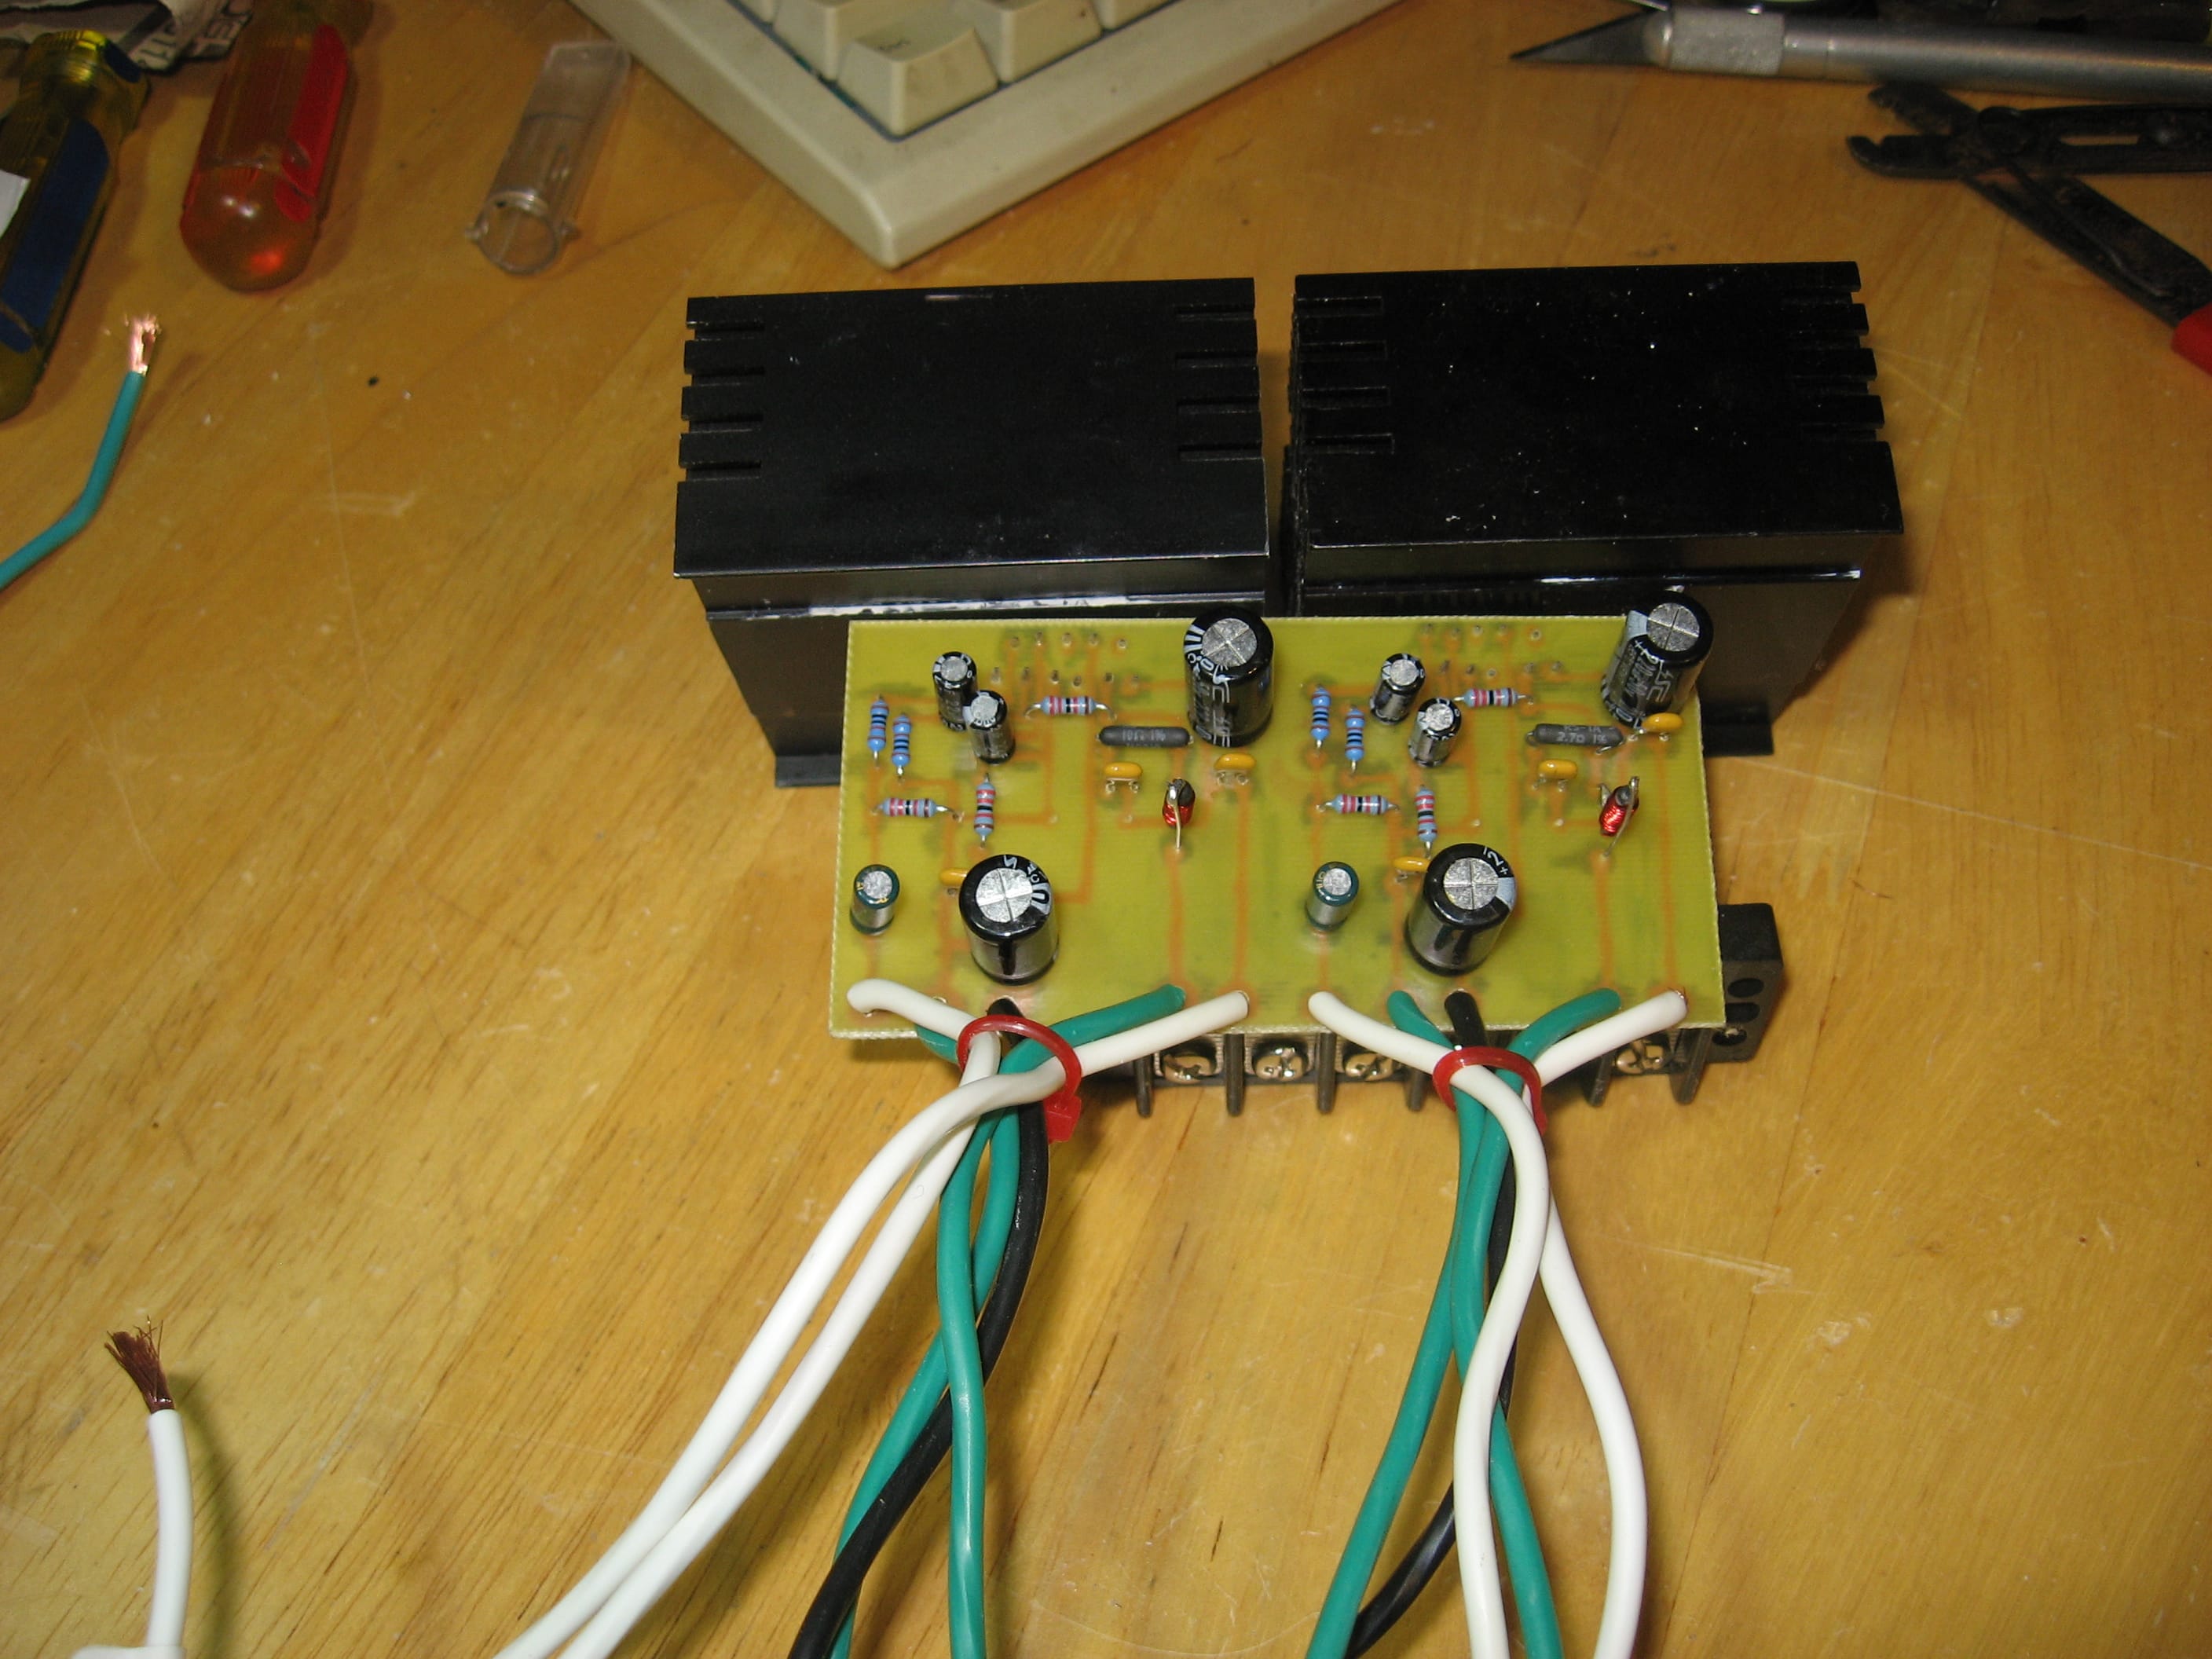
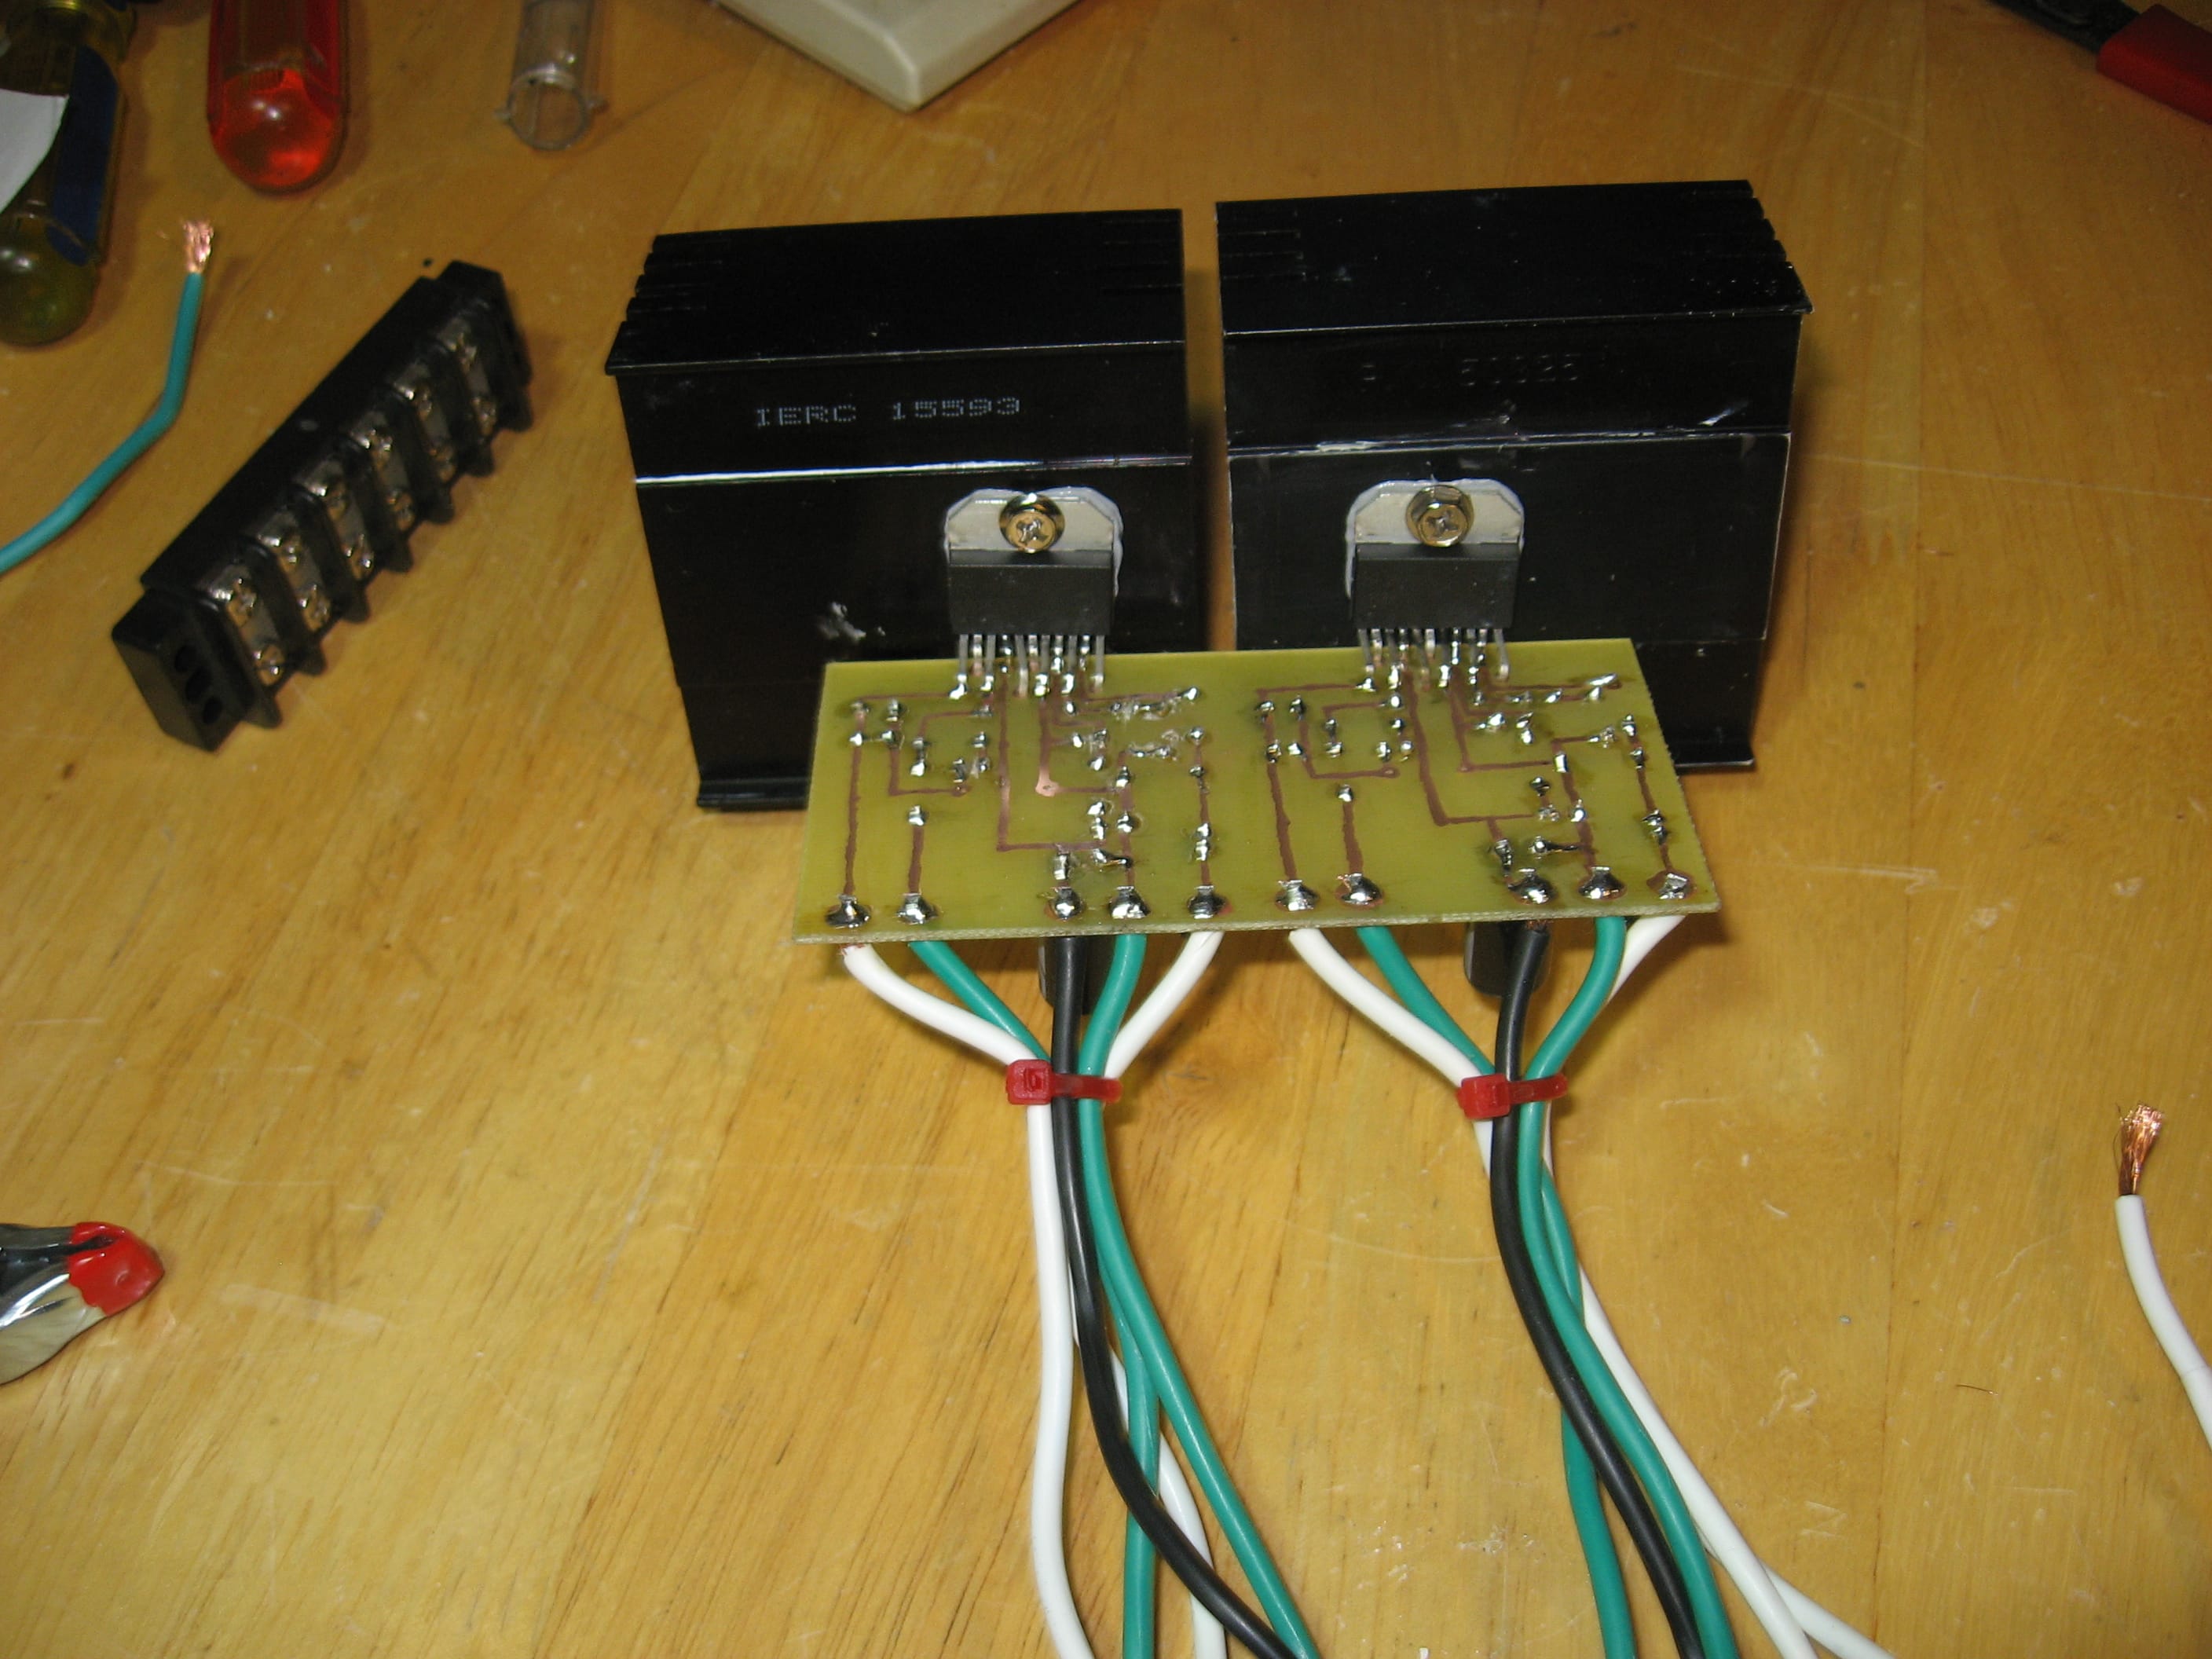
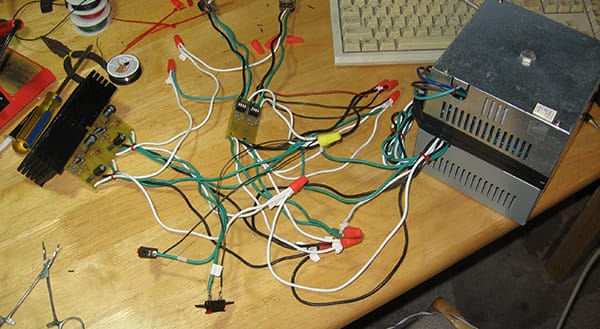
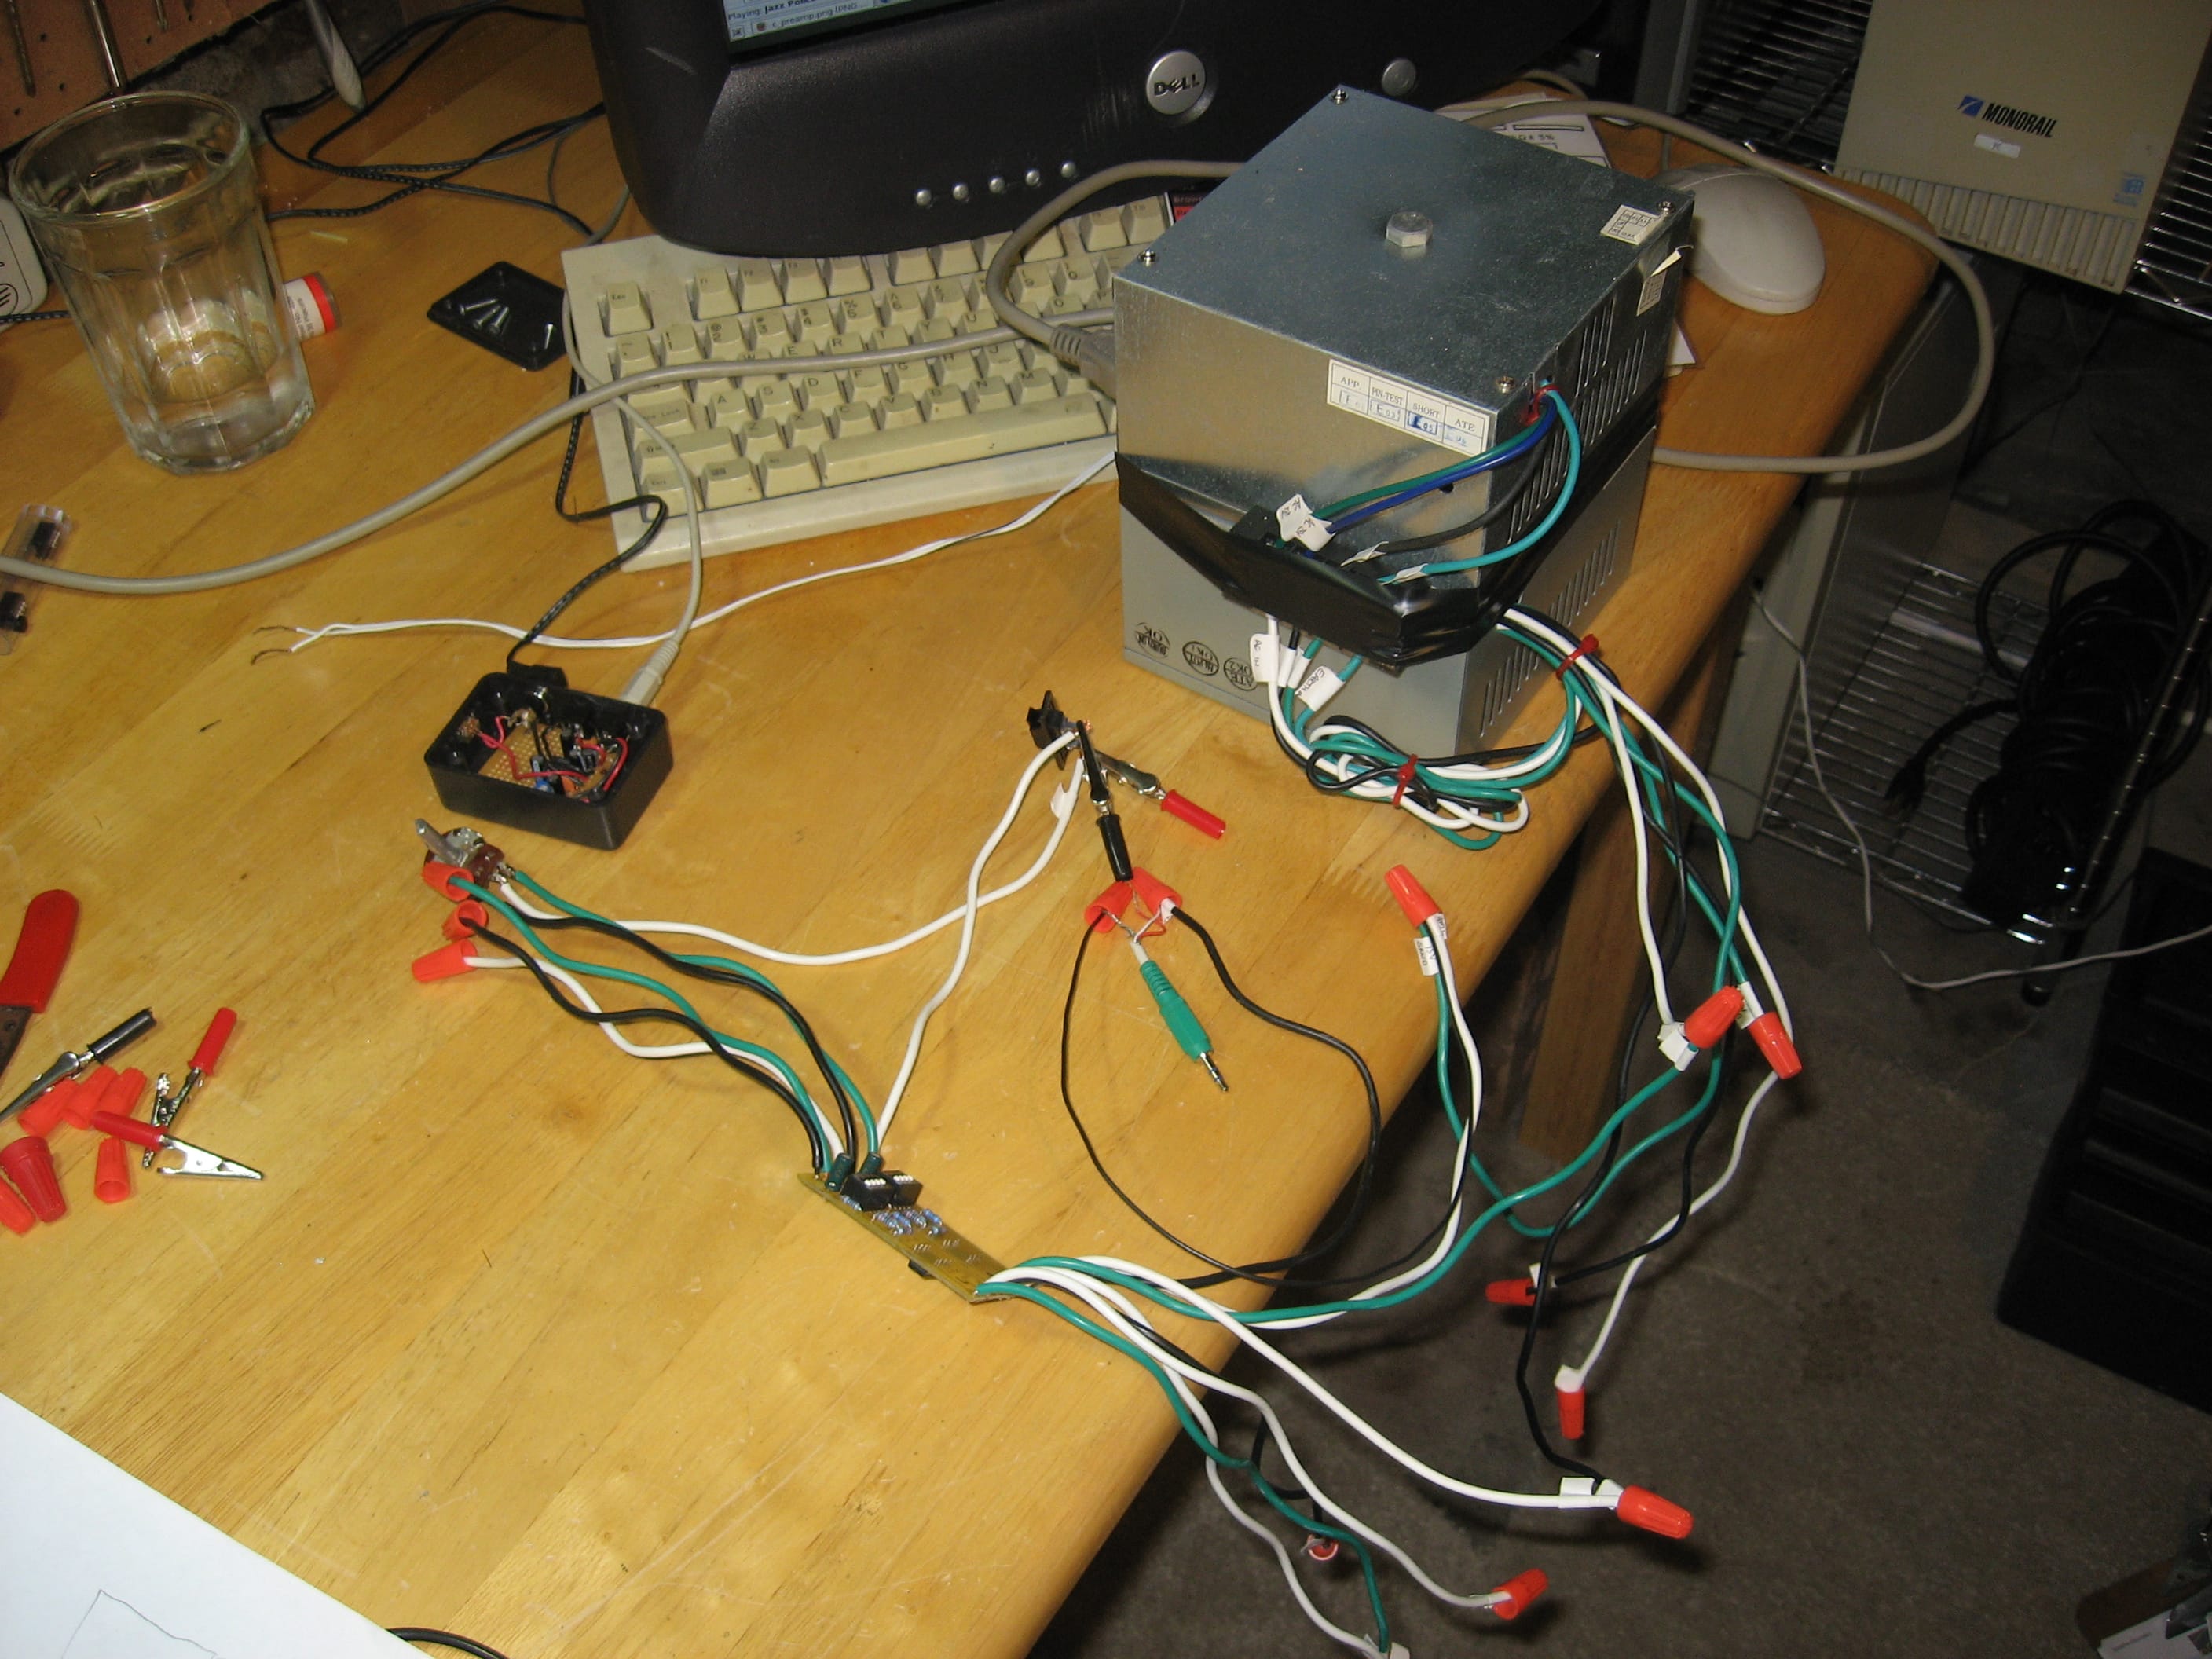
This is everything connected right before I test it.

After powering on everything worked (it's LOUD) but there is a lot of crackle. This is likely due to the twist connectors or cold solders. There is also more hiss than there should be at low volumes. I want to figure out a better way to bring the grounds back to the caps, this might fix the hiss. And I also need to find a case.
References
| Elliott Sound Products | http://sound.westhost.com/ | Almost any circuit you could ask for and great articles explaining amplification |
| Lenard Audio | http://www.lenardaudio.com/education/01_eduintro.html | Good info on basic electronics and amplifier electronics |
| Antek Inc. | http://www.antekinc.com | Cheapest toroidal transformers I could find on the internet, very good quality. |
| Digikey | http://digikey.com/ | Electronic parts |
| Mouser | http://www.jameco.com | Electronic parts |
| Jameco | http://www.jameco.com | Electronic parts |